I love these simple and quick little projects that instantly update the home. Sometimes little things can make a big difference and this is definitely one of those projects.
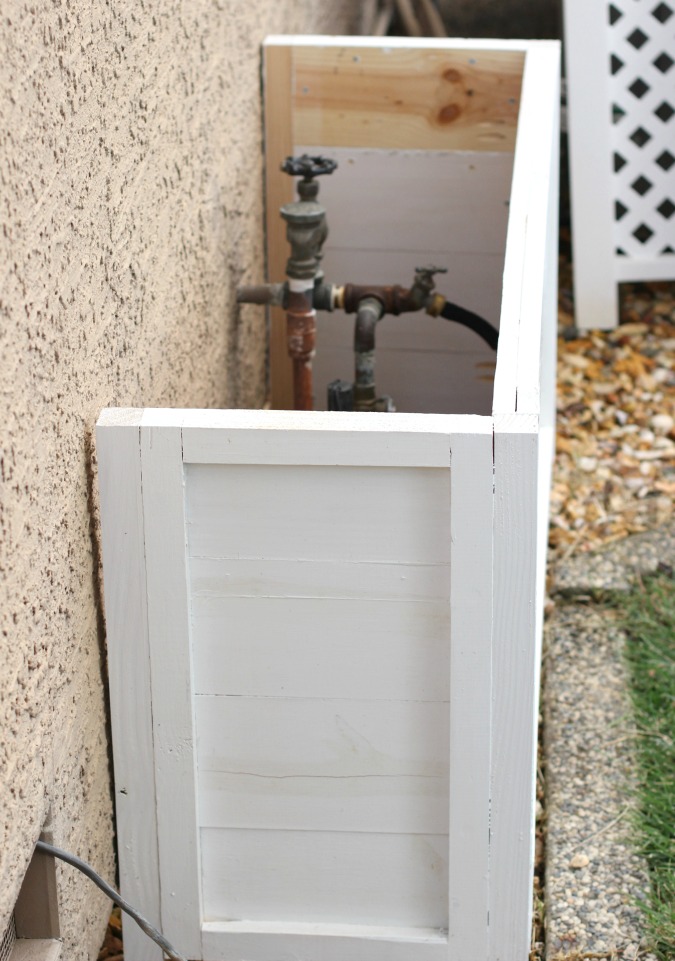
We have a few sets of sprinkler valves that just sit looking ugly and irritating me. We don’t use these often or need to access them regularly so I decided to build a quick little box to hide the ugly sprinkler valves.
The box is lightweight and very easy to pick up and move or the lid just pops right off should we need to access the sprinkler valves at any time.
Here is the before:
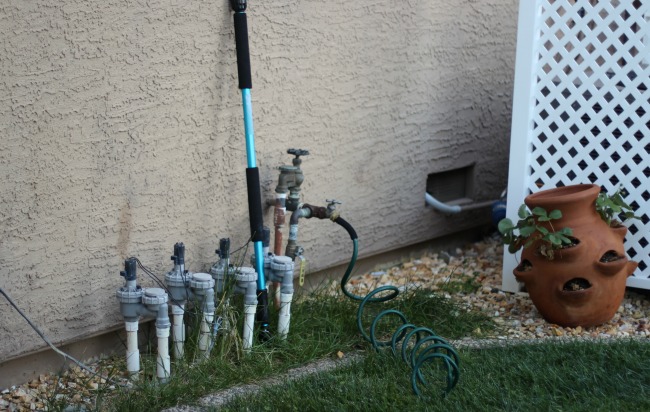
So ugly and awful right?
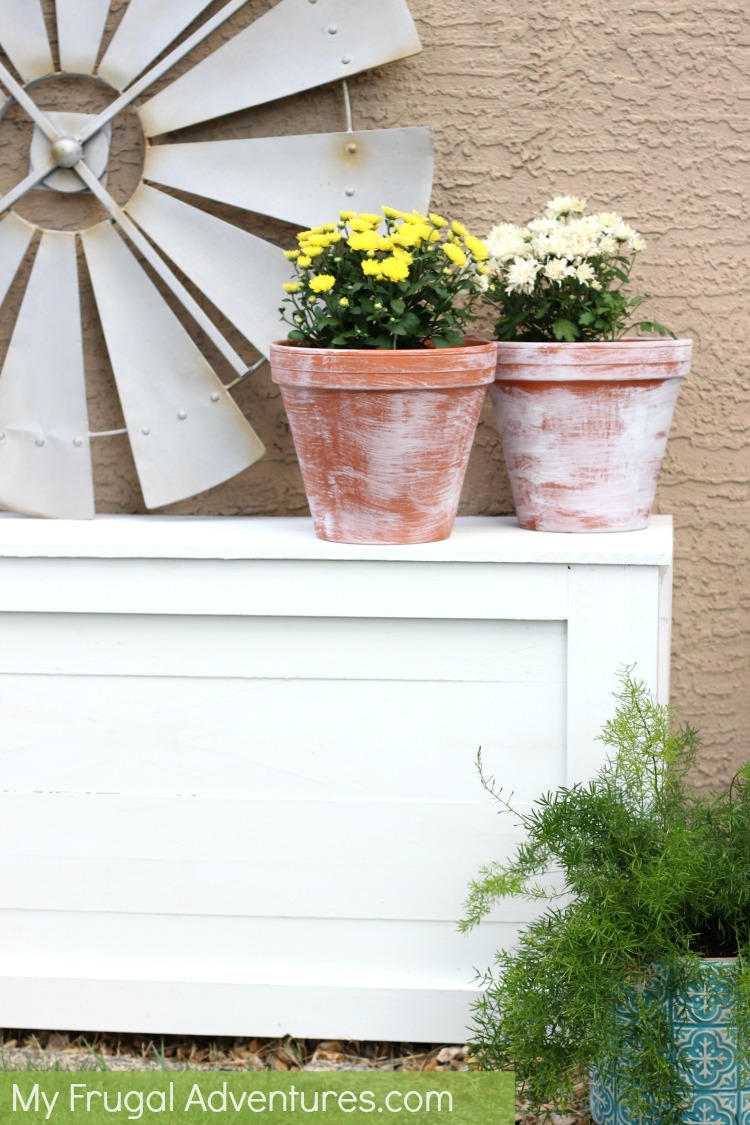
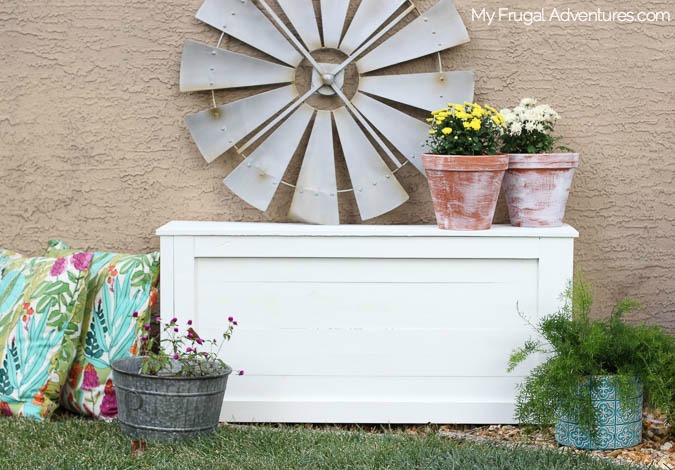
Here is the finished box:
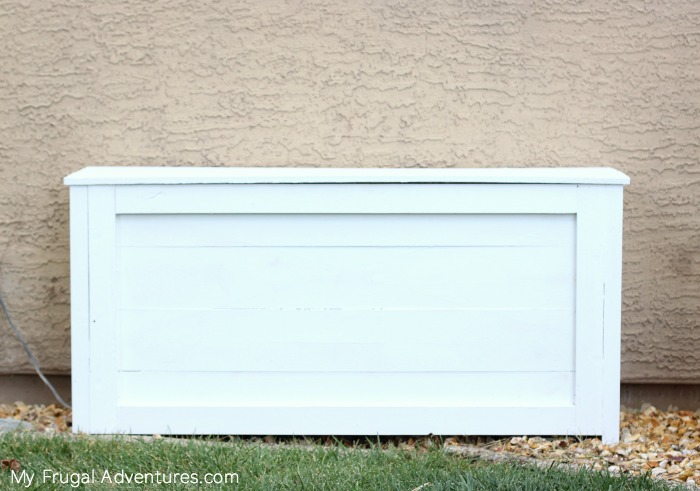
We started out by yanking out all the over grown grass. Next we measured our sprinkler valves- the actual sprinklers are 30 inches long and 22 inches high. Our finished box measures 24 inches high and 48 inches long. So the following plans are specific to our needs and can be adjusted according to the dimensions of your space.
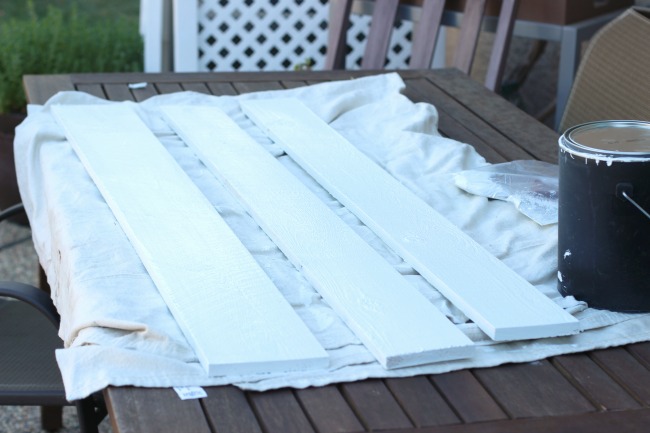
I have learned the hard way it is much easier to paint and stain the project before assembling. For this project I used two coats of white exterior paint and primer and then a few coats of clear varnish. Any stain would work too depending on the look you want. We have some other bright white pieces in the yard (like the DIY AC unit screen) so I wanted white to keep the look cohesive. A dark grey or black would also look really sharp. I skipped the paint on the underside of the boards but I did varnish both sides as a protective coat.
Cut list:
- (3) 1″ x 6″ pine boards cut to 49″ long
- (2) 1″ x 2″ pieces of trim cut to 12″ long
- (4) 1″ x 6″ pine boards cut to 45″ long
- (2) 1″ x 3″ trim pieces cut to 22″ long
- (2) 1″ x 3″ trim pieces cut to 40″ long
- (4) 1″ x 6″ pieces cut to 12″ long
- (4) 1″ x 2″ trim pieces cut to 6″ long
- (4) 1″ x 2″ trim pieces cut to 22″ long
- (2) 1 1/2″ x 1 1/2″ trim pieces cut to 23″ long
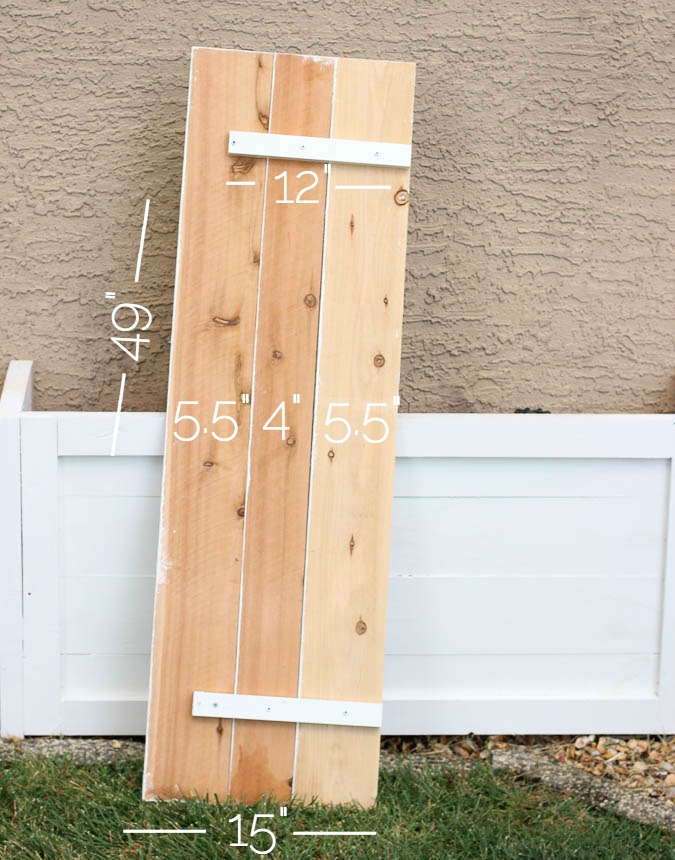
Lid:
The lid is 49 inches long and 15 inches wide. We used (3) 1″ x 6″ pine boards. The first two 1″ x 6″ boards measured about 5.5″ inches wide so the third board we trimmed a bit to be 4 inches.
To secure the pieces together we screwed a 1″x 2″ piece of scrap wood to the lid. That allows for plenty of space for the lid to fit over the base of the box in the front.
Box:
For the actual box, here are the dimensions:
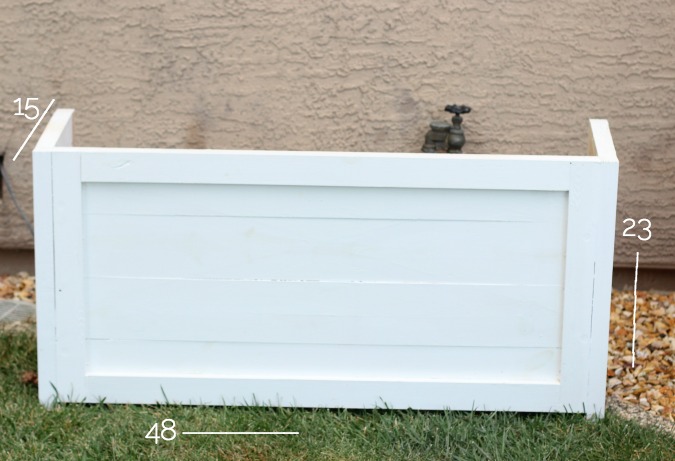
We started by building the front piece. That piece is 45″ wide x 22″ tall. The feet of the box are slightly taller because we didn’t want the entire box resting on the ground. We wanted it elevated slightly as it is right where the grass is regularly watered and we didn’t want the box just resting in puddles all the time.
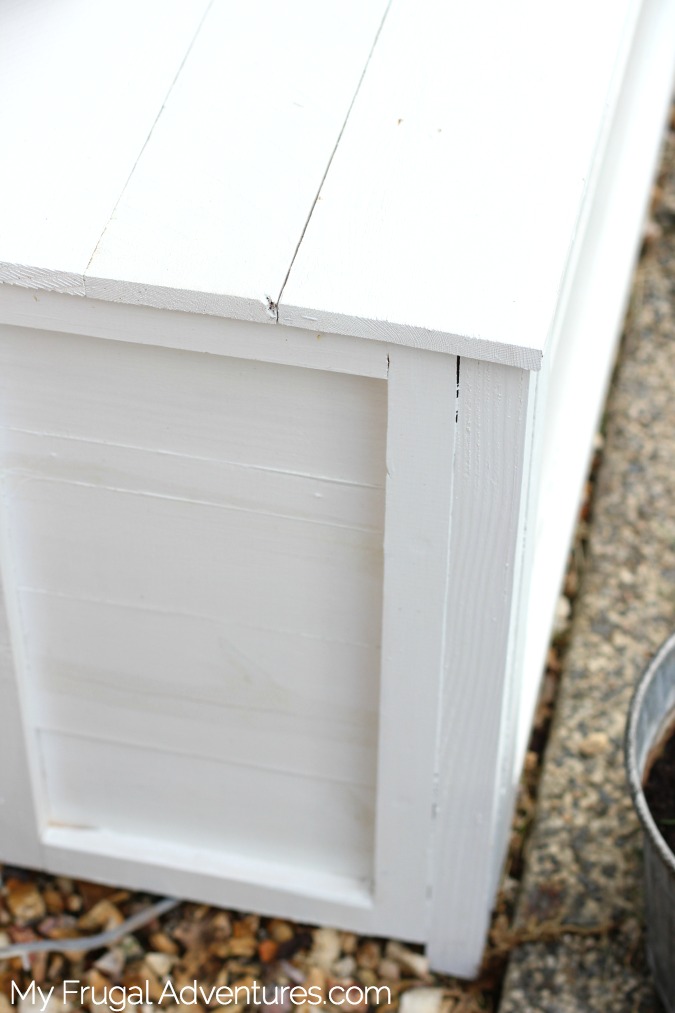
We used (4) 1″ x 6″ pine boards for this part. Since 1″ x 6″ boards are never precisely 6 inches wide, the 4 we used actually measured 22 inches in total so no cuts were needed. After painting and varnishing the boards. We also used 1″ x 3″ strips of trim to frame the front piece- the dimensions for the trim pieces that create the frame are 22″ high and 40″ long. We placed all four of the 1″ x 6″ boards on the ground and placed the trim work in a frame around the boards. We attached the trim with screws to keep it secure and to create one solid piece.
Next up is building the sides of the box. This process is exactly the same- we used the same 1″ x 6″ pine boards as we did on the front to create 4 pieces that are 12″ long. The height is the same (22″).
Once you have painted and varnished your boards, lay them out flat and attach the trim in a frame to keep the piece secure. Our trim is slightly smaller on the sides 1″ x 2″ and we cut (2) 6″ pieces and (2) 22″ pieces to create the frame. Screw the frame to the pine boards and now you have the pieces of your box.
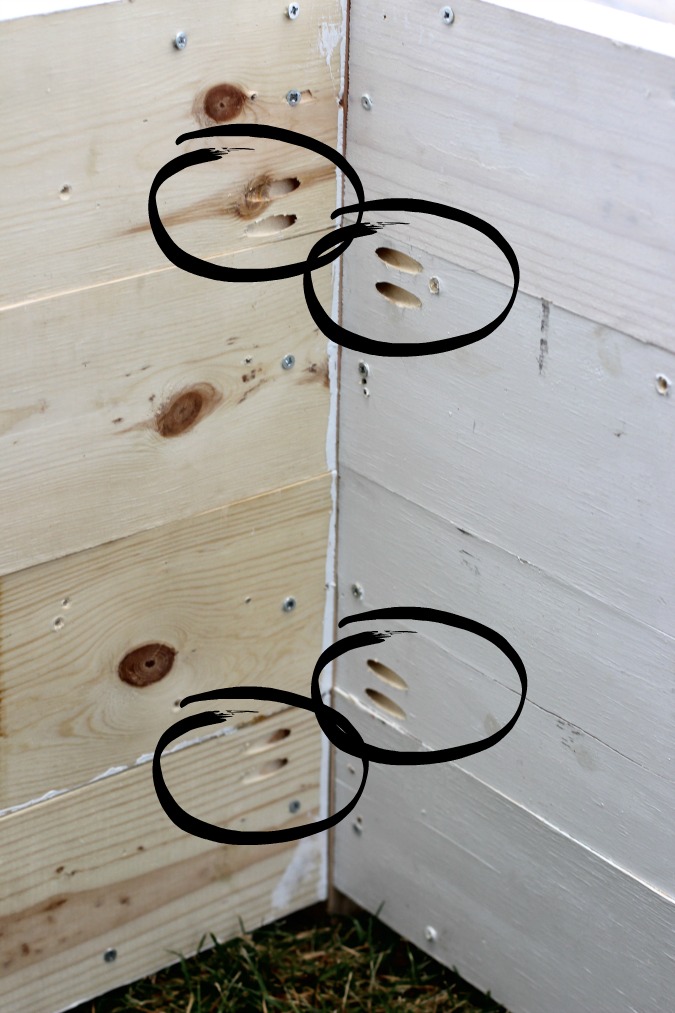
The last little bit of the box is putting it all together. I have wanted a Kreg Jig for ages and we finally picked one up for this project. You don’t need the Kreg Jig but it will allow you to create these pocket holes that make the box much cleaner and more finished. (They start at $39 for a basic jig so a nice addition to your workshop without breaking the bank.)
We made the pocket holes and attached the front and (2) sides to 1 1/2″ x 1 1/2″ pieces that are 23″ tall. (The legs of the box are 1″ taller than the sides and front of the box to keep the base off of the ground.)
And that is it! I hope this has been a clear tutorial- the box really is very simple and comes together in an afternoon.
If I needed to access the sprinklers regularly I might leave it like this without a top. We debated if we needed a hose back here and decided we really didn’t. If I did want a hose, I probably would have extended the box a bit longer to accommodate a hose.
When we need to access the sprinklers, the entire box is extremely lightweight and easy to move.
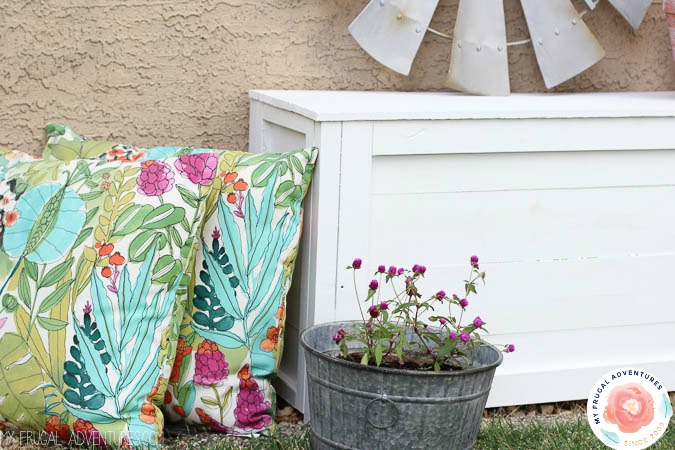
I think the box looks great as is but I added a few plants to dress up this portion of a the yard a bit. My girls like to play in this corner of the grass and this is where we set up the outdoor movies so I also added a few extra outdoor pillows and the difference is really remarkable.
Here are a few other projects you might also enjoy:
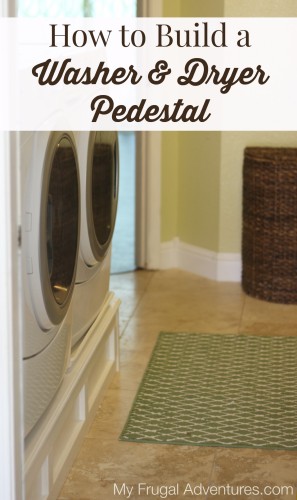
How to Build a Washer and Dryer Pedestal

This is 10 thousand times better than those hideous faux rock cover. Thanks for posting this.
Ha ha! So glad to hear it Tracey 🙂
Inspiring. Thanks!
I would love to find or make something like this, but out of vinyl, not wood, because of termite concerns.
Love this! How many coats of varnish did you put?