
We have been working on some home projects here and there as the sun peeks out this Spring. This particular project was incredibly simple and fast and I really like how it turned out. This one isn’t even a weekend project, it is more like a lunchtime project. Super fast, super cheap and super easy.
We have a pretty basic stucco home in California that looks like about 20 other homes in our neighborhood and I have been working to add little details here and there to make it look a bit more custom.
I decided I wanted to frame out our front windows with shutters and the entire project took about an hour and cost us about $40 or less to make. So not a bad investment for a little extra curb appeal this Spring.
We did a very simple shutter and stained it. You can add cut outs to yours, additional trim or paint any color you like.
I struggled with the color a bit. Typically shutter colors will match trim or a front door. I happen to be a commitment phobe when it comes to front door color. It is currently red but it has been blue in the past and green and I have been toying with the idea of black or navy. So I didn’t want to paint the shutters the same red as the front door because that would double my work if I do decide to paint the front door in the future. (And we all know I will get itchy to paint before too long.)
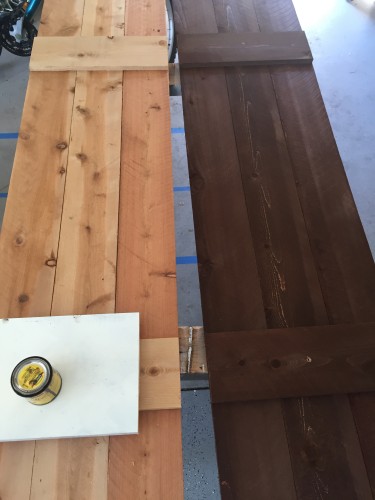
I went ahead and used the same color stain that we have on the chairs on our front porch and that seems to work for now but I have a cool trick for you at the bottom to help choose your color.
Here are the supplies you need:
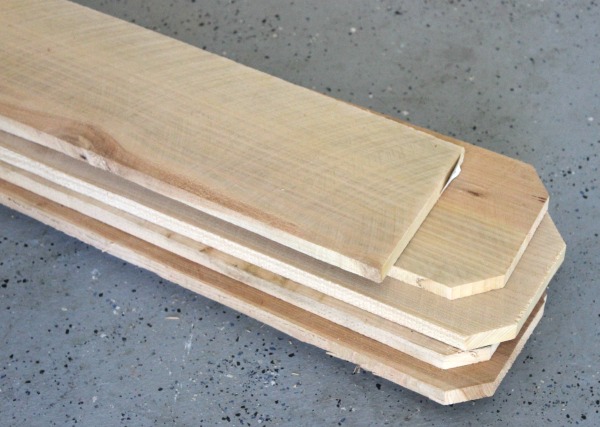
- Wood of your choice. We used cedar fence pickets that were only $2.50 each. We bought 7 of the pickets.
- Stain or paint of your choice. I used MixWax in English Chestnut.
- I also used Mixwax preconditioner before staining the wood.
- Screws for assembling the shutter
- Screws and anchors to mount onto your home.
So to start we cut the pickets down to size. In our case the front windows are 61 inches so we cut three pieces to match that length with just a tiny bit extra. Our shutters are 64 inches long.
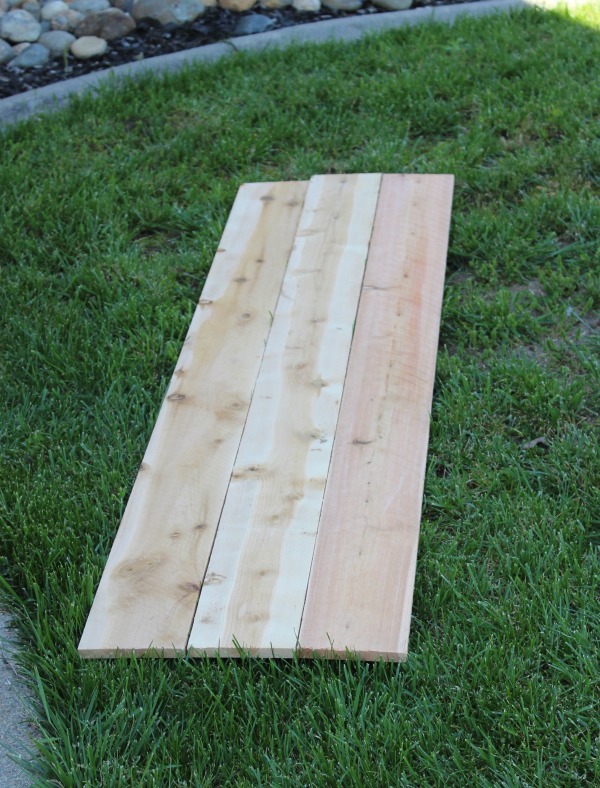
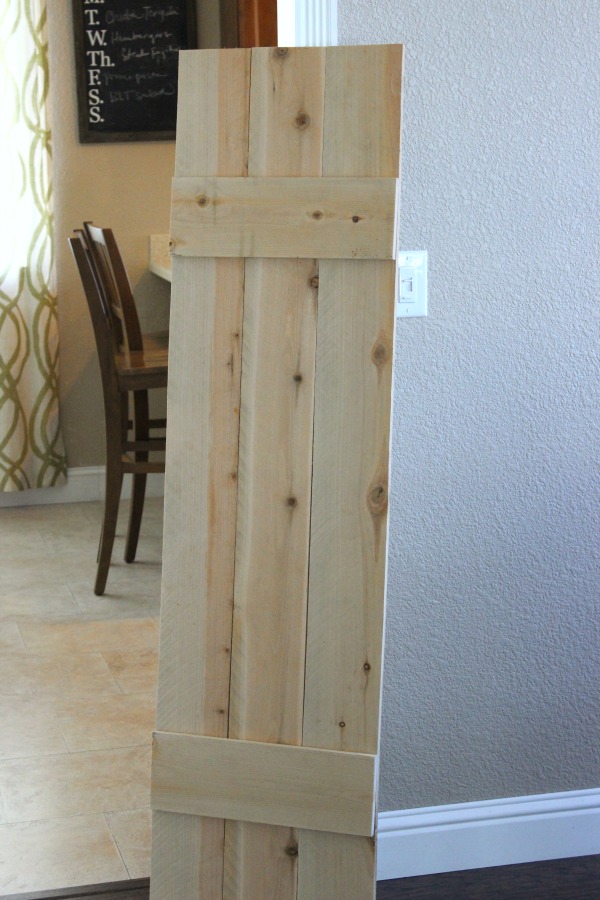
Next we laid the three pieces together- originally we thought we might use (4) pickets together but it just seemed too large for the window. Three looked better to me. These pickets are 5 1/2 inches each so 16 1/2 inches wide.
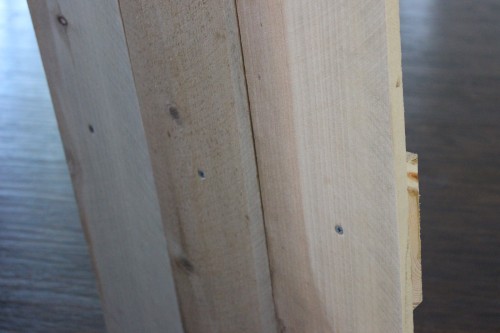
To attach the boards together, we cut two smaller pieces of the pickets (16 inches) and then just screwed the long pieces to the short piece from behind. We used 1 inch screws and those went through the two pickets without showing screw holes perfectly.
Here is the finished product:
Again I used the MinWax preconditioner and then just one coat of Minwax English Chestnut.
Once they were stained and dried, they were ready to go!
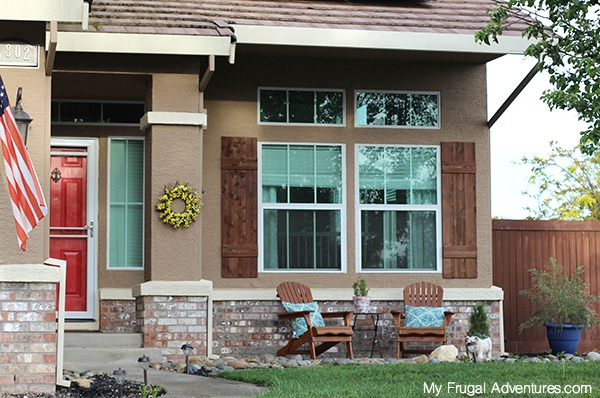
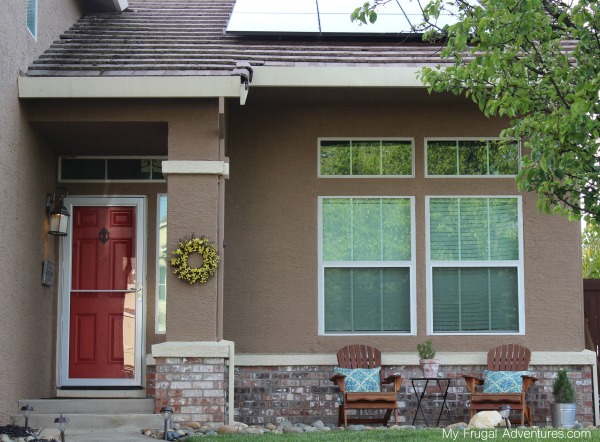
And here is the before:
and after:
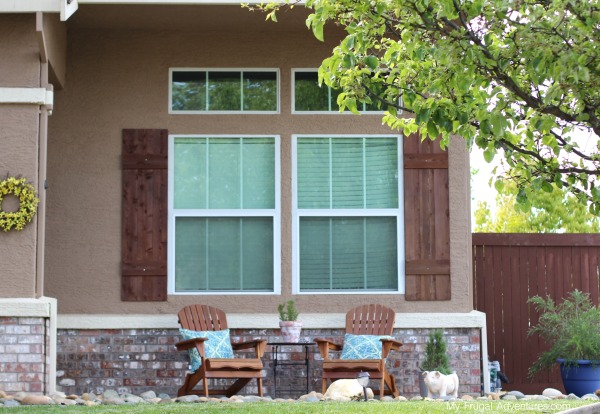
To attach these to the house, we originally planned to use an anchor kit but that wasn’t working for us so we scrapped it and took 4 inch screws and just drilled directly into the stucco. The 4 inch was a perfect size and the shutters feel very secure on the windows.
You can always ask at your local home improvement center for exactly the right tools for the type of siding you have. And if you have stucco like we do, there is a soft stucco and a hard stucco so you might need to try different things as we did.
And one last note. If you are trying to decide on color choices, there is a free tool from Benjamin Moore to test paint colors. I spent about 2 minutes playing with this and used a photo that wasn’t the greatest but you will get a general idea of what different colors might look like:
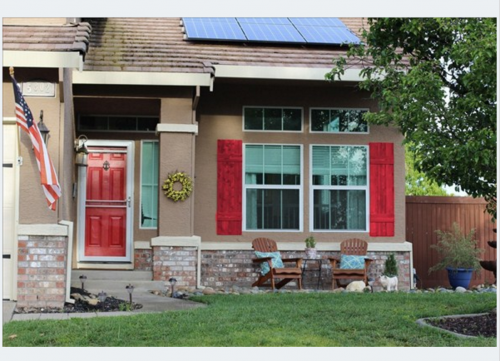
(Can you spot my dog peeking out the window?)
I do like the red shutters but I think for now we will stick with brown. I also have been considering painting those Adirondack chairs white but after playing with the tool, I think I will keep them brown for the time being as well.
Here are a few other super simple DIY projects you might consider for your home:
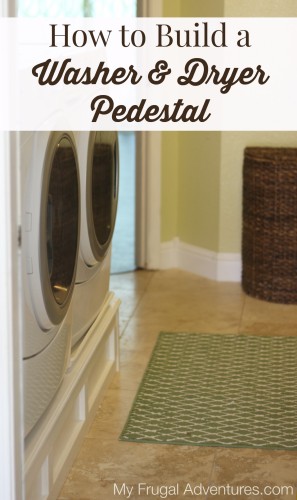
How to build a washer/ dryer pedestal


Great idea!
Your house looks beautiful. I have a red front door too and I just might give this a try for a different look. Thanks for sharing 🙂
Can I ask how you go about painting your front door? I would like to paint mine but I’m not sure of the best approach.
Just ran across this post on Pinterest. Since this post is a couple years old, how have your shutters held up? I’ve wanted to do some myself out of fence posts, but was concerned they would warp over time like privacy fences do. Love yours!
Hi Becca- they look the exact same! You can see them again in this Halloween post from last year:
http://myfrugaladventures.com/2017/10/glam-halloween-porch-decor/
I always forget how long ago these projects were done but yup holding up just fine. 🙂
Hey!! Love the natural stained shutters on your house. Also, I prefer the stained adirondacks. Nice blend. I want to try to build our own shutters to save money, and I appreciate your tutorial.
Does the preconditioner help it hold up better in weather or is it for something else?
Hi JBK,
It just gives a more uniform finish when you stain. You don’t have to use it but it gives a nicer finish. You can see in this short video the difference:
I have recently purchased from my brothers our childhood home and I am wanting to redo the shutters like this. My questions are though, isn’t the fencing rough? Did you not have to sand them? Next should you not have sealed them, I would think they would hold up longer that way? Thanks for the info. I really like this style.
I’m hoping to do this to my house too! When you installed the shutters, did the stucco crack? That’s my only concern. We’re in so Cal. Thanks!
No Suzanne it did not. Good luck!
They are too big for the window