
I recently updated our laundry room and thought I would share the before and afters with you. This particular update is super, super budget friendly and really didn’t take a ton of time to complete. Just a little planning and a lot of paint and I really love how bright and fresh this room is now. This is a perfect example of how a little paint can seriously transform a space.
The two main problems with our laundry room is that there are no windows- so no natural light at all and one door leads into the living room and the other into the garage. So no pretty dutch doors for us leading out to a perfect green pasture like I often see on pinterest. Instead I have a thick fire door that is ugly and has a cut out for the dogs. The room can look extremely dark as a result and since it is the walkway from the garage to the rest of the house, it often serves as a dumping ground for papers, purchases, random objects.
We are in the process of working on several other projects so we didn’t really have much of a budget to do a lot in this room and honestly it serves its purpose fairly well. There is a lot of storage with a wall of cabinets and I don’t spend a lot of time in here so it doesn’t really need to be super fancy. I wanted to see if I could at least put some lipstick on this piggy and brighten it up a bit for a just a few hundred dollars.

So here is where we started with the space. This is so awful. Really, really awful. We had a pale grey on the walls and years ago painted over the ghastly honey oak cabinets with white paint. There is ugly travertine on the floor that needed a serious scrub down, the dog’s toy basket is in here, along with a formerly nice rug that was cleaned regularly but has seen better days. The countertops collect all sorts of random junk- paint samples, tape, a photo I need to frame, my husband’s soccer shin guards. I mean seriously how depressing right? Sort of like a prison cell.
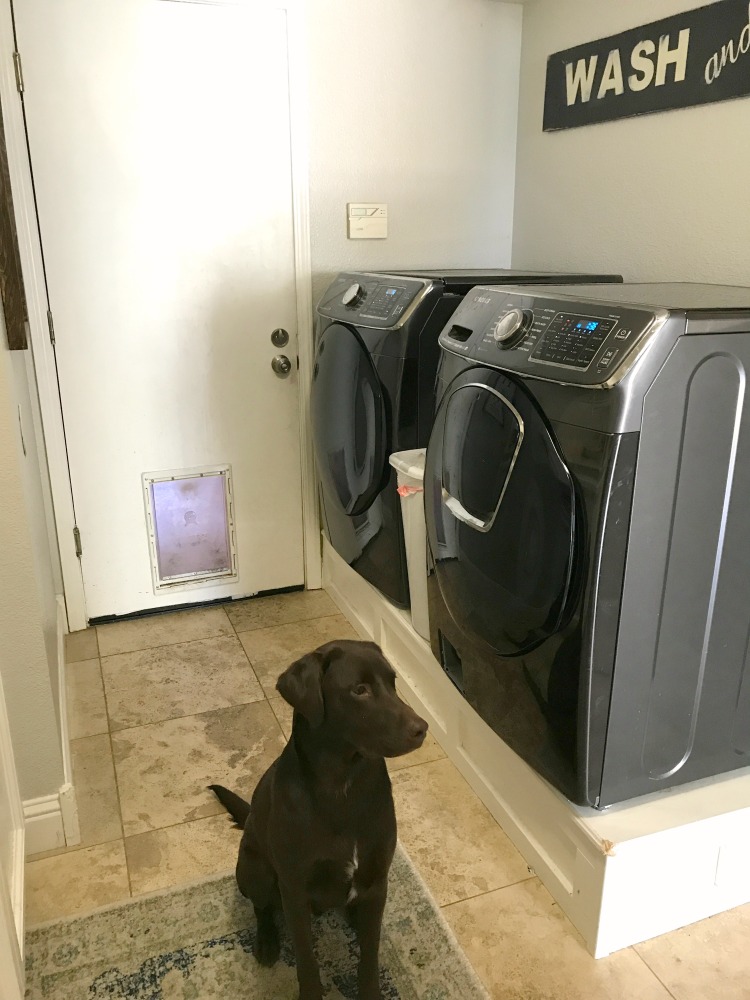
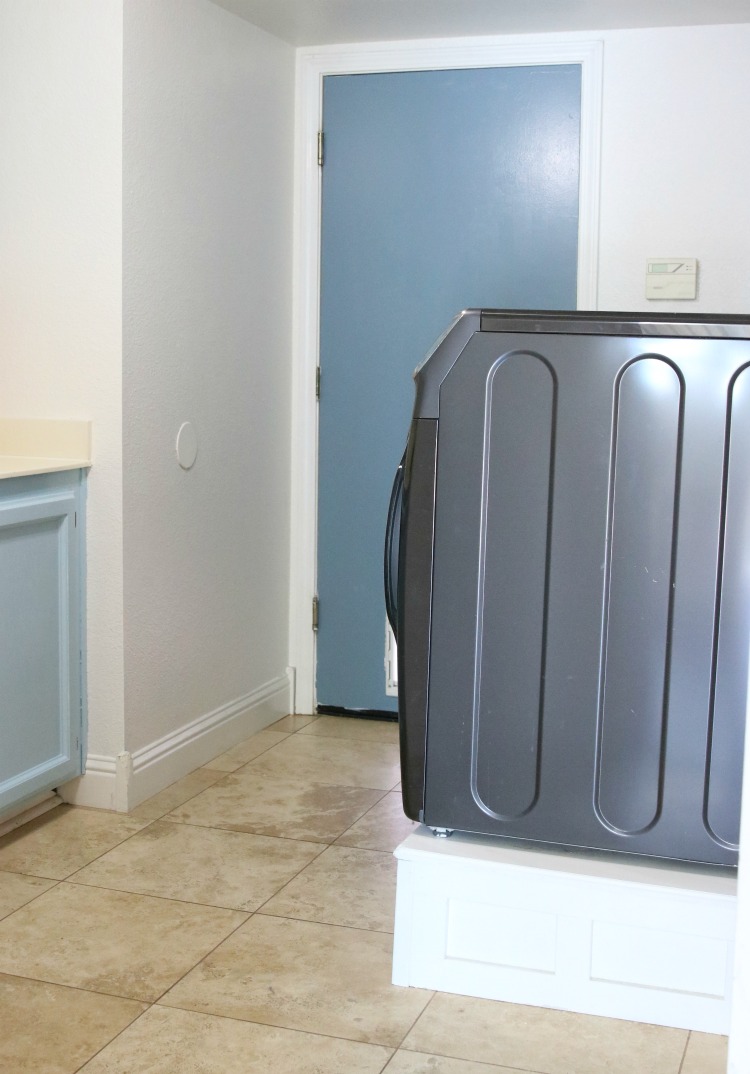
The other side of this tiny space was just our washer and dryer on a DIY pedestal (note the puppy has started chewing on the pedestal… sigh…) So all in all a truly awful room.
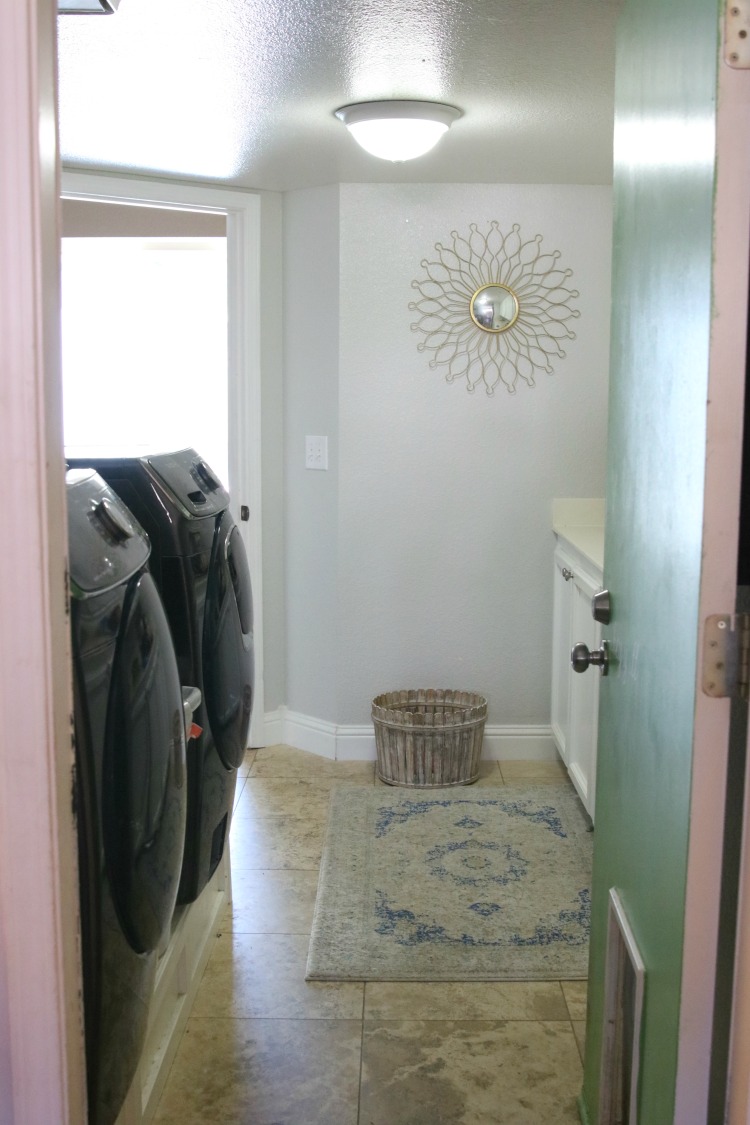
And the view walking into the house from the garage. Is that light fixture hideous or what? Blech.
No where to go but up with this room my friends. So here was the plan:
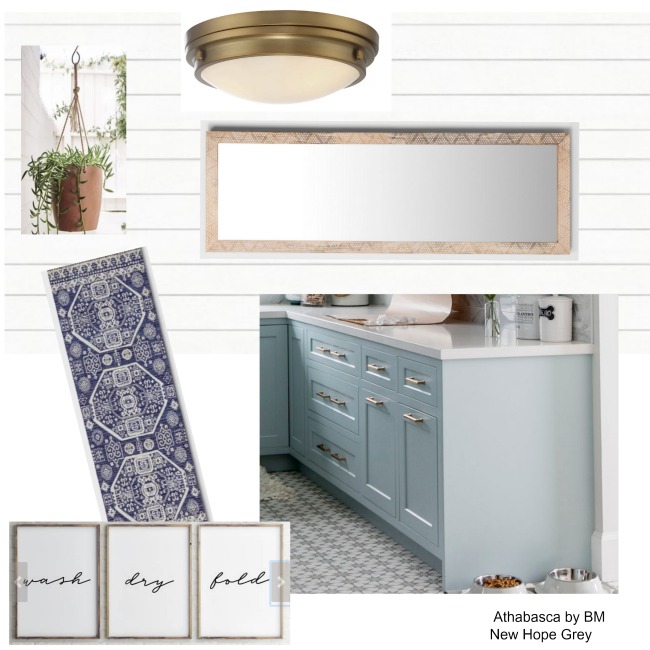
I wanted to update the walls a creamy white, brighten up the cabinets with a pale grey blue color, change the hideous light fixture and add some life with plants and a mirror to reflect what little light does get into this room.
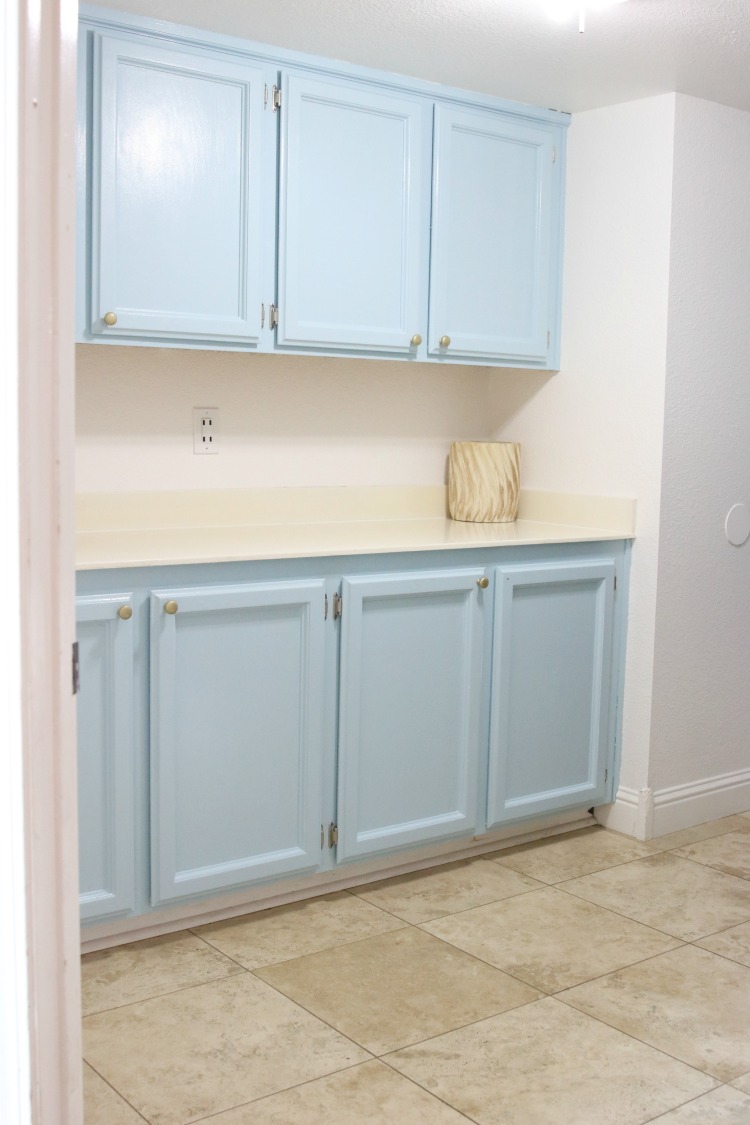
I started with the paint, using Benjamin Moore Simply White for the walls and updating the cabinets with Sherwin Williams Stream. I tried a few samples of blue paint colors and one sample I liked, that was a little too dark for the cabinets, I would up using to paint the laundry room door, Sherwin Williams Polaris.
The ugly travertine tile got a serious scrubbing and the ratty old carpet was tossed out. I spray painted the knobs gold but I don’t love the color so I have a plan for that to come soon.
But all in all just the paint update made an incredible transformation for this space. I would love to update the counters with a white marble but alas we really didn’t want to spend a lot in this room and for now the original off white counter will have to do.
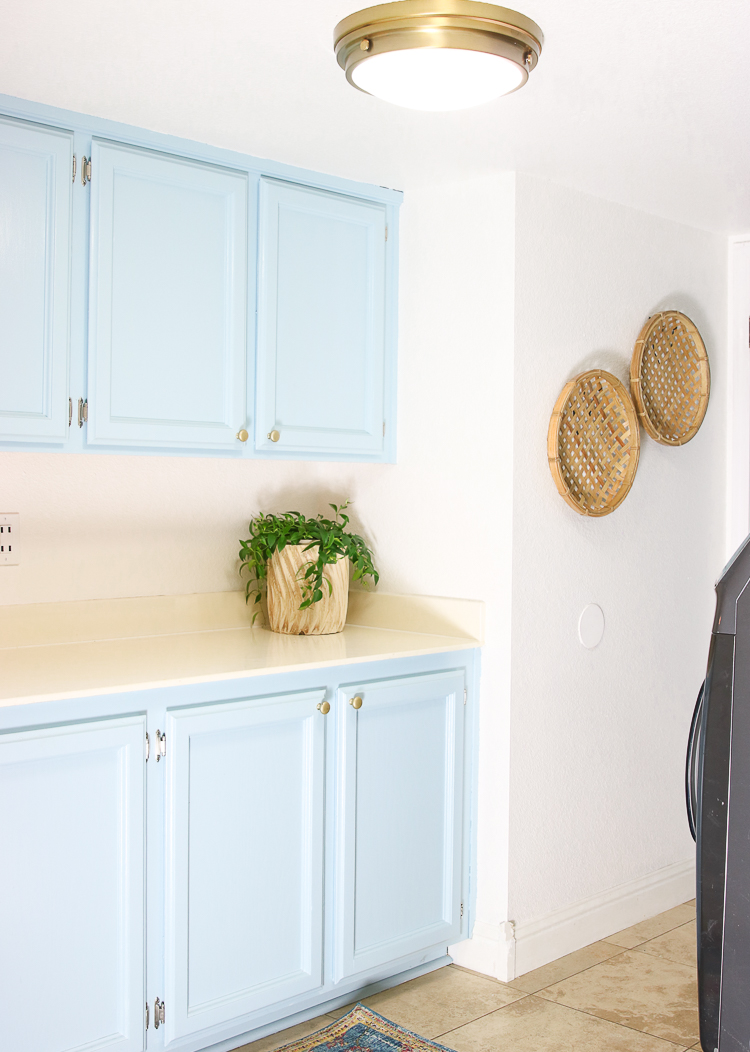
I just LOVE the new light fixture. I love the brushed gold and still need to update the hardware on the cabinets with Rub n Buff so it hopefully matches the light fixture. I decided to keep all the accessories to a minimum and there is a lot of fresh, white wall space in this room to keep things clean and bright.
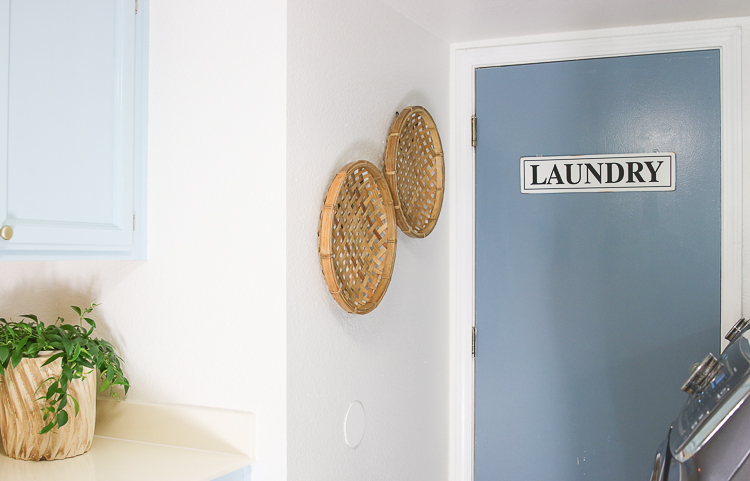
I do love this little LAUNDRY sign that I found at Home Goods and attached to the door with command hooks.
I threatened all of my family with serious injury if anyone clutters up the counters again. I did spend an entire day emptying all the cabinets and reorganizing, so now there is space in the cabinets for all the things that used to fall on the counter tops. This is the place we typically charge our electronic devices but I have a rule to charge the darn thing, unplug it and put the device and cord away in the cabinet. It doesn’t need to sit on the counter endlessly to show off our cord collection to all visitors.
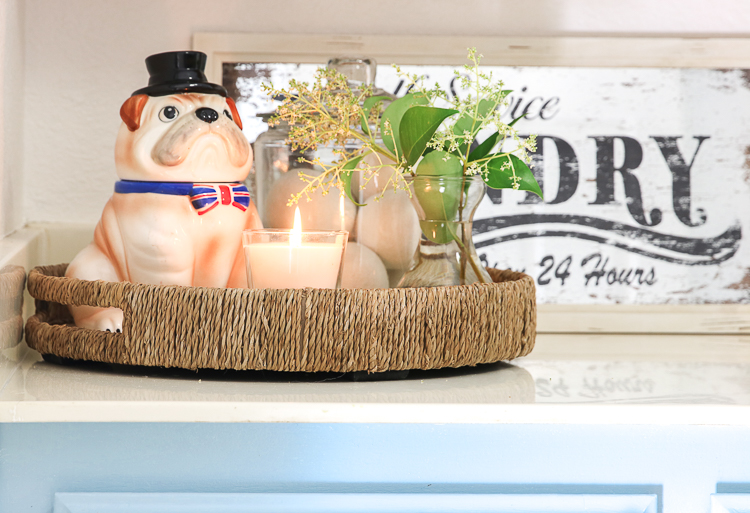
We do have some extra dryer balls and a cookie jar with dog treats and that is about it on the counter.
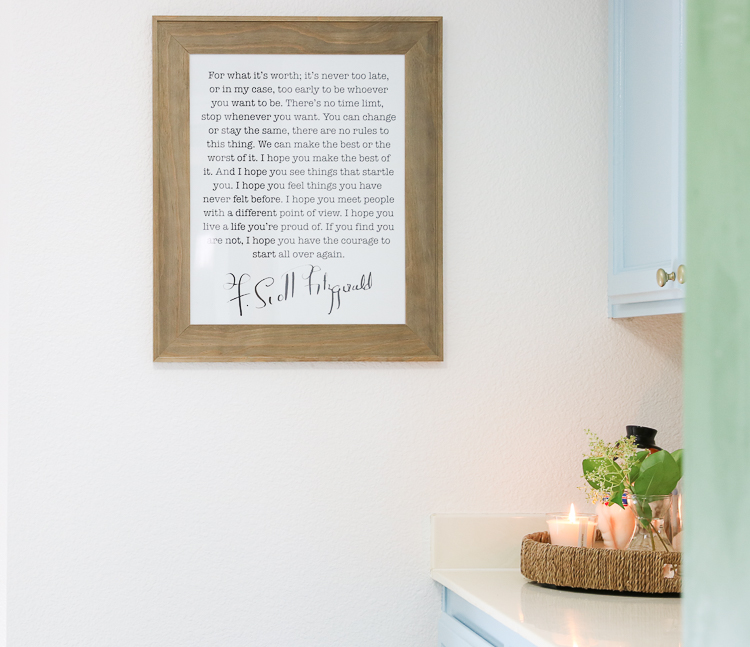
I ordered this quote from Jane.com and framed it and I love that it reminds me that each day is a fresh start and a new chance to be the person you really want to be.
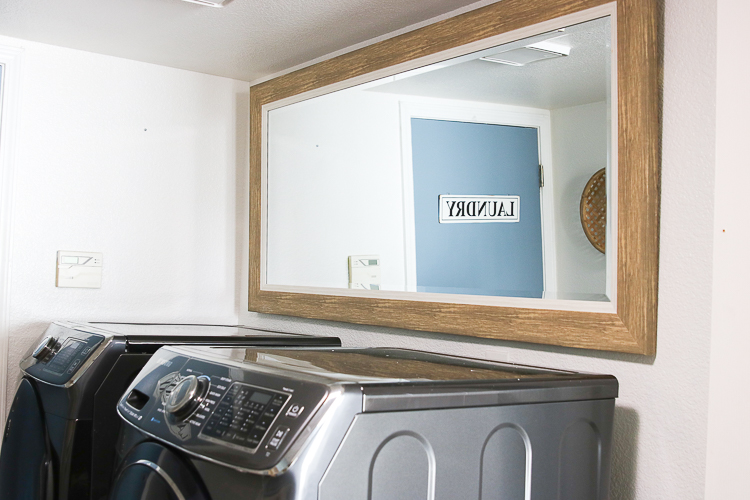
I thought a lot about the space over the washer and dryer. I had a DIY sign that I made a few years ago that was fine but I really wanted to brighten that space up. The best choice would have been some open shelving I think but I didn’t want to fuss with styling the shelving and dusting and all that so I just picked up a huge mirror and we mounted that. It reflects light and looks fine to take up a lot of space really inexpensively.
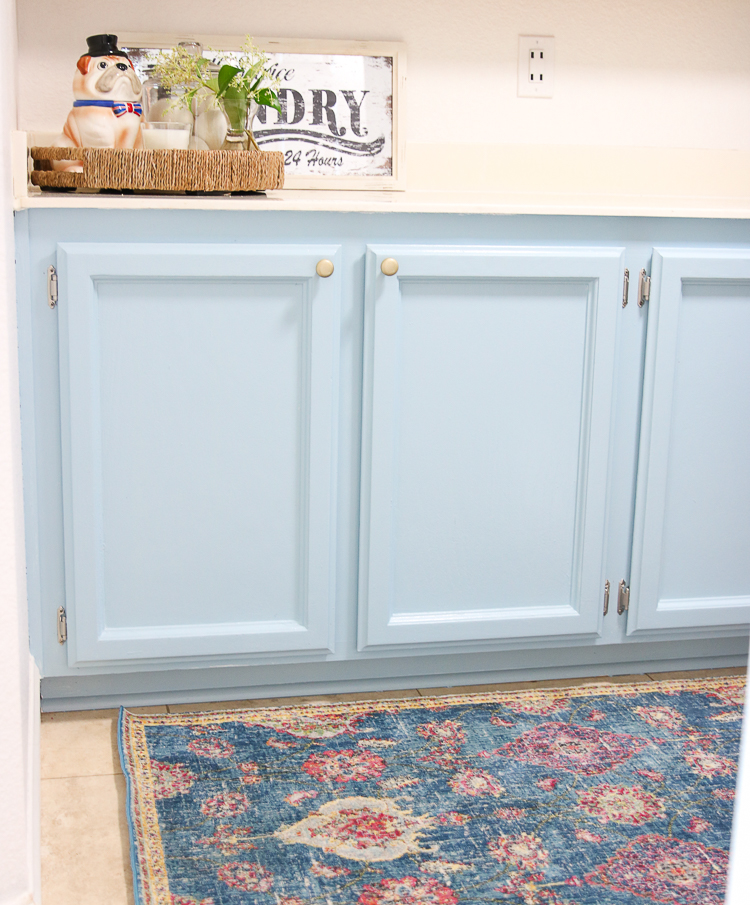
The last touch is this gorgeous carpet with blues and pinks from Home Goods that I love. Since it is such a high traffic area, I wanted a darker color rug to hold up a bit better than the ivory situation we had before.
And that is it! A very simple and clean laundry room update with minimal investment of money and time.
I do have some plans to upgrade the door that leads from the living room into the laundry room and I will share those plans once we get started on that little update. I am thinking something like a french door with glass will let a lot of light in and upgrade the space so stay tuned for that.
Here is the breakdown and sources if you are interested:
Paint: about $60
Laundry Sign on door: $10 (Home Goods Find)
Light Fixture from Joss and Main (Kinross Flush Mount) $75
Rug: $39.99 (Home Goods)
Wood Planter $20 (on clearance)
Rattan Tray $19.99 (Home Goods)
Fitzgerald Quite Print $16.99
Wall Baskets $17 (on clearance)
Large Wall Mirror $40 (Home Goods)Total $316
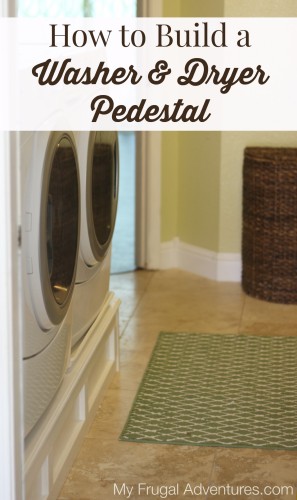
And here is the DIY tutorial to create a pedestal for your washer and dryer. As you can see the post is from 2014 and that pedestal is still going strong.
I have read your blog for many years but rarely comment. I really do love your blog (I subscribe through Feedly.) I think your new and improved laundry room looks really nice and I’m glad you’re happy with it. But, I just wanted to add, I think that your “before” laundry room looked very nice, too. I understand that sometimes we just need a change, but there are a lot of people out there who would LOVE to have your “before” laundry room. I’m not sure I would have called it “ugly”, “hideous”, or “really, really awful”. It was a beautiful, spacious laundry room. With that said, I don’t fault you for wanting an update, and I loved seeing the transformation 🙂
Hi Sarah- Thanks for that! I thought it looked so dark and dingy but you make a great point! I lived in tons of apartments where I had to walk to a laundry room or go down into a scary basement to do laundry and I would have loved to have had this room before or after! 🙂
Hi – your laundry room looks great! Really crisp & clean! I’ve had my eye on those baskets at Target. Dumb question – how did you attach them to the wall? Just a nail? Command strips? Thanks! Love your blog!
Hi Michelle- I don’t know why they were on sale for $17 but I am glad I grabbed them. Figuring out art for that wall was tricky. 🙂 I am happy with them and just tacked them up with a tack. Not even a nail. They are super lightweight. 🙂
Thank you for this post 😀 I have a plan to refurnish my house a little bit, now I know what to do 🙂
Awesome! Good luck with it MS.