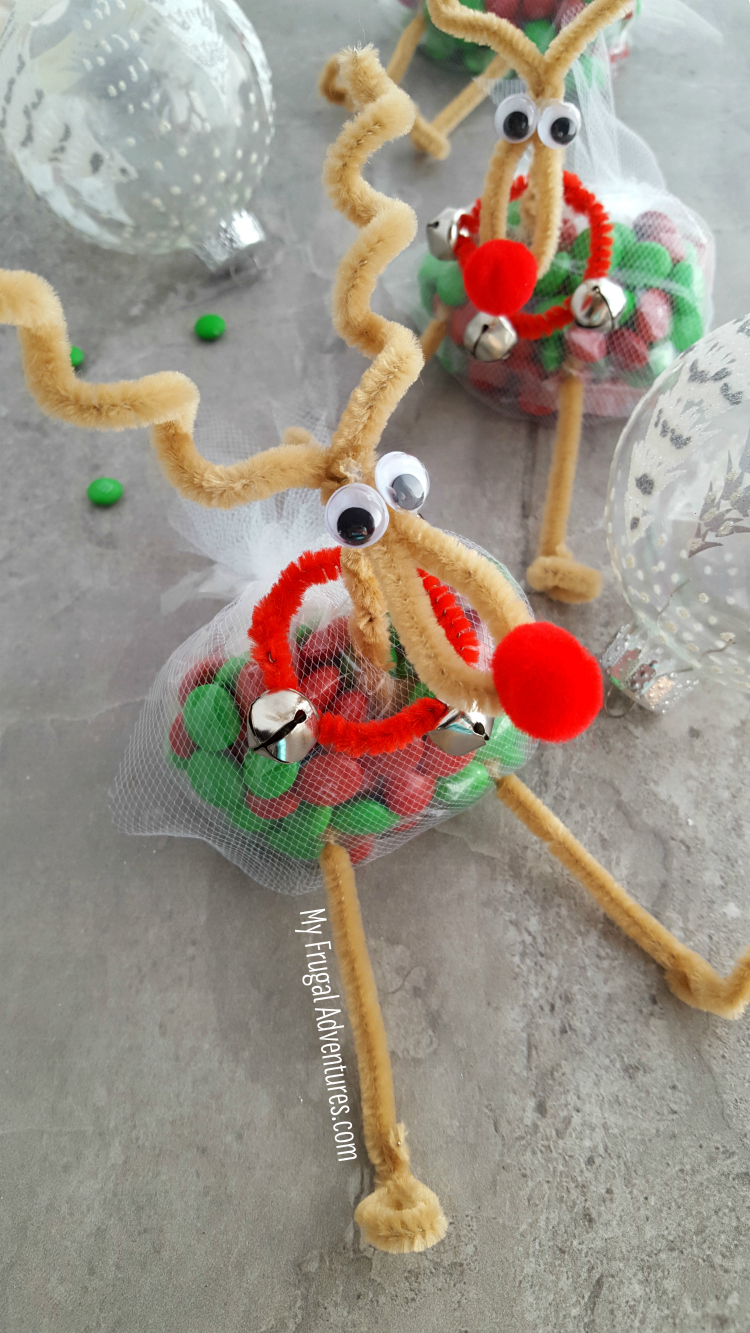
How cute are these little Reindeer Treat Bags? Very simple and inexpensive and so fun for class parties or to pop into stockings this year.
My 10 year old loves little crafts and art activities and she is making these for all her little friends this year filled with treats.
You can make these in just minutes with a few supplies from the craft store or the dollar store.
Ready to get getting on your little reindeer treat bags? Here is what you need:
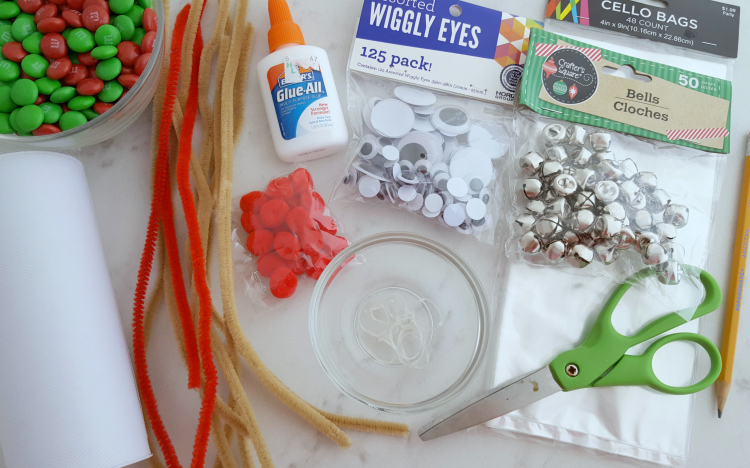
To assemble:
- White Tulle
- Glue
- A pen or pencil
- treats of your choice
- googley eyes
- small bells
- scissors
- thin elastic hairbands
- red and brown pipe cleaners
- treat bags
- red mini poms
- Place candies in treat bags. Cut tulle to 16” and wrap under and back up the treat bag.
- Secure the bag and tulle closed with a clear hair elastic. Trim excess tulle.
- Form the reindeer head by folding a tan pipe cleaner in half. Twist 1 ½ inches from the point, creating a loop.
- To form the antlers, wrap the excess of the two ends around a pencil to get a perfect curl.
- To create the neck, take another tan pipe cleaner and cut it in half. Wrap one of the pieces over
- the section where the head and antlers meet and then twist to secure it. Continue to twist the
- remainder of that piece together the rest of the way.
- Place a large dab of glue in the center of the top of head right beneath where the antlers meet.
- Add two googly eyes.
- Place another dab of glue at the bottom tip of the reindeer head, and add a red pom pom for
- the nose.
- Press the neck through the top of the tulle/treat bag. Adjust antlers and head if necessary.
- To form the legs and hooves, cut a tan pipe cleaner in half. Fold the end 1 ½ inches from the
- bottom and twist up onto the pipe cleaner to create a small triangle. Bend the triangle up to
- complete the hooves.
- Lastly, cut 4 inches of red pipe cleaner for the collar. Simply thread on 3 silver bells and secure it
- on the reindeer neck by twisting the back to create a circle.
Here are some step by step visuals to help if the directions seem a little confusing:
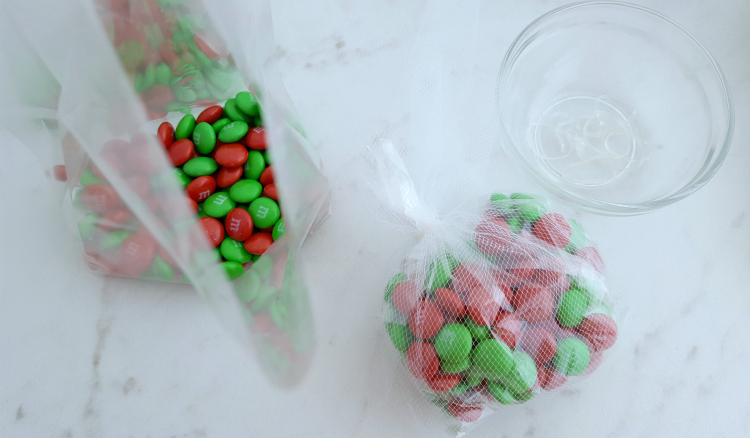
Place your treats of choice inside the clear treat bag. You can skip the tulle but it makes the end product look a little more finished. Just cut the tulle to 16″ and wrap the tulle around the plastic treat bag and secure with one of your small elastics.
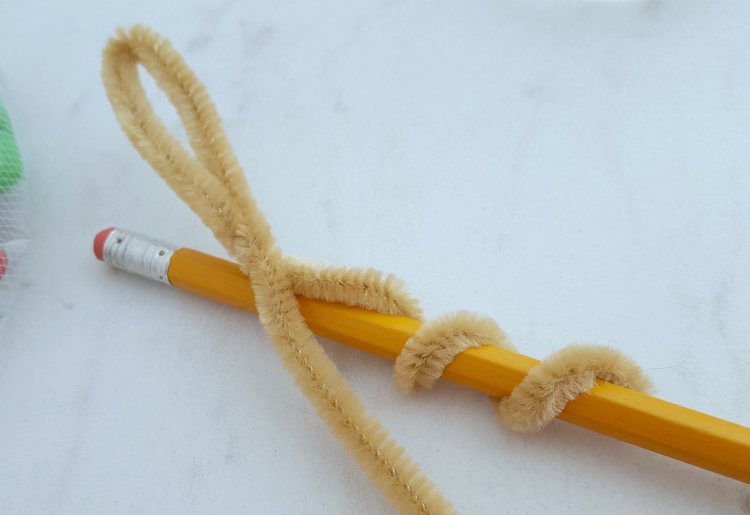
To form the head, fold the pipe cleaner in half. Twist 1 1/2″ from the halfway point you just folded to create this little loop. Wrap the end of the pipe cleaner around the pencil to create little twirly antlers on both sides.
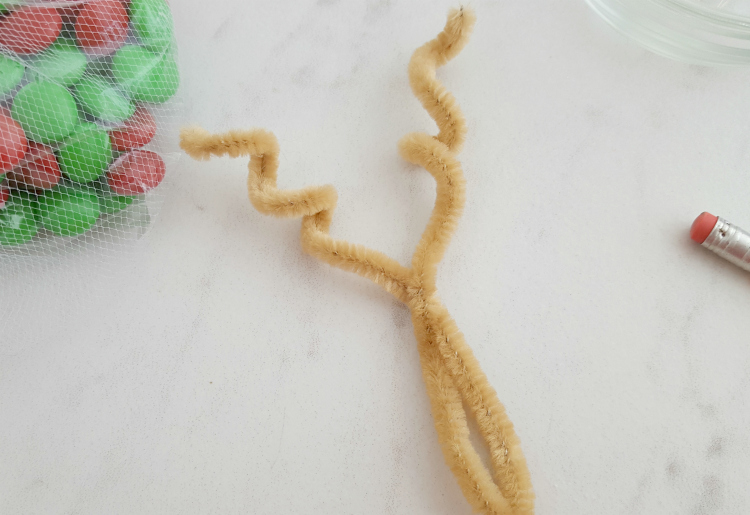
Here is your end result for the head.
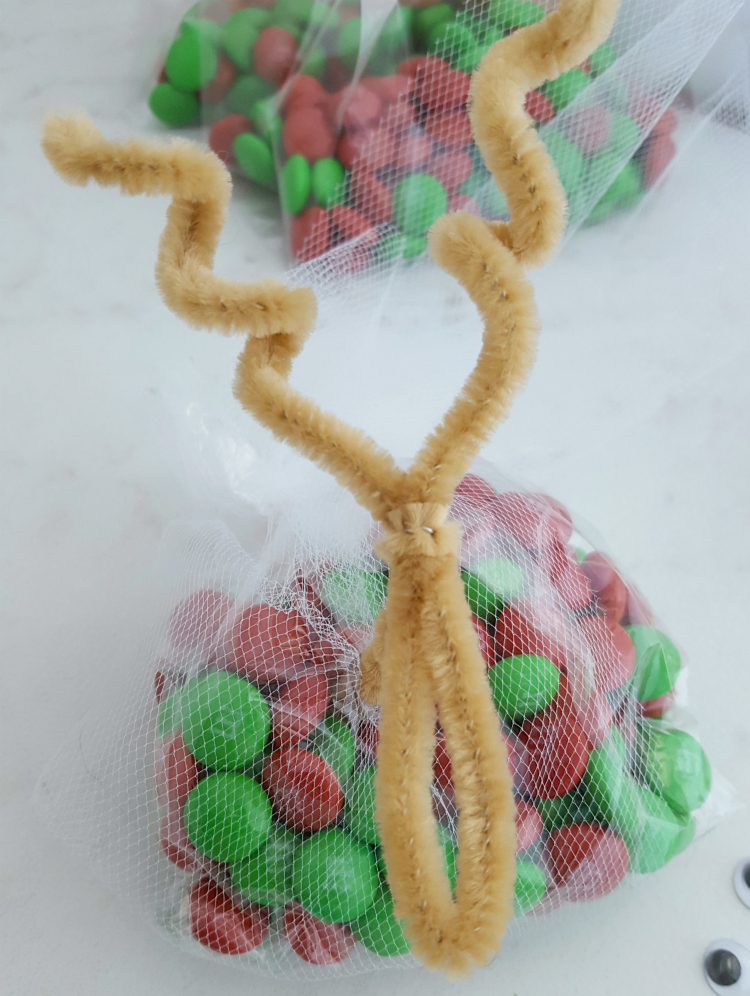
Here is your head with the little neck attached- glue on the eyes and nose and then pop on the little legs.
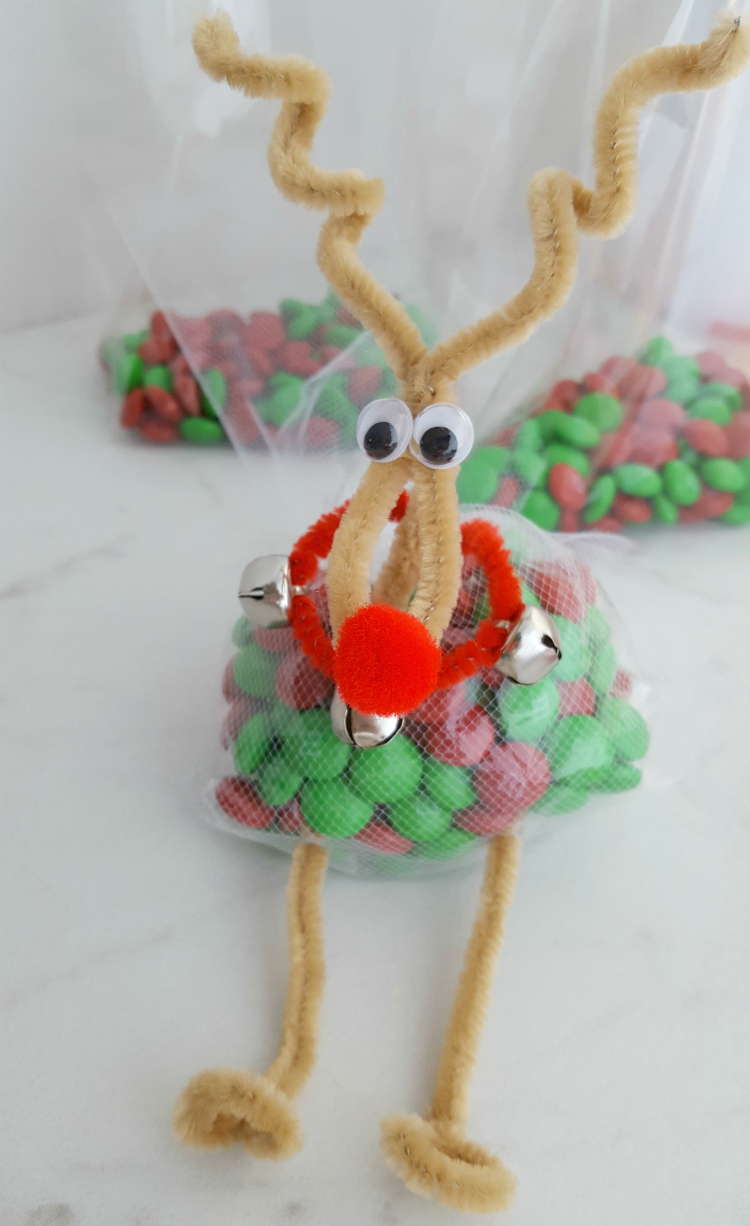
And that is that! Pretty quick and easy to do and guaranteed to bring smiles to little faces.
If you make these, please come back and let me know what treats you stuff Rudolph with!
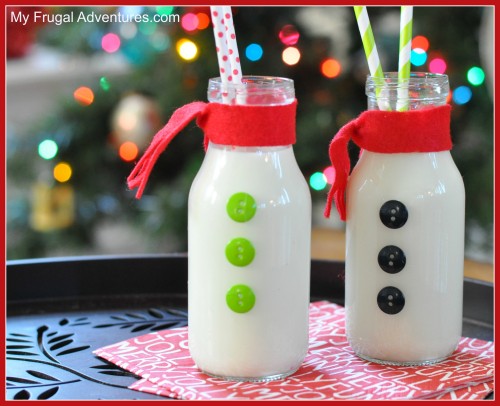
Here are a few other holiday crafts you might enjoy:


how do the legs stay on
They are stabbed into the bag 🙂 That held them for me because they are so lightweight but you can also dab a bit of hot glue to make them more secure. HTH!