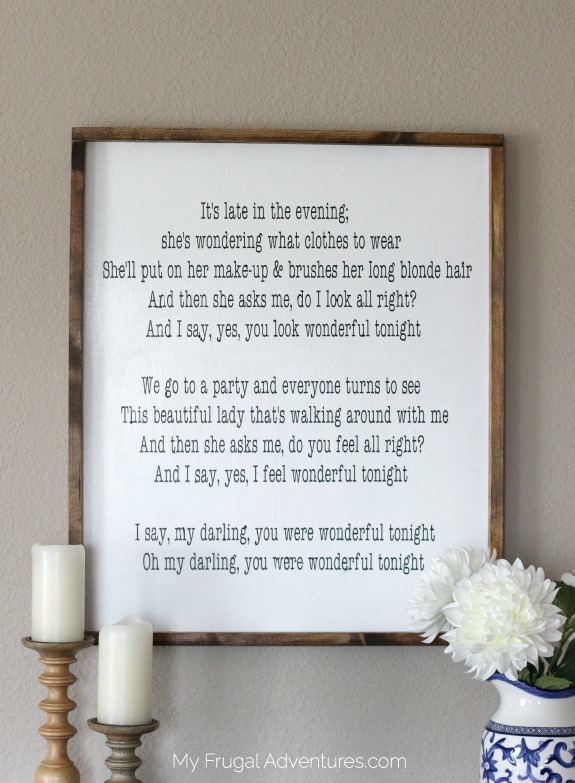
I am so happy with this DIY sign that I recently made for our bedroom and I wanted to share with you how to make one of your own. These are available from so many places but the ones I have seen are fairly expensive- upwards of $150.
Making a farmhouse style sign like this isn’t too hard when it is small in size but I can’t tell you how much I struggled making a large sign. This one measures 30 x 25 1/2 inches.
This was totally a labor of love because it took so many tries to get it right. I am happy now though and it is done and I want to share with you how to make one of your own! I have extra wood left from this project and am working on a second sign in a slightly different style with a favorite quote for my daughter’s room.
I purchased a plywood board that is about 1/4″ thick. This sign is going to sit above my reading chair in our bedroom and I wanted a really thin wood just in case it ever falls off the wall. If you plan to put this in a less precarious spot in your home, you might consider purchasing a thicker wood as it will be much easier to frame.
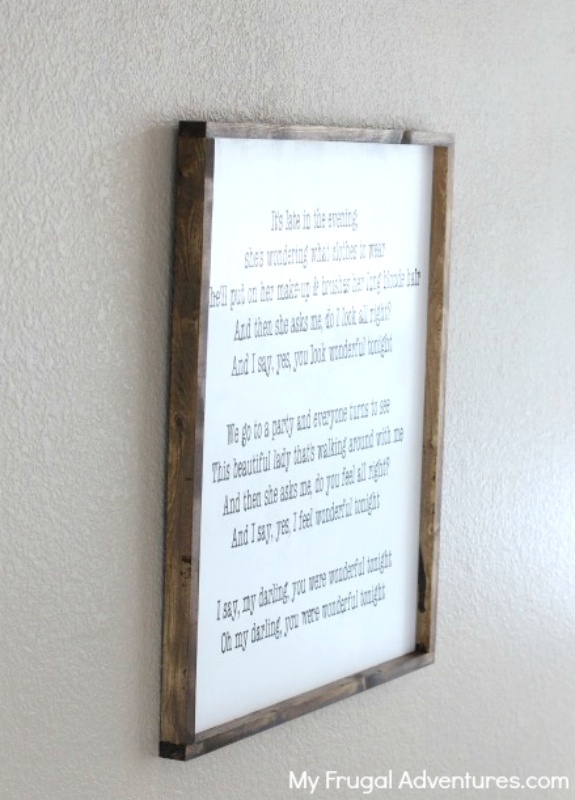
I painted the plywood white- I just used a paint and primer combo we had on hand and used two coats. A matte paint is probably best but we happened to have satin paint on hand so that is what I used.
After some trial and error with different methods of transferring text onto wood (and lots of pinterest fails!), I purchased a 12 x 24″ mat for my Cricut. This was an easy way to get the longer text cut into a vinyl stencil.
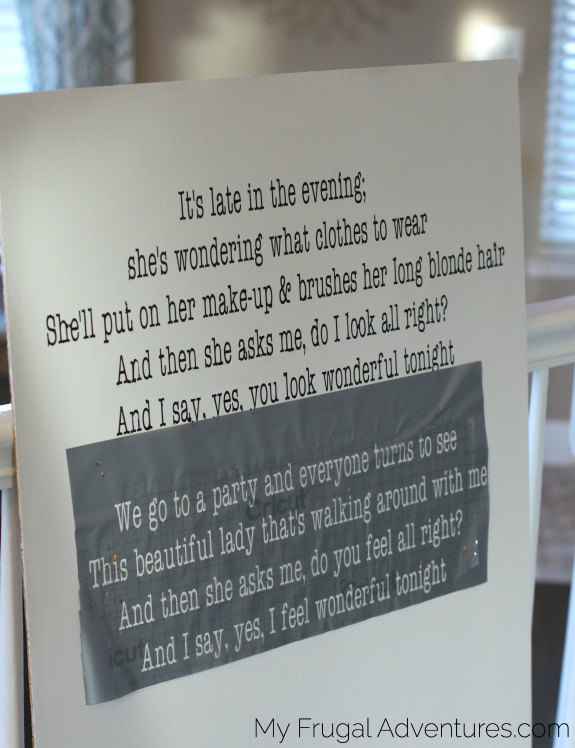
Once that dried, I cut the stencil of the song lyrics with the Cricut. I was only able to cut what fit on the mat so I did three different cuts for the three verses of the song. (Note: I did some slight editing of the lyrics.)
I placed the vinyl on the plywood and painted with two coats of a black acrylic paint I had on hand. (A few tips for the vinyl. Measure once and measure again and measure a third time to be sure your text is perfectly straight. My first try with the vinyl it slipped a tiny bit as I removed the transfer paper. Once I painted in the text and removed the stencil it was incredibly noticeable that the text was at a slant and I had to repaint the board and start all over again. Another tip is to use a good quality vinyl. I used a thin, cheap one I wanted to get rid of and it resulted in a lot of smears I had to touch up later.)
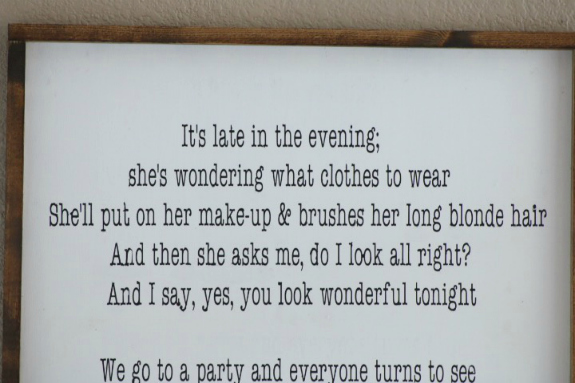
After the first verse was dried, I carefully removed the vinyl and added the second verse. Painted that and finally with the third. Once it was all painted, I did a little touch up where there weren’t super crisp lines or the black bled a little under the vinyl. I used a small paint brush to touch up with the white paint I used originally. Overall I wanted this to look handmade so the tiny imperfections don’t bother me too much. I wanted this to look like an old document typed on a typewriter and those are never perfect.
It would be best to cut your wood to the correct size before you begin the project but I actually wanted to wait to cut my board until I had all the lyrics on and everything measured before cutting.
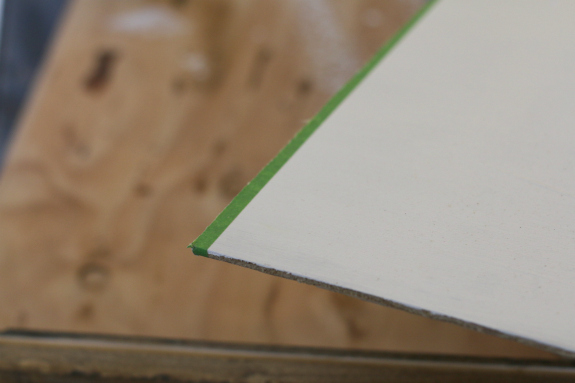
If you do find yourself in the same boat, adding a bit of painter’s tape to the line you are cutting will help protect your painted plywood from splintering and chipping. Just remove after you cut.
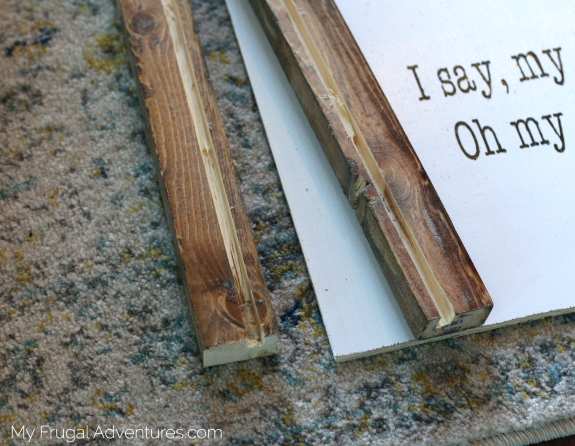
Next we made the frame. I bought 1×3 pine strips from the hardware store and stained it with Miniwax English Chestnut on all four sides. We trimmed one long piece into (4) pieces to fit around the plywood. Ideally if you have thicker wood, you can create a really simple frame with just finishing nails. Since my plywood was so thin, we needed to create grooves in the wood that would fit the plywood. A router would make this really simple but alas we don’t have a router so my husband just cut a rough groove into all four pieces with a table saw. Lol. We won’t be going into the sign making business any time soon but it certainly worked for this project.
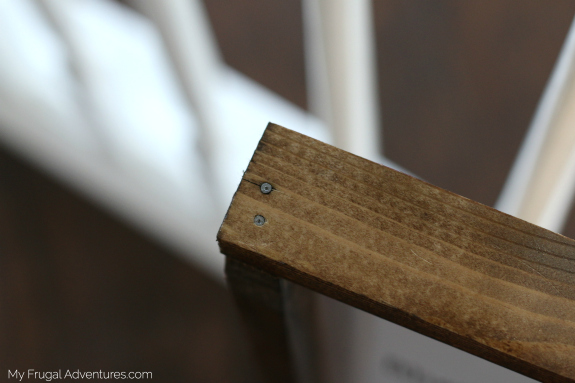
Once the plywood slid into place on the frame, we just added some finishing nails to the corner pieces and touched up a few marks with stain and wood glue.
Ta da! You can also do a rough sand over the text to give your sign more of an aged look but I am happy with how it turned out and just left well enough alone. And I have a little extra piece of plywood in the garage and I plan to make another sign for the hallway with a favorite quote on it. I really love how this turned out and I really love this song by Eric Clapton.
I hope this is helpful if you also want to make a farmhouse sign for your home! This would be so lovely with a meaningful quote or Bible verse or a song that you love. This would be especially amazing as a wedding gift or anniversary gift with wedding songs or wedding vows on it.
As far as the cost I would say roughly $12 for the plywood and trim piece, $15 for the Cricut mat I purchased and $6 for the vinyl to use as a stencil. I had paint, stain and black paint on hand so under $35 to make this guy! Plus I still have enough wood for a second sign.
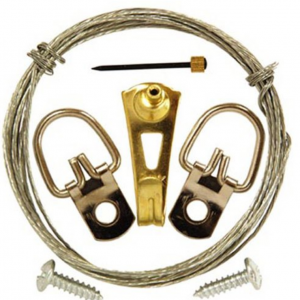
This little picture hanging kit is super handy too. I am just waiting for this guy to come to add it to the back of my frame.
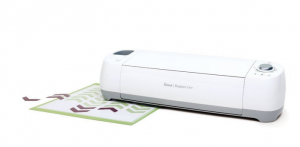
And here is the Cricut I used to cut the vinyl.
Here are a few other projects you might like:
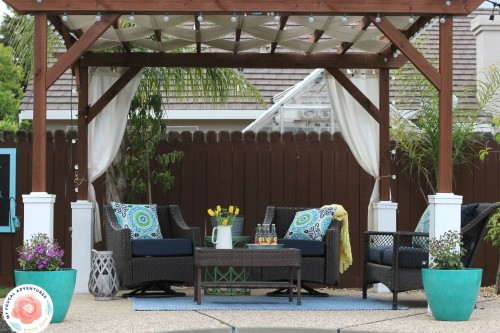
How to Build a Pergola in one weekend.
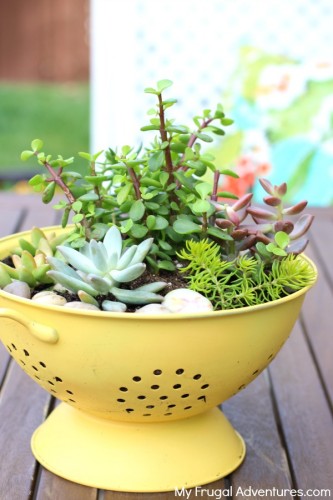
DIY Colander Succulent Planter
Leave a Reply