I have a fun and simple project to share today for a DIY planter box. I have partnered with a new app called DIYZ on this project that made the entire process so simple.
I have wanted a garden planter for awhile now to either serve as an herb garden or as a cutting garden with flowers. We do a lot of DIY projects around our house but I do tend to procrastinate on some because I just don’t want to research the project, sit down and draft plans, come up with a materials list… Not enough hours in the day for sure!
If you are in the same boat with big ideas and little time or maybe you are looking for a little extra guidance with your projects, there is a new app available you are going to love called DIYZ.
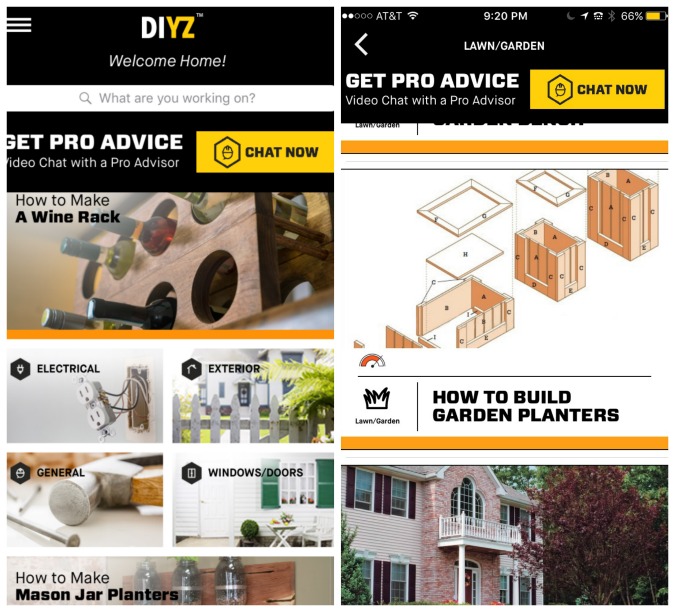
DIYZ has tons of projects available with the click of a button. Get step by step projects, photos and even an easy online shopping list to purchase tools and supplies right from the app. You can get inspired for projects and repairs around your own home or look for something specific you might already have in mind. If that isn’t enough, DIYZ also has video chats with a pro should you have questions, concerns or run into any hurdles on your DIY journey. One last feature is that most of the projects come with a video tutorial. I definitely need visuals when I am building so this is one of my favorite features.
For our project, I created an account with DIYZ and looked under lawn/garden. Once I found the idea for garden planters, I clicked and got step by step instructions including photos and a complete shopping list. Building this box was incredibly easy and really took all the guesswork and prep work out of the equation.
You can follow DIYZ directions exactly to create your project, or more experienced DIYers might want to customize slightly. We used the DIYZ directions and just made a few minor modifications here and there to suit our space.
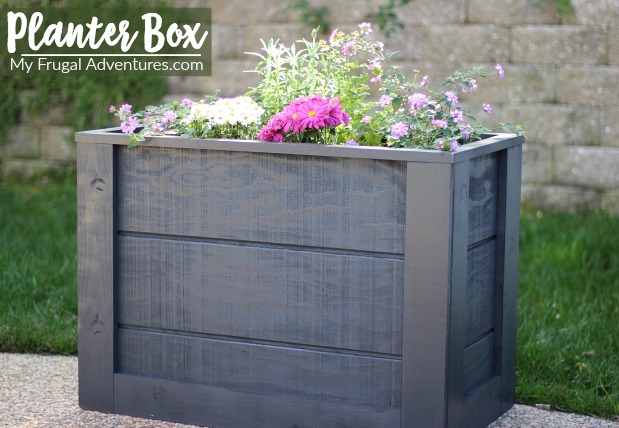
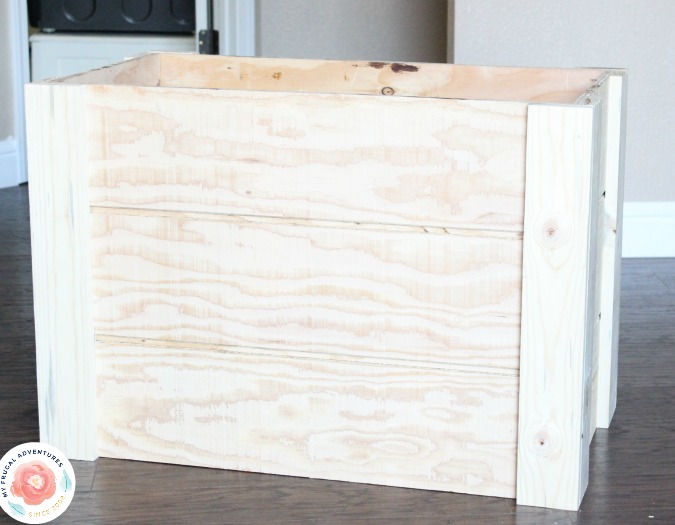
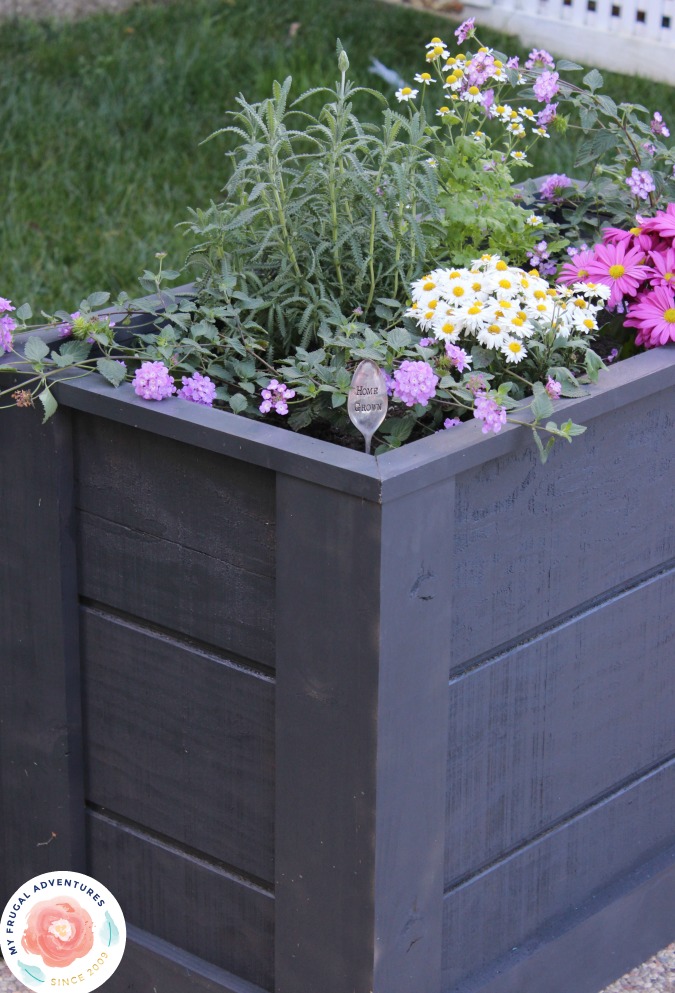
The end result:
And you can check out the app for complete instructions or I have detailed the process below.
This box can be square or a rectangle and you can make it in any size you like. I wanted a slightly larger planter box so ours measures 24″ high and 32″ wide and 16″ deep.
The DIYZ app will give you measurements for a small, large or medium sized box. We made ours just slightly larger- so this is an extra large size.
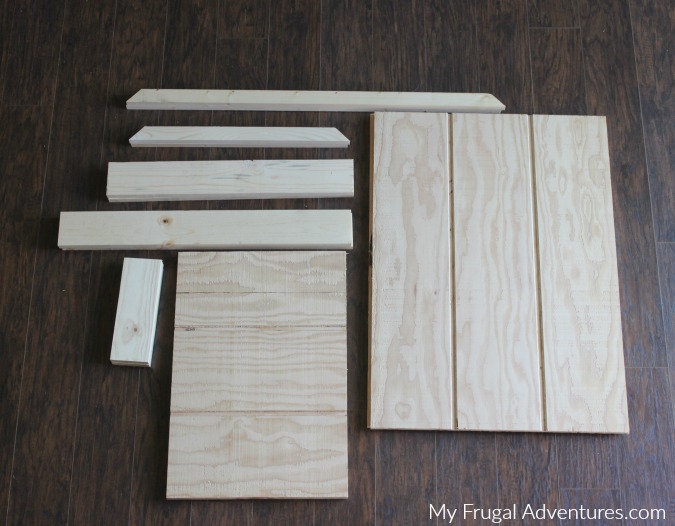
- (2) 24″ x 32″ Cedar Siding
- (2) 24″ x 16″ Cedar Siding
- (8) 1″ x 4″ x 24″ Cedar
- (2) 1″ x 4″ x 17″ Cedar
- (2) 1″ x 4″ x 9″ Cedar
- (2) 1″ x 2″ x 32″ Cedar
- (2) 1″ x 2″ x 16″ Cedar
- 32″ ” x 16″ plywood base
- (2) 1″ x 2″ x 30″ Cedar
We actually used pine for our planter box because I knew I was going to paint it a dark grey. If you are using this planter for herbs or vegetables it is extremely important to use cedar.
Once you have all your cuts, the assembly is very simple.
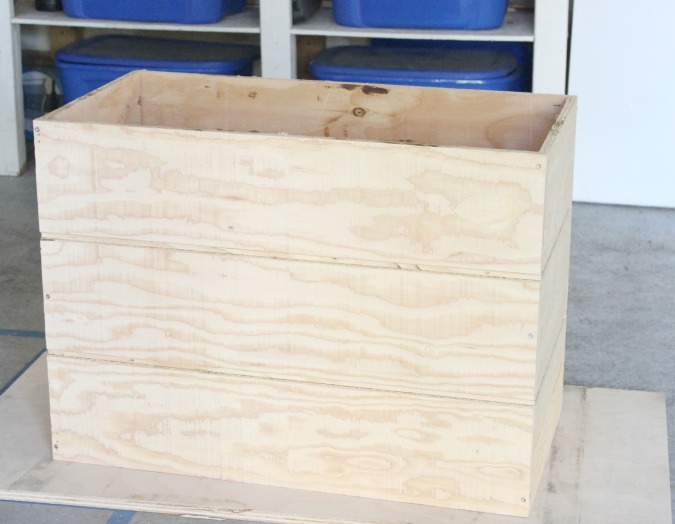
Lay the front panel down and one of the side panels flush against it. Drill a pilot hole and drill deck screws into the bottom, middle and top. Repeat until both side panels and the front and back are assembled into a box.
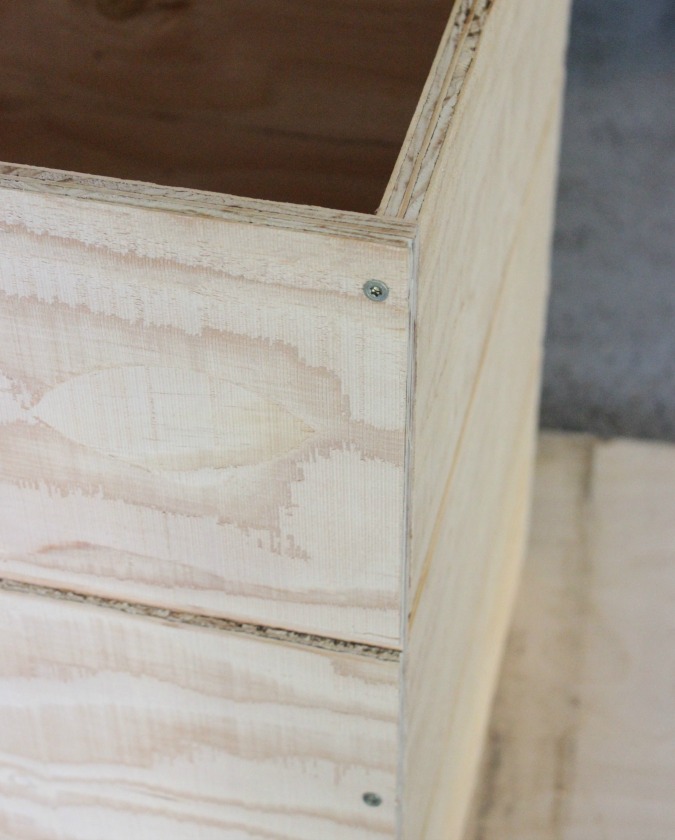
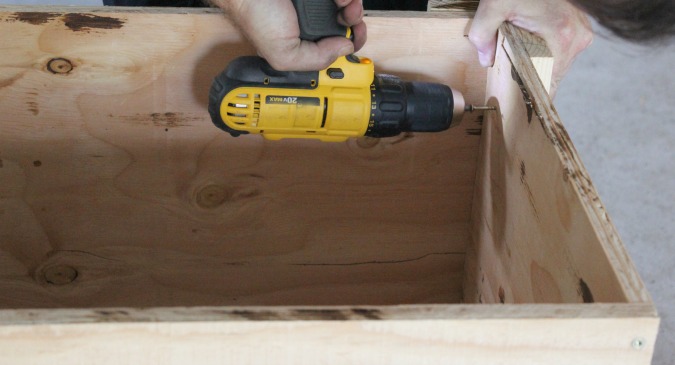
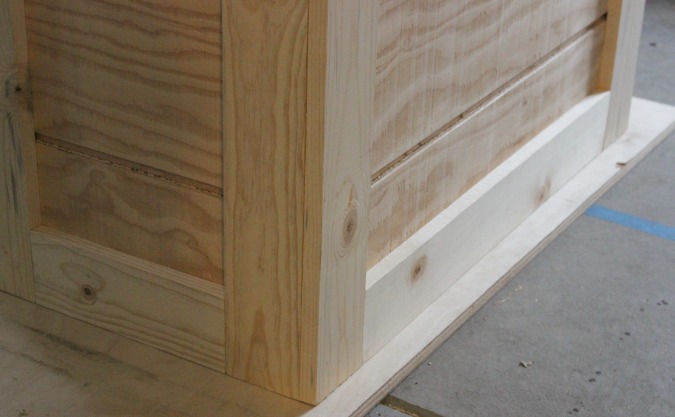
Next add the cedar trim for a decorative look and as extra reinforcement on the box. From the inside of the box, drill screws directly into the trim pieces.
Here are the (8) decorative trim pieces attached on each corner.
Once that in finished add the trim pieces to the bottom of the box.
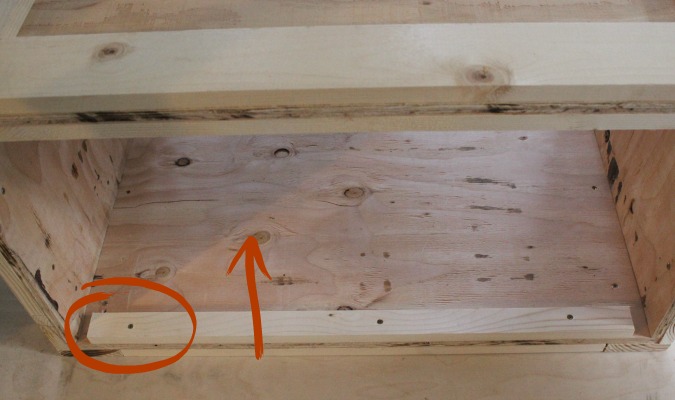
Next you want to add cleats to the base of the box. This will serve as a shelf to rest the plywood base inside the box. You can attach the cleats flush with the bottom of the box to create a deep planter.
We were planting flowers in our box so I actually moved our cleats up about 8 inches to reduce the heaviness of the box and the amount of soil to fill it.
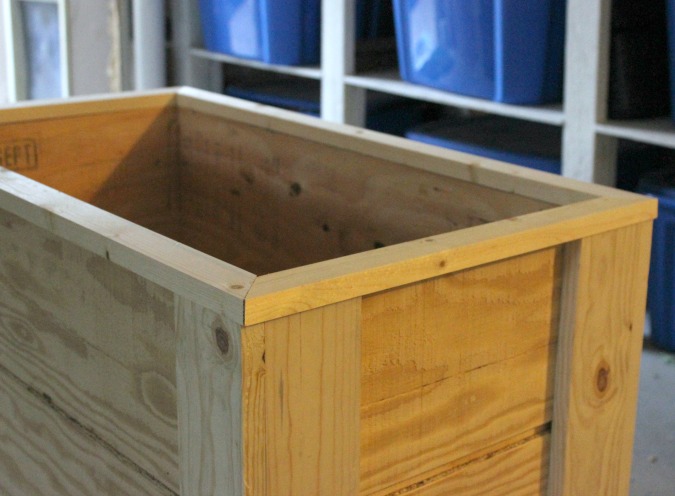
Now you are almost finished. The last step with construction is to assemble the top trim pieces using finishing nails.
Viola! If you have built your planter box with cedar and plan to use it for herbs or veggies, you simply need to slide the plywood base into the bottom of your box.
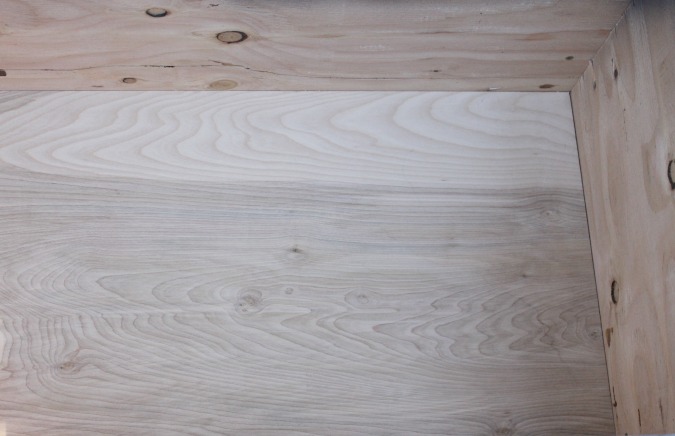
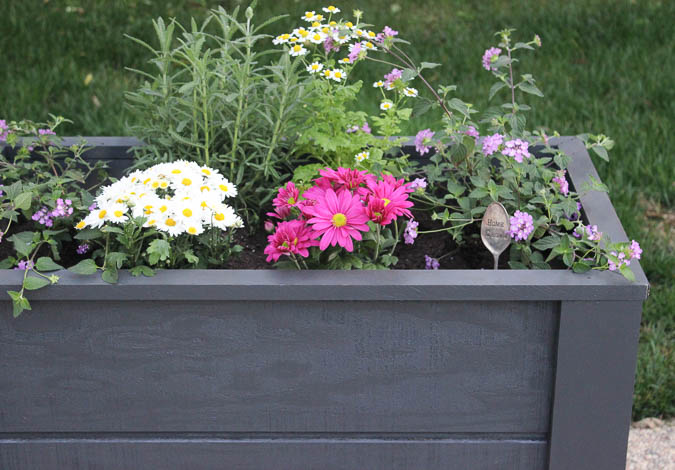
Drill a hole in the center of the plywood for drainage and as an optional last step (but recommended to protect the wood)- staple landscape fabric to the inside of the box. You do want to add a few cuts to the bottom of the landscape fabric for drainage. Fill with soil and add your plants.
If you are using this for flowers and not herbs or veggies, you can paint or stain the box and seal with a protective top coat.
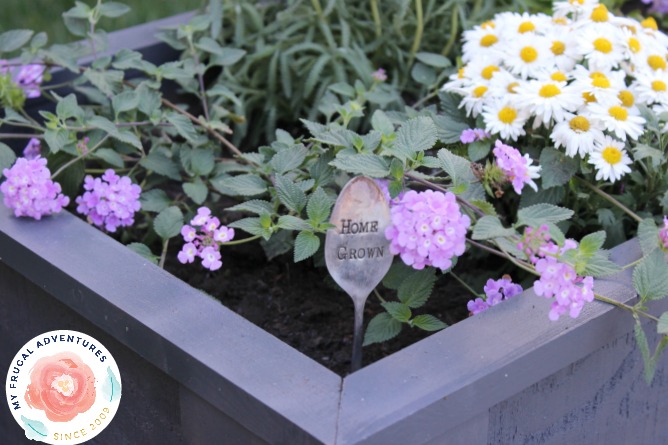
I absolutely love how this turned out and I thought this was a really simple project. We are using this in a corner of our yard that really needed brightening up and this absolutely did the trick.
Take a look at the DIYZ app and see what projects you are inspired to tackle!
You can download the app on Google Play here or iTunes here.
Thanks to DIYZ for partnering with me on this sponsored post. All opinions expressed are my own.
I love this! They turned out really cute. I will task my hubby with making some!
This does look great! I am curious though, when all was said and done how much did it come to total?
Looks great! Do you really need to add the plywood at the bottom? I’m thinking of just placing the planter box with an open bottom directly on soil, so that it can drain easily.