
‘Tis the season of entertaining and gift giving and I wanted to show you this super simple DIY serving tray project. I made this tray for a good friend that is an amazing hostess. She frequently has a house full of people and especially loves gourmet hot chocolate bars for family night.
I had an idea to make a cute little serving tray for her to use on family night that would be functional and fun and here is what I came up with:
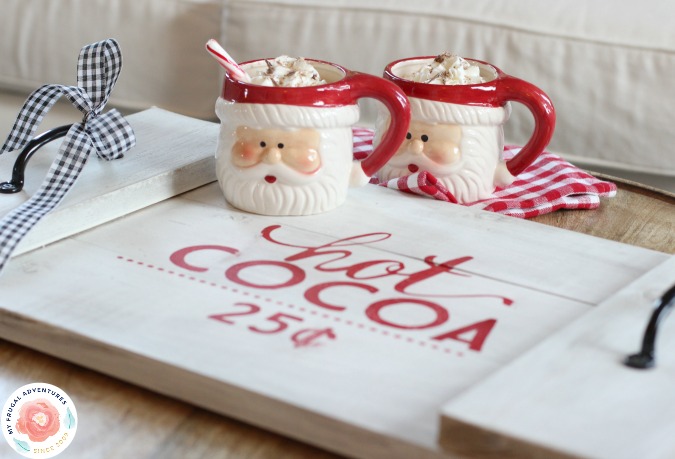
This is an incredibly simple project that will take about an hour to make. You can totally customize your tray with any words or symbols and paint it in any color or stain you like. Versatile is the name of the game here. I stained mine a distressed white and added hot cocoa in red. The cost of the wood and handles for this project was about $14. I used stain I had on hand and the red paint was probably another $1 or so. Not bad at all! You would easily pay double that to purchase a similar tray in a retail store.
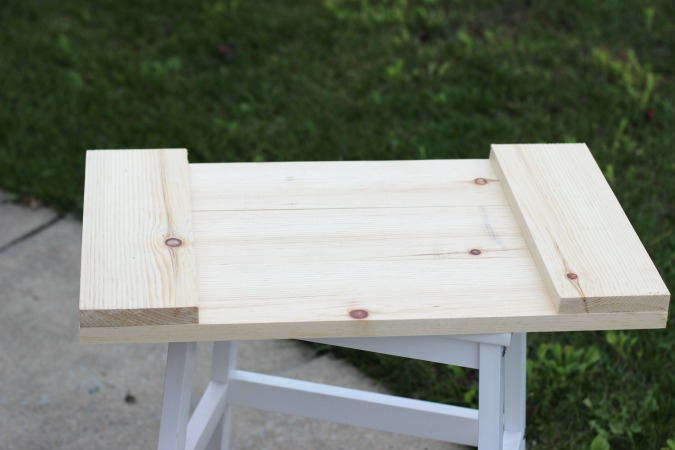
The dimensions of your tray are completely up to you, mine is 23 inches long and 13.5 inches wide. I bought just one 1″ x 5″ pine board that was 8 feet long and that one piece built this entire tray.
I cut 3 strips of wood down to 23″ and (2) strips at 13.5″. (The hardware store will even do this for you for free.) Next I screwed the side pieces on vertically and ta da! Halfway finished.
Next up is staining or painting your tray. I wanted a rustic, weathered look for my tray so I stained it a chestnut brown and then applied three coats of a light white stain on top. If you want to serve food on your tray, you can add a food safe sealer as a protective final coat.
Next I picked up some simple cabinet door handles from the home improvement store and secured them on each side with screws. The last step is to add your images or text to the tray.
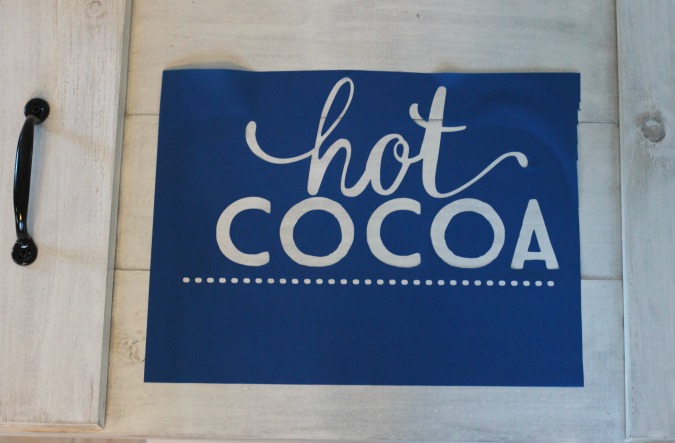
There are a few options for this step. You can create your own stencil or purchase a custom stencil on Etsy. I created this stencil on my Silhouette machine. (A Cricut also works!) I purchased this artwork from the Silhouette online store for $.50 and modified it slightly to suit my needs. I adjusted the size of the lettering to fit my tray, cut it out using junky old vinyl (hence the slight bubbling on the top) and then pressed it firmly down on my tray.
If you don’t have a cutting machine, no worries! You can create text or images in Microsoft Word or Pages for Mac and size it accordingly. Follow the tutorial here to transfer the image onto wood without using a cutting machine.
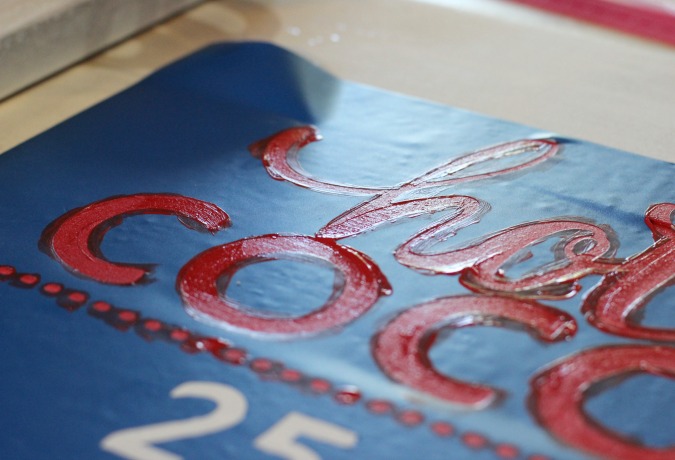
I painted my sign with Martha Stewart Tartan Red craft paint using two coats for the hot cocoa and one coat for the dots. Try to paint in fluid, long strokes not short dotty strokes to get a smooth finish.
I like to remove the stencil before the paint is completely dry- very carefully so there are no smears on the wood.
Once the stencil is removed and the paint completely dried, I lightly went over the tray with sandpaper to give it a more weathered and worn look. I also sanded off any little imperfections on the red paint.
And here is the finished product:

I am really happy with how this project turned out and how incredibly simple it was to make.
If you decide to give this a shot, I would love to see your finished product!
And now I am off to the hardware store to make another one of these trays for my family.
Here are a few items I used to make the tray:
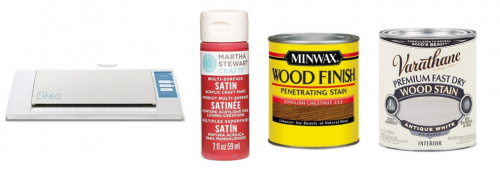
Silhouette Cameo // Martha Stewart Tartan Red // Wood Stain // White Stain
And here are a few other posts you might enjoy:
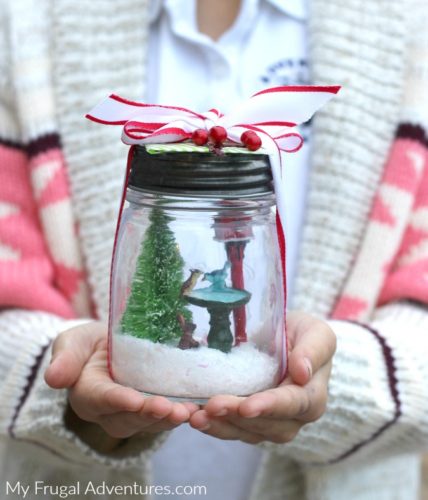
DIY Snowglobe– perfect holiday craft for the kids or gift card holder
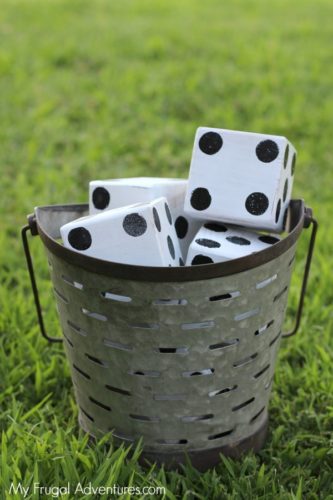
Simple DIY lawn dice– fun game or for math practice
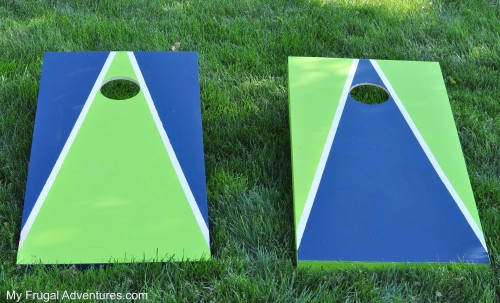
DIY Cornhole Game- super simple and fun for Superbowl parties!
[…] at the center of your coffee table. Yeah, you totally need to whip up this bad boy. Our gal from My Frugal Adventures did an amazing job of combining two of our favorite things: hot cocoa and rustic signs. She used […]