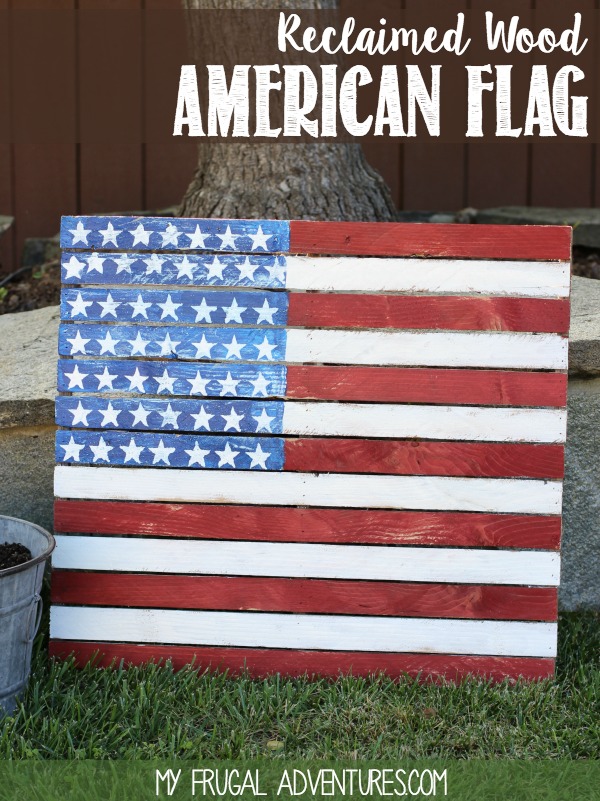

Here is a super simple project that is perfect year round but especially fun to create for Memorial Day or the 4th of July.
This quick reclaimed wood flag is fun and interesting for a front porch, hanging in the backyard or as table decoration for parties.
This is a great project to use up leftover scrap wood you might have on hand. Mine was made from reclaimed scrap wood from an antique fair (it was $1.00 for a big bundle) so it is a little more square in shape than I would like but I still think it looks great.
If you purchase new wood or find longer planks of wood or break apart a pallet, your flag will probably look even better. You can get long strips of wood from home improvement stores for just a few dollars and they will even cut your strips down to the correct shape size for you. I wish my strips were a little longer- maybe 27 inches long instead of 24.
All in all this project was about 30 minutes and only cost me $1.00 (for the wood) and the kids can totally help with this one.
Here is the simple DIY:
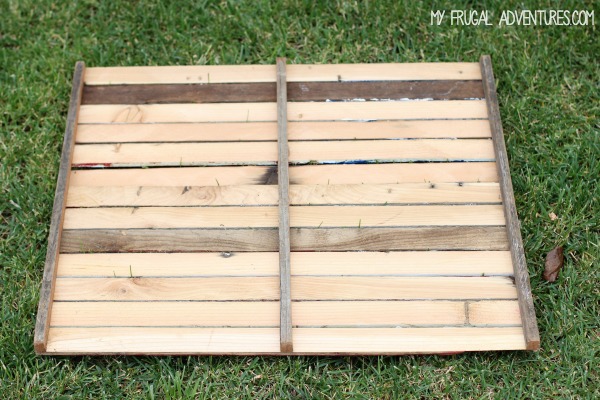
To assemble the flag, I had purchased a bundle of scrap wood. My wood is 1 1/2 inches wide and 24 inches long. I had 13 strips of wood and simply used a staple gun to staple them directly onto three other pieces of scrap wood. You can see above how it is all assembled. The final product is 23 inches tall.
Next I used some leftover red stain from a prior project and stained every other board red. I could have taped off the square for the blue paint but instead just eyeballed a box and stopped the red stain about 2/3 of the way down the board where the blue box would be. The actual American flag has 7 red stripes and 6 white so you do want to start with red at the top or bottom of your piece.
Next I painted the white stripes with just a standard white craft paint I had on hand. I used very, very thin coats of both stain and paint.
The blue box was next, again with craft paint I had on hand.
*NOTE: If you have larger wood pieces that aren’t as easily painted into stripes, simply measuring and creating stripes with painter’s tape would be very easy.
I wanted to reuse what I already had so I didn’t go out and purchase supplies. I think if you do need to purchase supplies, I would suggest using stain rather than paint. The stain gives a lighter finish which makes the sign look even more like a vintage piece and sort of chippy and subtle. If you do have paint you might try mixing it with water to get a similar look.
Once the blue box and the red and white stripes were finished, I used my Silhouette machine to cut out a row of 7 stars on vinyl. If you don’t have a cutting machine, I suggest just googling “stars” and paste an image of a star into a word document. Copy it as many times as you like (7 in my case) in a row. Print the page on cardstock and use an exacto knife to cut the stars out to create a template. A star hole punch would also work beautifully here to create a template.
I placed the cut out stars on each strip of wood and carefully outlined the stars and filled them in with white paint. Super simple!
I actually prefer the look of fewer stars- more space in between the stars would look much nicer. I have small children though and they are studying American History and thought it was important to create as close of a likeness to the actual flag as possible. I did 7 stars in a row on 7 strips of wood and then just sneaked in an extra star on one of the strips to make 50.
The very last step is to quickly and carefully zip over your flag with an electric sander or sandpaper. I just lightly scuffed the surface in random spots for a more vintage look.
And now I have a cute little sign to hang this summer outdoors. You can absolutely protect your hard work with a clear varnish topcoat but I actually like the idea of the piece getting a bit more weathered in the sun this summer so I left mine as is.

And now I have a cute and patriotic little sign to pop up on the front porch. This project took me about 30 minutes or so (not including time for paint to dry) and actually only cost $1.00 (for the reclaimed wood.)
And a few other patriotic projects you might like:


[…] We’ll finish the list with another flag decoration. It’s similar to the pallet flag described earlier but this one is actually made of reclaimed wood. You can put your leftover scrap wood to good use with this project. Put the boards together to create a sign which you then paint to make it look like the American flag. Use a stencil for all the stars or freehand them. You can find the full description of the project on myfrugaladventures. […]