
I have a super simple project for you to get all those rolls of wrapping paper and ribbon organized. I love giving gifts and always have several rolls of brightly colored paper on hand. I have tried many different ways to keep it all organized and basically had problems with every other method.
I first tried the large plastic tub for wrapping paper that is tall and you can purchase at various stores. The issue I found is that the tub is awkward to store (it didn’t fit on our shelving in the garage), it doesn’t accommodate larger rolls of paper so I would often have extra rolls laying around or the lid just wouldn’t close on top, the bottom of the rolls stuffed into the tub would get ripped and bent and on and on. So I donated that darn tub.
Next I tried a rack designed for gift wrap that fits over the back of the pantry door. Again nothing but problems- the rolls of paper would flop off every time I opened the door, the ribbon would fall through the space in the shelves.. Giant mess.
Then as we were reorganizing the garage last year it occurred to me that the walls of the garage are fabulous for storing things. I don’t want a giant gift wrap station in my office but I certainly don’t mind it in the garage. So we repurposed a peg board and made a station to hold all my stuff- paint, scissors, paper and so on. Well that worked the best but with the pegboard I found stuff falling off all the time. I had to be extra careful removing things and would occasionally find a roll of ribbon that had fallen in the dog’s dish and forget about it if the kids came through grabbing at things.
SO we finally came upon this solution and it really works beautifully. I spent about $15 on lumber and about $21 on the curtain rods to hold the wrapping paper. So all in all this project took about 2 hours and less than $40 to make.
Here is the super simple DIY:
You will need the following supplies:
- 4’x4′ – 1/4″ or 1/2″ Birch Plywood
- Paint
- 1×4″ pine boards (we actually used leftover fence pickets from another project)
- 48″ Curtain Rods
- Stain
- Sealer
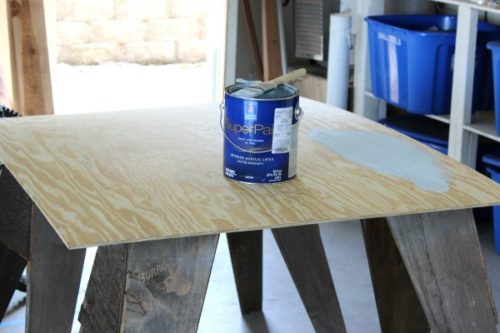
I just went ahead and used a paint and primer that we already had on hand and painted two coats on the plywood.
Next we cut fence pickets to fit as a frame around the plywood. You can cut your board to whatever size you like. I found that most of my wrapping paper is 30″ long so you can for sure scale back on how large this is or instead of mounting the paper vertically, you can always mount it horizontally to fit in a tight space.
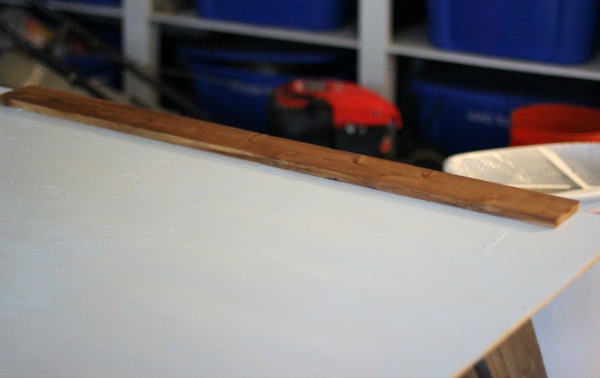
I was trying to use up some scrap fence pickets we had on hand so we actually had some precut pieces and I fashioned them into a simple frame. You can cut your frame with 45 degree angles if you prefer.
We cut the side pieces at 41″ and the top and bottom are at 48″.
I stained and sealed the fence picket frame and we fit them around the plywood and screwed in place from the back.
The last step is to mount the entire thing onto the wall. We used a stud finder to mark where the studs are and then drilled the frame into the wall.
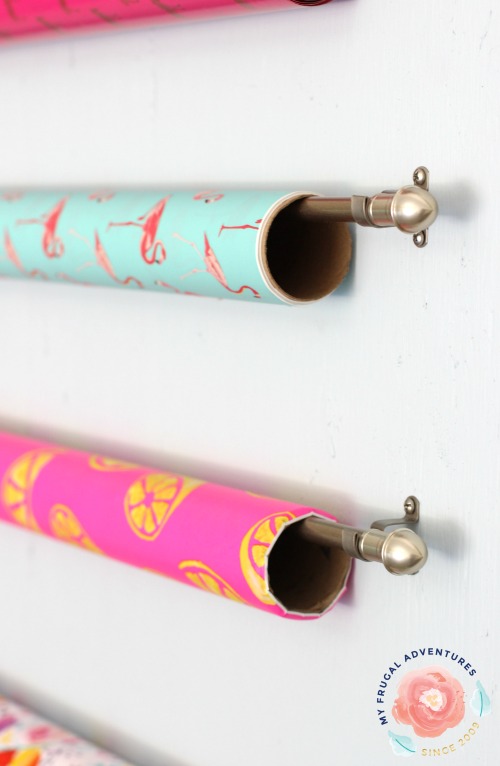
Now you are nearing the finish line. I decided to start with (7) small curtain rods I picked up at Target for about $3 each. We screwed the curtain rods onto the plywood at 34″ inches wide to accommodate the 30″ rolls of wrapping paper.
And I also wanted to put my ribbon on the board but the curtain rods didn’t allow for enough space to fit the rolls.
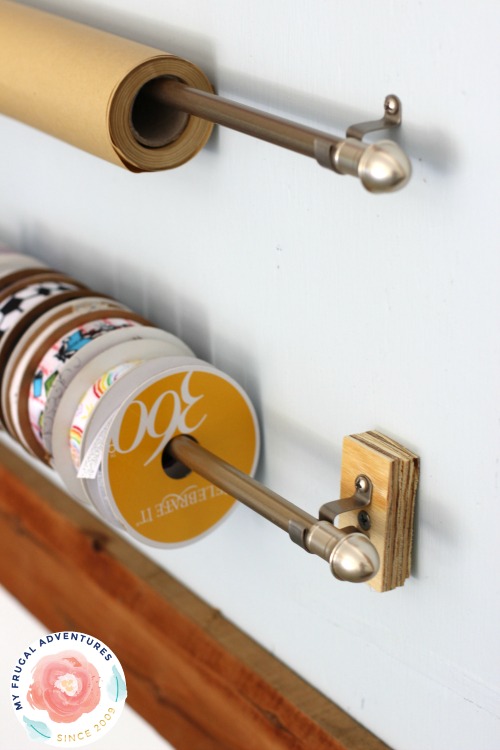
We just cut two small pieces of wood to create a 1/2″ extender to allow for enough space to hold the ribbon.
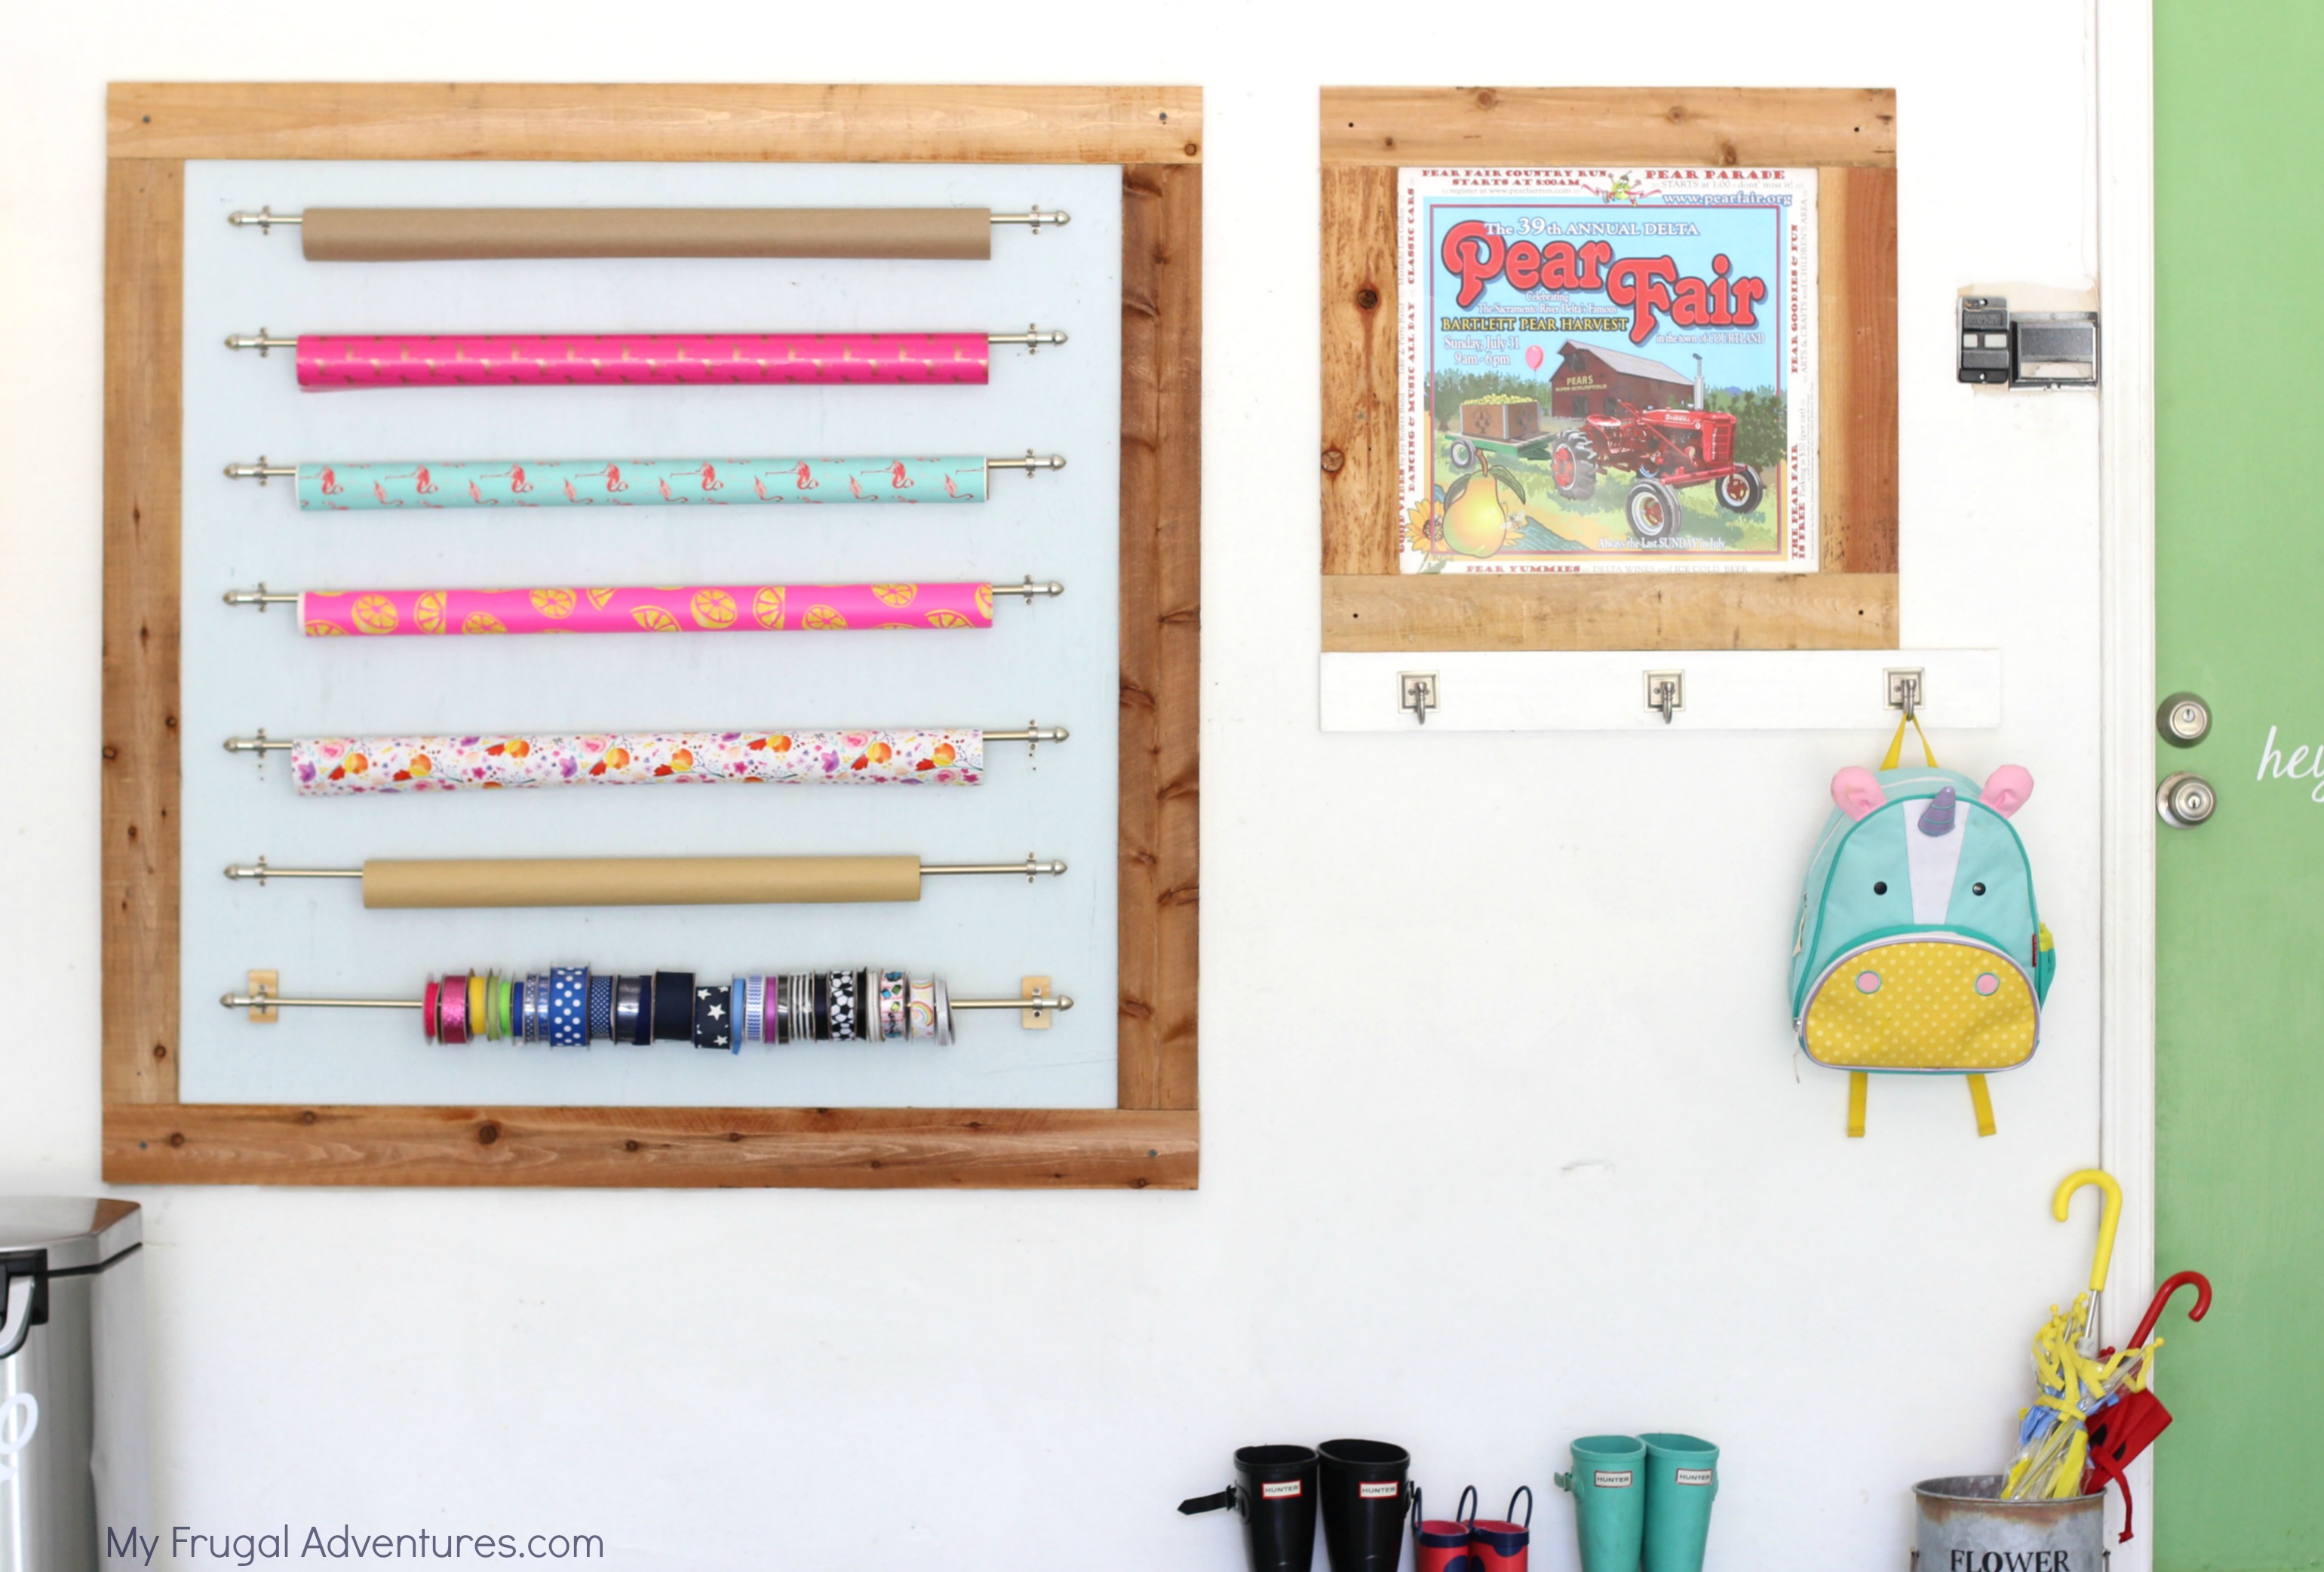
Here is the finished project:
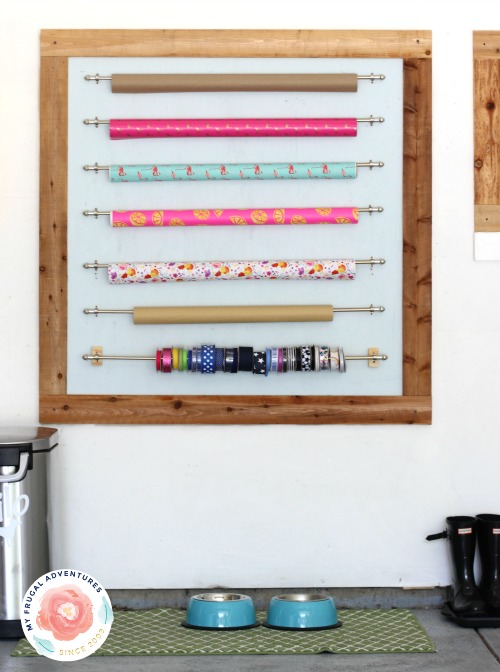
Neat, organized and I can easily tear off a piece of wrapping paper or ribbon and wrap away.
Here are some things that will help with this project:
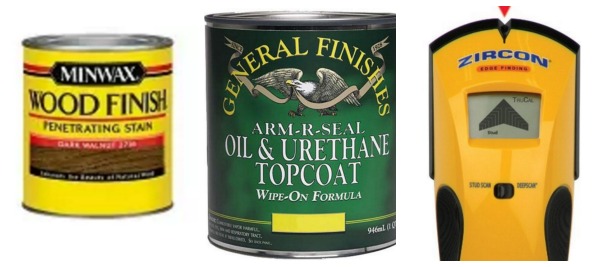
Topcoat // Stain // Stud Finder //
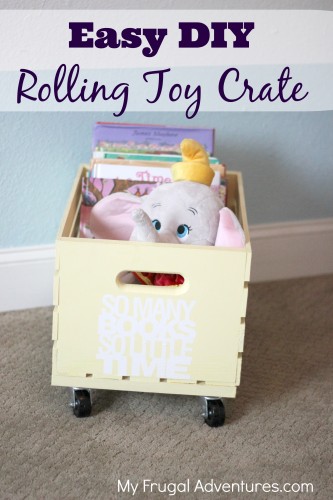
And a few other ideas you might like:
How to Build a Pergola in One Weekend
[…] DIY gift wrap station from ‘My Frugal Adventures’ was put on the garage wall to save space. I love how she […]