
Strawberries! Is there anything better in summer than a juicy strawberry just bursting with flavor? Our family absolutely loves them and so a few pints wind up in my shopping cart week after week in Spring and Summer.
Last year what we discovered though is that the berries from the grocery store don’t even begin to have the flavor of the berries we buy from farm stands or the farmer’s market. Almost to the point it isn’t even worth picking them up at the grocery store.
So this year I really wanted to grow our own strawberries. My girls were deliriously excited about this prospect and I am very excited to teach them a bit more about fresh foods and gardening and the whole concept of Farm to Fork which is huge in our area (Northern California).
So I did a ton of research on how to grow strawberries and I wanted to share with you what I have learned so you can get started on your own strawberry plants!
![]()
You can plant strawberries in the Fall (in warm, dry climates) or you can plant them in Spring (before April). Strawberry season is in summer and typically the plants you purchase will take about 60-75 days before you see fruit. I planted my berries in early March and should start to see fruit in late May which is just about perfect. (I live in California so our growing season is longer than some other areas.)
![]()
You can either plant your strawberries in a bed or in containers. There are pros and cons to each method- I don’t have a lot of space for raised garden beds so I chose a container. If you plant in raised beds it can be easier to propagate the strawberries and you can plant a much larger quantity. On the flip side, some people have issues with slugs feasting on strawberries. A container is a great solution if you are limited on space and it is easier to keep the berries off the ground. Plus I think they look really pretty.
If you decide on raised garden beds be sure your berries are not planted near potatoes, tomatoes, eggplant, peppers or raspberries. You want to keep them about 18 inches apart and about 2-3 feet between rows.
Regardless of which place you choose, you want a sunny location with 6-9 hours of sun per day in a space that won’t get a ton of wind. You also want well drained soil for your plants. Overwatering or soggy soil can make for flavorless berries.
If you do use garden beds, you might consider covering the top of your beds with mulch, straw or even landscape fabric to protect the plants. (The name Strawberries refers to the straw used to cover the berries so it is easy to remember this step.)
If you do go with garden beds, birds can be a problem stealing your lovely berries. You can see a simple solution with netting here if you do find that issue.)

When you are picking out your strawberry plants you will typically see two options on the back of the tags. The first will say something like Junebearing or Everbearing. The Junebearing plants tend to have bigger, juicier berries but they only have fruit for pretty much the month of June and then they are done until next year. If you live in a cool climate with a short summer season, these might be a good option for you.
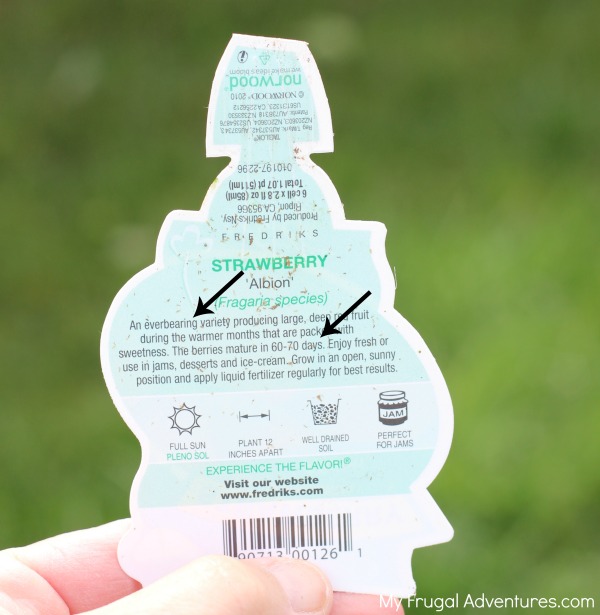
Everbearing tend to have a longer season, producing fruit for most of summer. If you are planting early or are in a warmer climate, these might be a good choice.
You also want to check the tag when you buy your strawberries. Some can take up to 75 days before you see fruit and again, if you are planting late in Spring you might want to look for another variety.

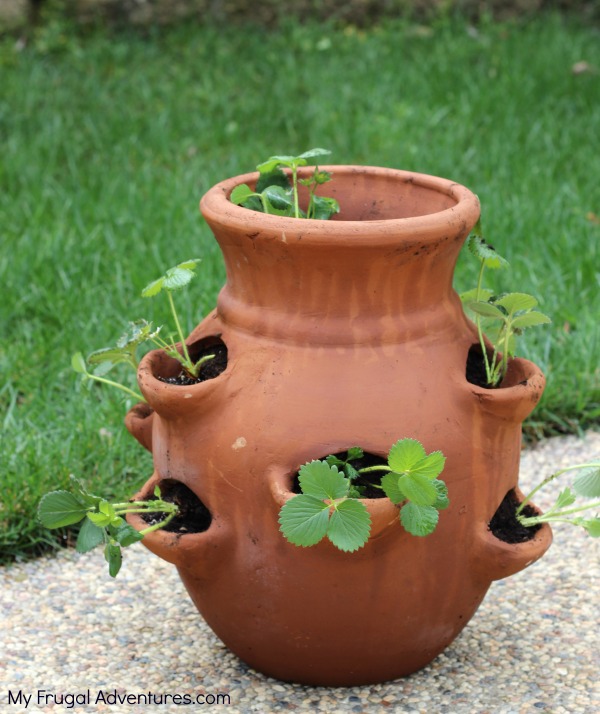
I chose a strawberry container for my plants. They are pretty and allow for plenty of space for the berries to grow and I was able to fit 12 plants inside my container.
To plant in a container like this you can add some rocks to the bottom of your pot to help with drainage. It will make the pot heavier- I just added a few because I happened to have them on hand. Next you want to start filling your pot with soil until you hit the first line where there is a hole for the first strawberry plant. If you completely fill the planter with soil it can be hard to get the little strawberry plants in each pocket of the container, so I find it easier to fill/plant, fill/plant all the way to the top.
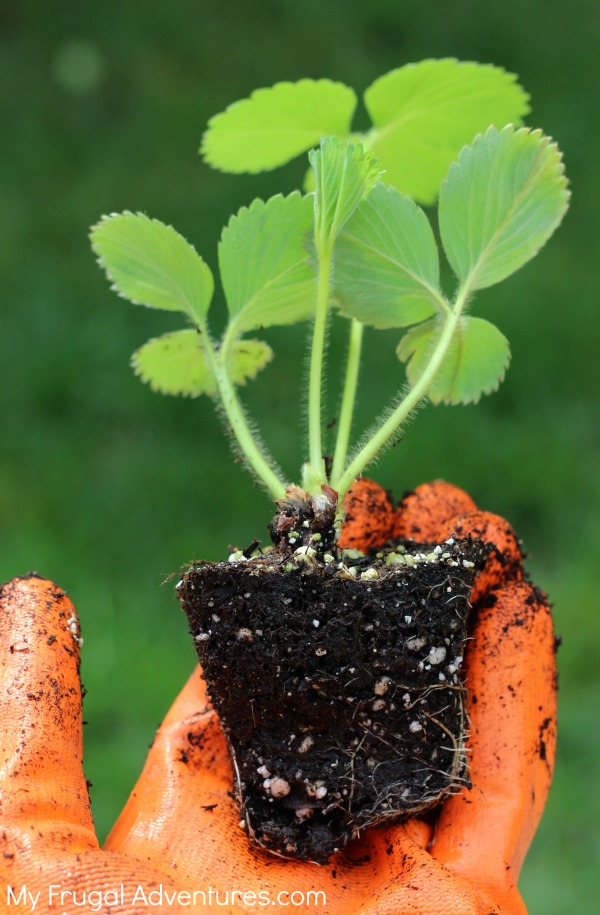
As you are adding soil to the pot, I like to lightly moisten the soil with just a little sprinkle of water and then mix it up. If your soil is super dry (like straight from the bag) this will help to avoid shocking the plant with bone dry soil. Gently massage the plant from the container and pop it into each pocket on the side of your planter. The important thing when planting strawberries is not to bury the crown. The crown is where the base of the plant meets the top of the soil. Here is a great illustration courtesy of Bonnie Plants.
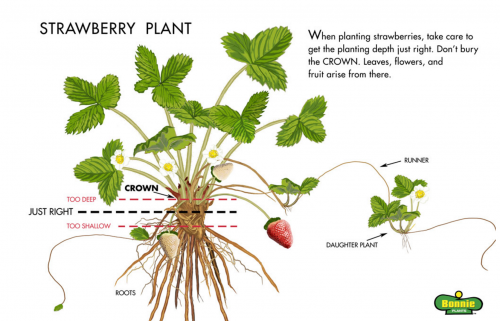
The first time I tried planting strawberries, I put the crown just a little too low in the soil and the plant started to rot almost immediately
Once you fill in all your side pockets with plants, you might consider just a tiny sprinkle of fertilizer for your top berries. Most likely the plants are well fertilized from your garden center but I sprinkled just a tiny bit on top. Now pop in the last few of your plants- not too many. My plants came 6 to a container so I got 12 in there with 3 being at the very top and that is plenty.
Now you want to gently water the plant, including all the side pockets. Again don’t water too much. Moist not soggy soil is best. Now keep your plant in a semi-shaded spot and slowly bring it out to the sun so the plant has time to get acclimated to its new home.
I added a tiny bit of mulch to the top of my pot to protect the berries- you can also use straw if you prefer.

Ok so that is all done and now what?
If you bought Junebearing plants you probably only need to fertilize twice a year. Once you get the first frost of fall or winter, go ahead and bring the planter into a cool space (like the garage) and cover with straw. Next year you should get fruit once again! Typically strawberry plants will last about 3 to maybe 4 years so you can propagate them or you can just replace the plant. If you get serious about your strawberry plants you can simply rotate rows each year by planting new plants in your beds so you always have a fresh crop of berries.
If you choose Everbearing plants you want to fertilize about every 4 weeks unless your plants look like they need a bit more love and then up that to every 2 weeks. The tag that comes with your plant will also give care instructions.
You do want to make sure the plants are watered regularly- I like to push my finger into the soil. If the soil is bone dry around my first knuckle on my finger, I water. If the soil is damp I won’t water.
And last but not least, when you first start your strawberry plants you have two choices. You can gently pinch off any flowers for the first 3 weeks or so. The idea is that pinching off the flowers will allow the plant more time to grow and get stronger and will ultimately lead to better quality fruit. The flip side is that may mean you don’t get any fruit at all the first year. I went ahead and left a few flowers and pinched a few flowers as a compromise 🙂 .
One last important note is that the strawberries should fruit the first year but you can look forward to juicer and better fruit next year. The second year is really when the berries are best so be sure you store your plants properly in winter.
If you decide on a strawberry pot, here is what you need:
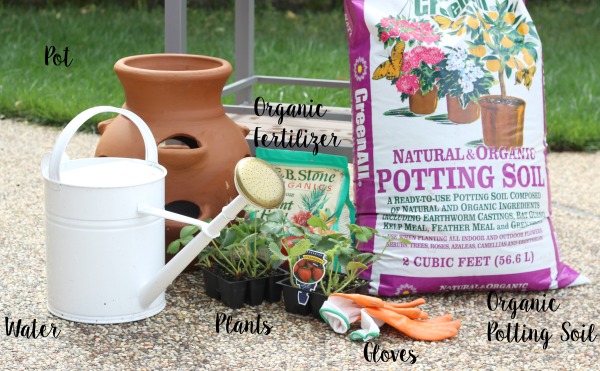
- Watering Can
- Strawberry Pot (or from Lowe’s here)- note I had a lot of trouble finding my pot. I went to several stores and finally found mine. You might save yourself some time and order one online instead.
- Organic Fertilizer
- Organic Potting Soil
- Garden Gloves
- Strawberry plants of your choice
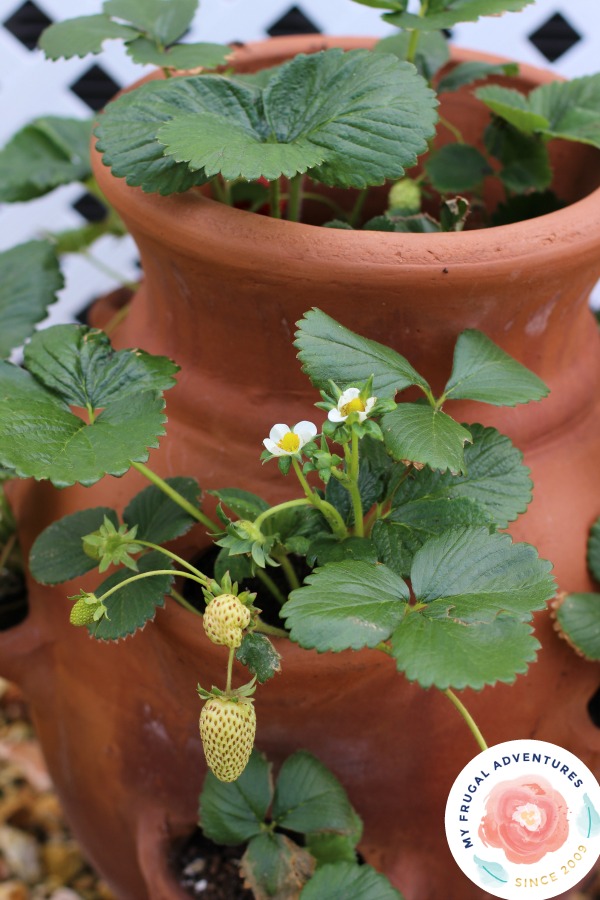
And here is the finished product:
And a quick update just 4 weeks after planting my berries- we have already had a few berries that were ripe and ready to eat but the plant is absolutely flourishing!
Yeah! I know some of you are amazing gardeners so please share your great tips in the comments!
And here are a few other articles you might enjoy:
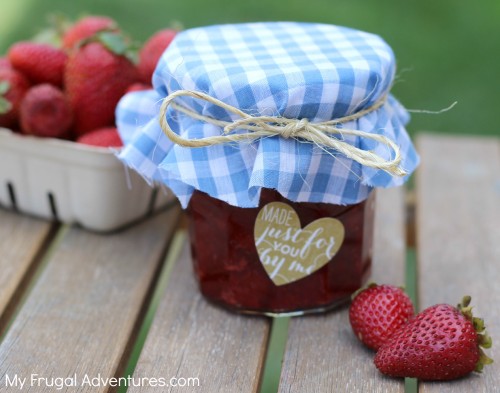
Yummy homemade strawberry jam recipe

Easy veggies for your first vegetable garden
Leave a Reply