

Y’all. Are you obsessed with Fixer Upper? I am! I just love the vintage Farmhouse style that is still so fresh and modern.
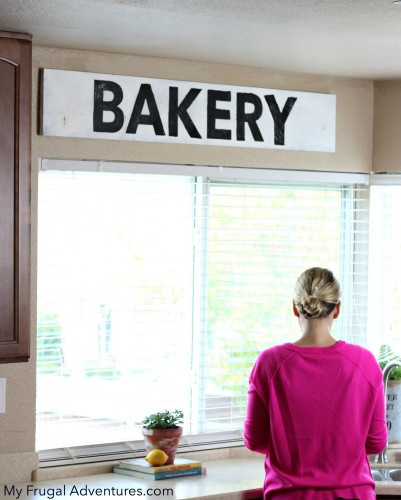
One thing I have wanted to make was a cute rustic looking Bakery sign for our kitchen. I have wanted to do this for ages now and once I started watching Fixer Upper (I just started a few months ago and believe me I caught up quickly with a Season 1,2 and 3 marathon event 😉 ) Joanna puts these types of signs in kitchens all the time. So she provided just the motivation I needed to finally tackle this project.
It is crazy simple to do and the total cost was about $10 or so for lumber. Easy peasy.
I have seen all sorts of words on these signs- Bakery, Farm Fresh, Supermarket, Farmer’s Market and so on. Initially I wanted to put Patisserie on my sign- I LOVE to bake. Carbs in general are my best friend and worst enemy. I am also a major Francophile so Patisserie is perfect for us. But then when I started this project I got worried that the letters might not fit on the sign and just went with Bakery instead.
I made a horizontal sign to fit in the space above the sink. You can easily make this vertical if that suits your needs better.
So to get started you need the following supplies:
- White paint (I used a tiny sample of white I had on hand)
- Large wood plank (I picked mine up for about $10 at the home improvement store)
- Black craft paint
- Printed letters or cut vinyl letters
- Pencil
- Stain (optional)- this is my favorite
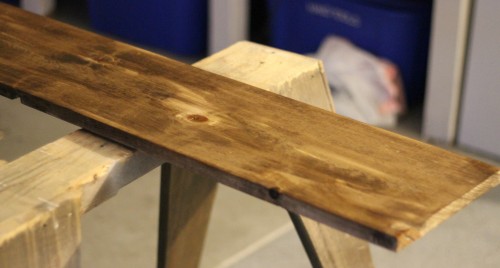
I don’t remember the original size of my wood- at the home improvement store you will find a lot of options. My final product is 5 feet long and 9 1/4 inches wide. I believe the plank started at 6 feet long and we trimmed it down (the home improvement center will do that for you if needed.)
To get started I stained my sign with a rich brown color. I wanted to have layers showing once the sign was sanded and I thought the extra step of staining would add a little dimension. I think a light coat of black paint would also work and would show through slightly making your sign look more authentic.
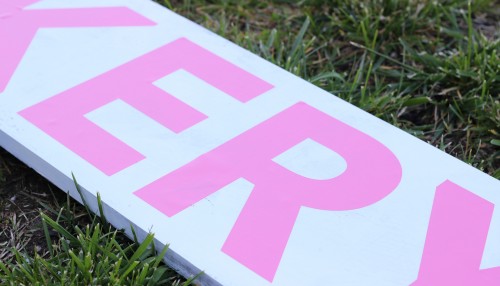
Once the stain dries, quickly start to paint on your layer of white paint. I used a very light hand so the white coat is thin and not perfectly covering the entire plank. I just did one very thin coat of white and let that dry.
To get the letters onto your sign, you can try one of two methods.
The first is what I did and that is to cut the letters out with your Silhouette machine in vinyl. If you do not have a Silhouette machine, you can type the letters into a document on your computer (sized correctly for your sign). Print each letter out and then cut the letters out (detail scissors might be helpful). Carefully tape each letter in place on your sign to use as a template.
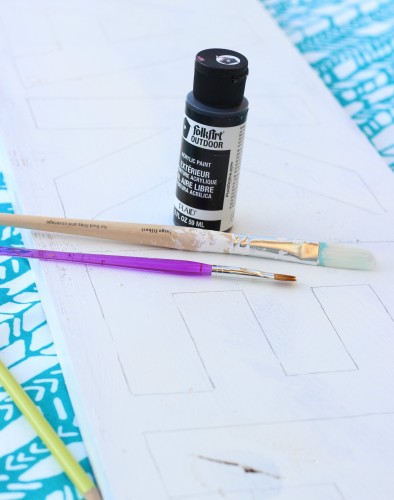
Next trace the letters with pencil. I used a thin paintbrugh to trace an outline of each letter in black and then a thicker paintbrush to fill it in.
I only needed one coat of paint for the letters and actually my girls insisted on helping with this part. There was pleading and tears and a wee one crawling into my lap saying “Mom you are so creative.” LOL. They can really work their Mommy to get what they want 🙂 So as you can see by the uneven paint in some spots I had 6 and 8 year old helpers but hey- adds to the rustic charm right? The Y really went off the rails a bit so your sign will likely look even better than mine. Once it is up on the wall you really can’t see the imperfections.
Anyway, once you have the letters painted and dried you might consider sanding your board a bit for more of a vintage look. I started with a medium grit sandpaper and it looked like a cat had attacked my poor sign – not exactly the look I was going for. I switched to a fine sandpaper and that did the trick with very little elbow grease needed.
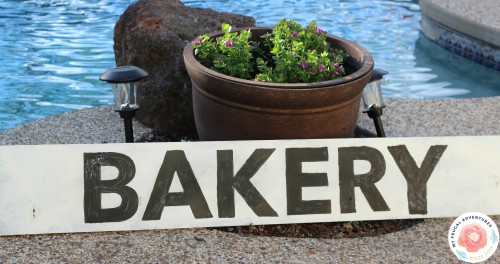
Once that was finished I just remeasured each end of the board and trimmed a little off so it was completely even on both sides and hung it to the wall of the kitchen!
I love this sign and I am so happy I started this project. It really was pretty quick and you can’t beat the price.
If you decide to make a sign I’d love to know what you come up with! I like this one so much I plan to make another one for above the grill outside this year.
And here are a few other projects you might enjoy:

How to Plant Perfect Strawberries
Your sign looks great, Charlene — no surprise there — but I have one correction for your post: Based on your photos, your sign is horizontal, not vertical. Just thought you might like to know!
Oh ok let me fix that.