
We are getting Spring fever up in here! We have started some Easter crafts and I am even thinking ahead to Easter eggs. Last year we never did make the time to do Easter eggs so this year I wanted to make sure the kids had lots of opportunities.
So here is our first batch of eggs. Awhile back we did this Nail Polish marbling on a little tray and it was so cool. When we were doing the trays and bowls my little girl said “Mom it’s like dying Easter eggs!” I made a mental note and for some miraculous reason actually remembered my mental note.
So here goes! To make these marbled eggs is so simple- you just need the following supplies:
- Assorted nail polishes in any colors you like (I have found cheap polishes work far better than the better quality ones. Sinful Colors is my favorite.)
- Disposable Gloves
- Disposable cup or bowl for water (note the polish will stick to the sides so use something you don’t mind tossing out)
- Toothpick, skewer or straw
Basically what happens is you put drops of polish into the water and it will sit like a film on the top of the water. You can dip the egg in and the film will coat the egg in various tie dye designs. You can layer different colors of polish or keep it simple with just one color.
Swirl it around and each brand of polish will have a slightly different outcome in your design. I found the good quality polishes (like Essie just fell right off) so best to use the inexpensive stuff here.
Here are a few key tips to success:
- Be sure to wear gloves. The nail polish will get all over your fingers.
- If the water is too cold in your cup the polish will just sink to the bottom. You can a lukewarm water for this project- I heated the water in a mug for about 20 seconds and poured it into my cup. If the water is too hot the polish gets thick really quickly and won’t swirl as well.
- Add a few droplets of polish and then you can use the toothpick to swirl them around to create fun swirls and patterns. Dunk the egg in once you are happy with your swirls.
- You do want to work very quickly as the nail polish turns into a film that can get thick.
Here are the steps from my eggs- I wanted super vibrant and saturated colors:
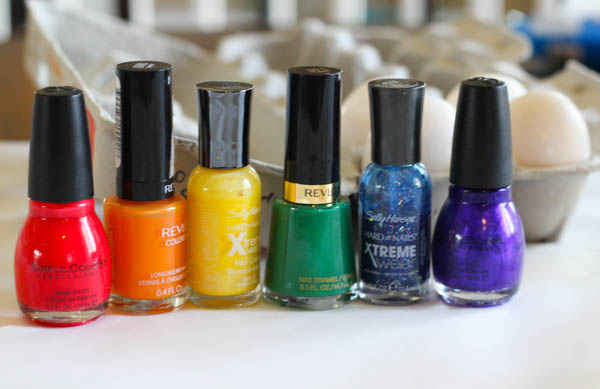
My rainbow of colors
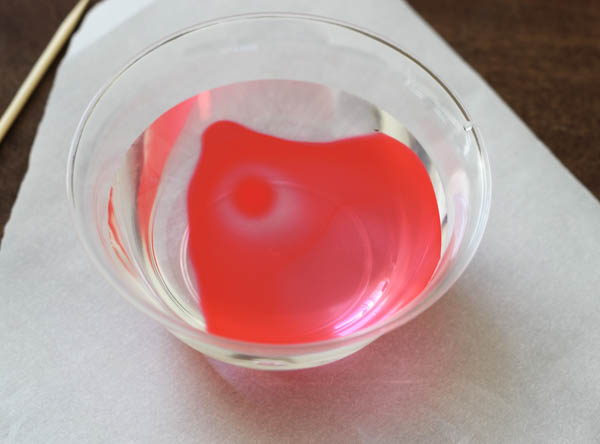
Add a drop of two of nail polish. All the polishes I used reacted differently to the water and the reaction also seemed to depend on the temperature of the water.
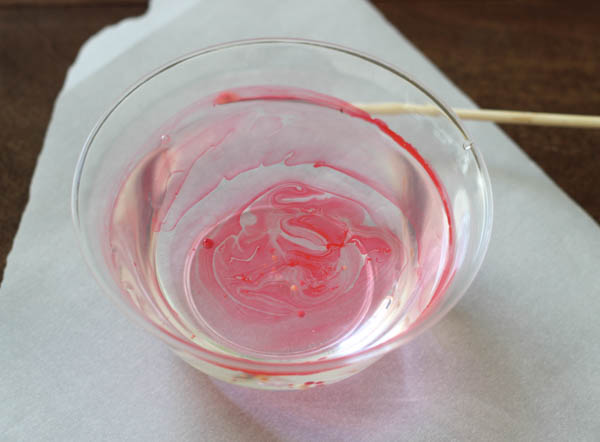
And give it a swirl or two with your toothpick or skewer.
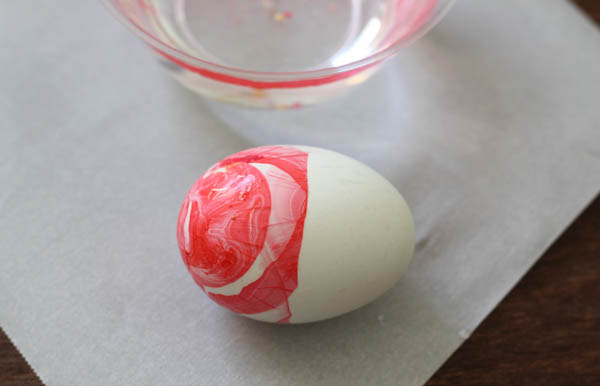
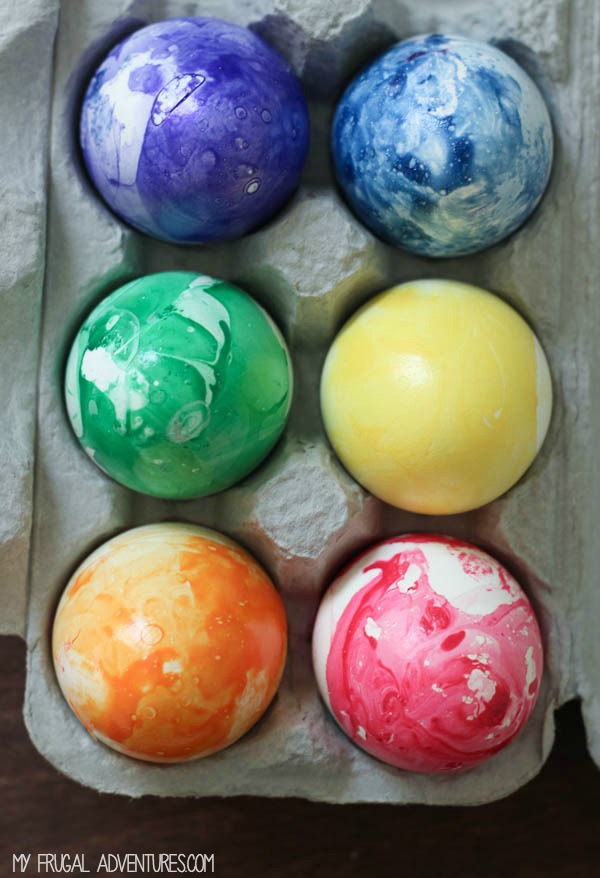
Just dipping the bottom I got this awesome swirly pattern. You can dip the entire thing in or dip one end and then once that dries go back and dip in the other end. You can mix and match colors or use tape to block off parts of the end that you don’t want to have color.
Tons of possibilities!
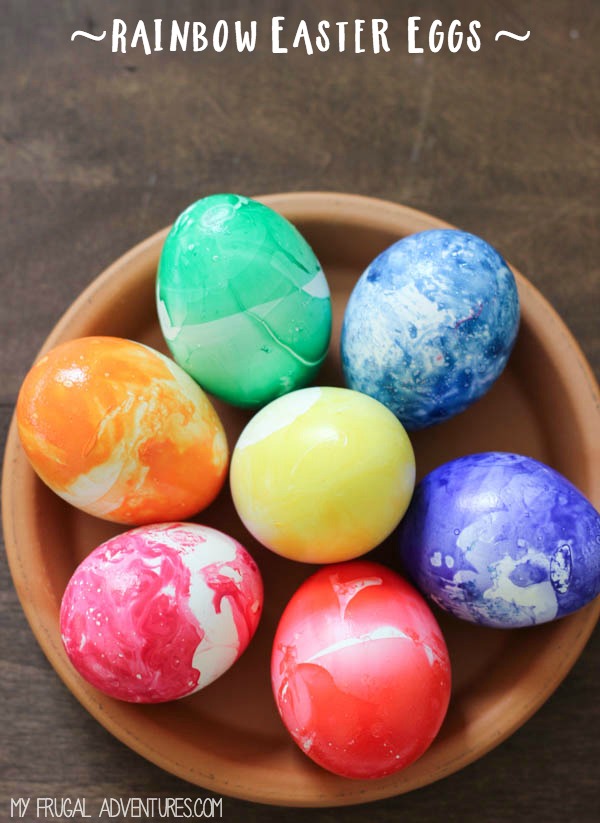
And here is the finished product:
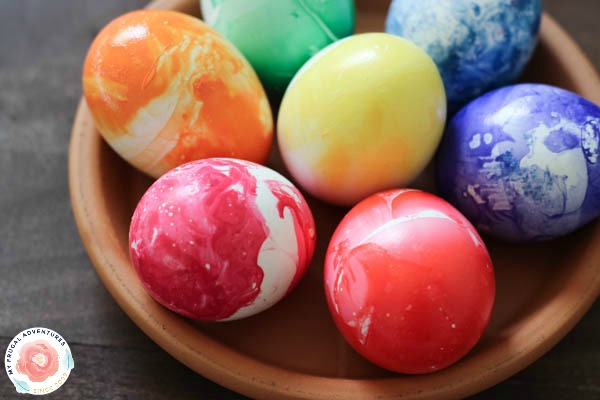
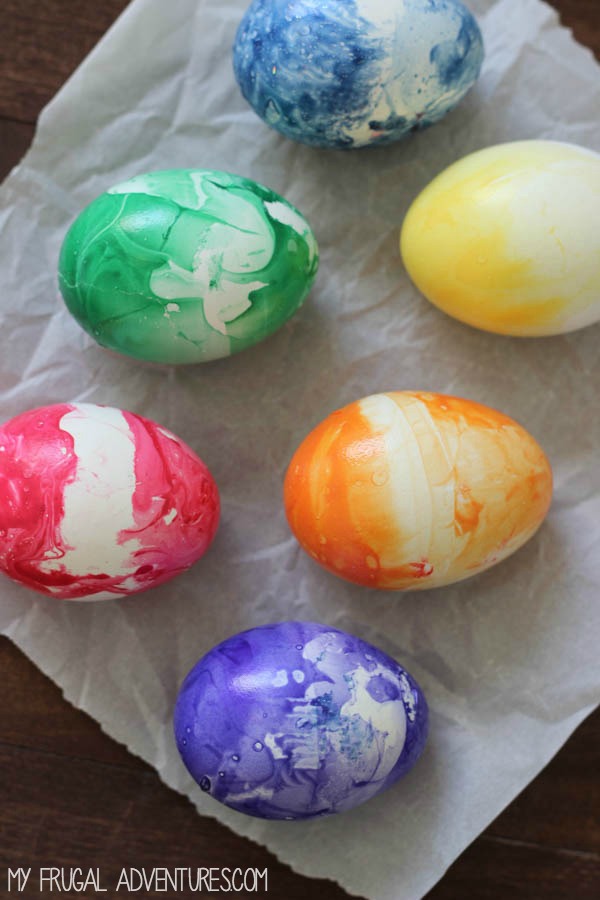
What do you think? How do you plan to dye your eggs this year? Any fun ideas? I went back and forth with this polish idea on rainbow colors and neon. I think neon would look amazing.
And here are a few other posts you might also enjoy:


Free Printable Easter Lunchbox Jokes
Leave a Reply