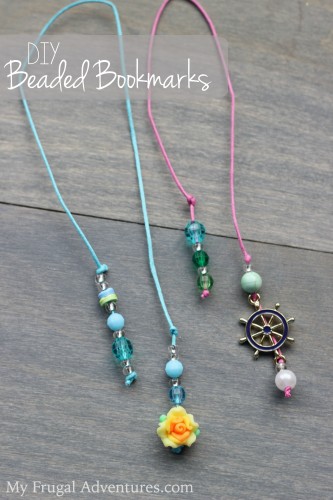
Here is a simple craft that is fun to do with the kids. I love crafts with the kids that are practical too and this is one that will (hopefully) get a lot of use.
These beaded bookmarks are simple and inexpensive and you can be as creative as you like! Have fun picking out the beads to make this very unique and customized for your child.
My girls really loved doing these. My 8 year made three bookmarks and she wants to do a 4th one for her teacher 🙂 The girls also loved picking out the beads for this project, you can grab your supplies online or spend some time wandering around at your favorite craft store.
So to get started you just need a few things:
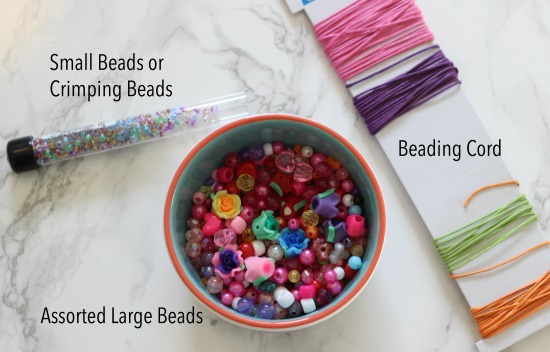
- Beading Cord (make sure the one you get is nice and thin so the beads fit over it)
- Assorted Large beads of your choice
- Small beads or crimping beads
Here is what your finished product will look like:
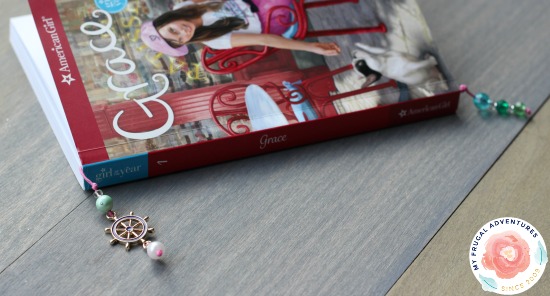
Beads on both sides of the cord and the string in the middle to hold your page. The beads on both sides of the string weigh it down so the bookmark won’t fall out.
To start you want to cut your beading cord. I selected the type of books that each of us would be reading and measured based off that size. So I grabbed a library book from my shelf, one of my 8 year old’s chapter books and one of my 6 year old’s board books. Each type of book will be a different size so I don’t recommend making all the bookmarks a uniform size but rather sized for the type of book you typically read.
I was thinking of doing one of these for my cookbooks as well and that would obviously be much larger. I placed the cord next to the book and allowed about 4-6 inches of extra cord on each end. Allow for plenty so you can knot, add your beads and have space to knot a second time at the end.
Double knot one end of the cord and start to feed your beads on. You can add as many beads or as few as you like. You can also do large beads on the end and the small beads all the way down the length of the cord. We just did the larger beads with small beads in between on the ends of the cord.
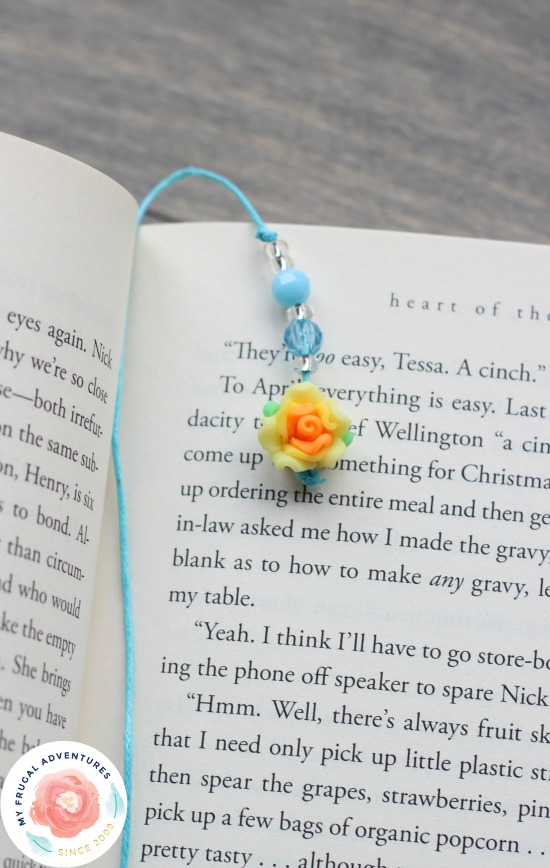
I knotted the end of the cord, fed the beads on in an order I liked and then knotted the cord again right at the end point of the beads. (So both ends of the beads are knotted in place.)
For the other side you obviously can’t knot the end so I just fed the beads on the cord in the pattern I liked. Then I took my fingers and pinched the spot I wanted the first knot (about 4 inches from the end of the cord) and tied a knot. That will secure your beads from falling down the length of the cord. Next tie a knot at the end of the cord to keep the beads secure.
Before you do your knots just be sure to measure the book once again to make sure you allowed for enough room. On our first attempt the bookmark wound up too short. If that happens to you, you can either just have one bead at the very bottom instead of a few beads or just cut the cord and start again.
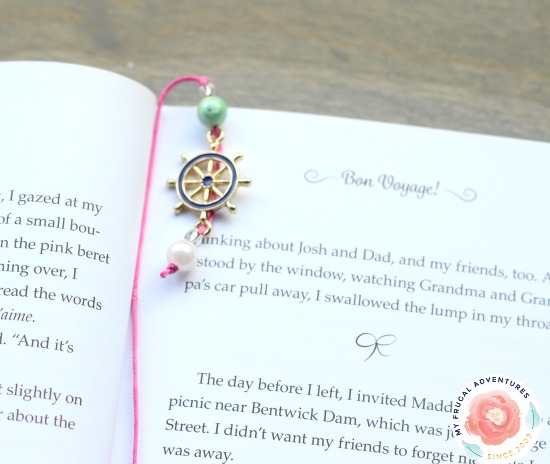
My 6 year old loved the flower beads above and this one with the nautical theme was from my 8 year old. She loved this so much she actually bought more beads with her own money to make bracelets.
Have fun with this craft and please come back and let me know if you decide to give it a shot! This would be a great Spring Break project for the kids if you plan on staying home.
And here are a few other crafts you might also enjoy:
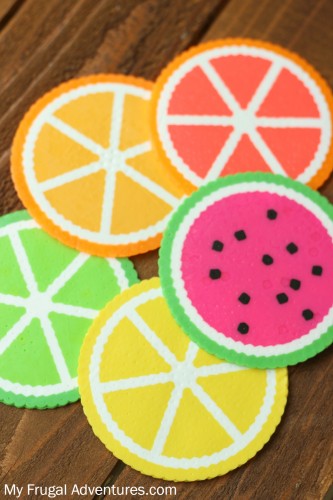
Citrus Perler Bead Coasters (perfect for the patio this summer!)
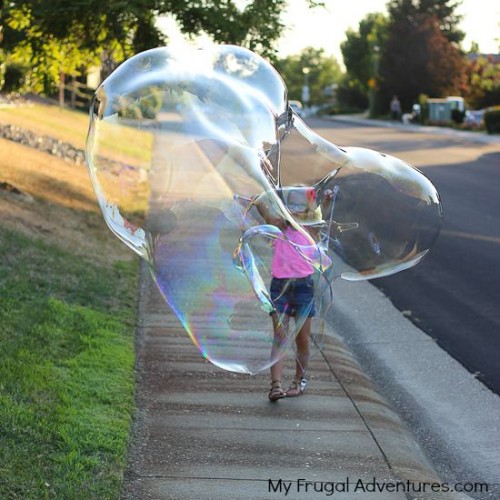
How to Make a Giant Bubble Wand

How to Make Tie Dye Tennis Shoes

[…] These bookmarks can be easily made by your kids, so invite them to craft together! You’ll need beading cord, assorted large beads of your choice, small beads or crimping beads. Beads on both sides of the cord and the string in the middle to hold your page. The beads on both sides of the string weigh it down so the bookmark won’t fall out. To start you want to cut your beading cord. Select the type of books that each of you would be reading and measure based off that size. Place the cord next to the book and allow about 4-6 inches of extra cord on each end. read the rest of the tutorial here. […]