This is a really simple idea that actually started a few years ago and I just finished. Anyone else have projects like that? Seriously I have the worst time finishing things to 100%. I get ideas for the house and tend to bounce around from project to project. But this year I am really trying to complete things to 100% before starting on the next thing. Wish me luck.
Anyway, an app called Waterlouge became popular several years ago. The app allows you to take a normal photograph and turn it into an illustration or watercolor with just a few clicks. Then you can edit the photo if needed and send it off to print. Easy! A custom watercolor image to frame in your home. Instagram is currently offering a watercolor filter which reminded me of this idea and I finally went back and finished my project from a few years ago. Yay!
I thought I’d share the simple process that you can do right from your phone in no time at all and you will have custom artwork to hang up.
Start with a photo of your choice. It can be anything- your children, the family, tiny detail shots of flowers or food… travel scenes… anything that you love. I have found the process works best on photos that don’t have tons and tons of details. For example a photo of a child running in a field of grass might turn out better than a close up photo of the entire family smiling at the camera. You might play with a few photos in the app with different backgrounds and see what looks best to you.
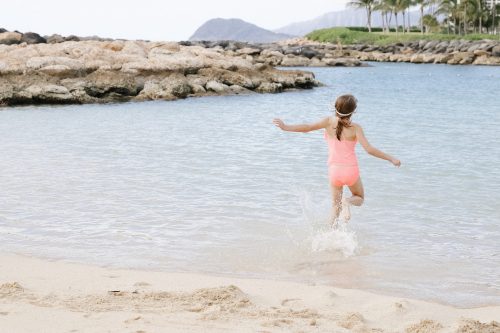
I chose this photo of my daughter in Oahu running into a lagoon. This is a completely unedited photo from my DSLR camera (don’t worry iphone pics work too as you will see below.)

I did a small amount of editing on this photo because I wanted to tone down the saturation and make it a really light and bright picture.
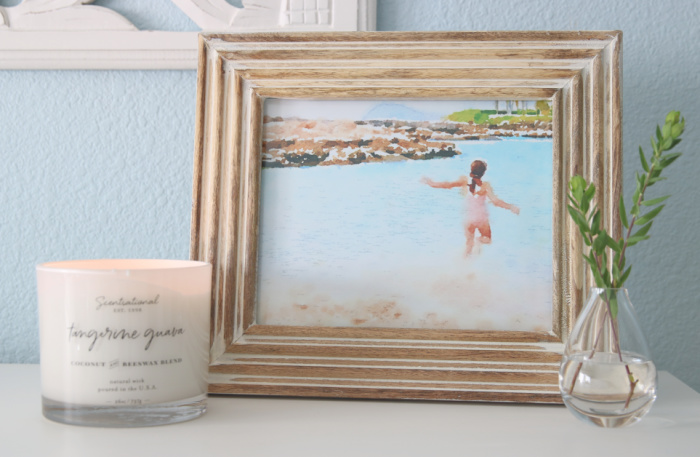
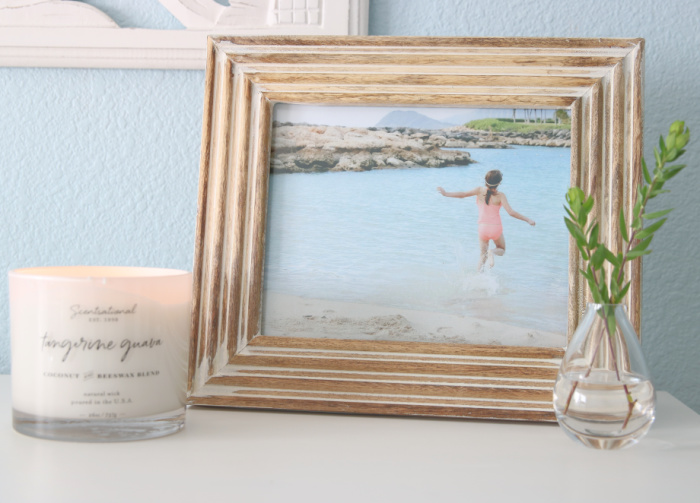
This is the watercolor print from my original image above with no editing. I think it looks great- just a little more saturated than I wanted so I went with the edited version for the final print. Now that I have a photo I am happy with, I purchased the Waterlouge app from the app store for $3.99 and uploaded my image into the app. They offer a handful of filters that you simply tap to see which one best suits your photo. I chose my filter which created this watercolor of my image:

And saved the image to my phone. I then uploaded the image to have it printed in an 8×10 size.
You can have your image printed anywhere you like but I suggest two places for a more polished look to your photos. The first is Persnickety Prints which does really beautiful photo prints on photographic paper (not the ultra glossy print you find elsewhere.) Another really affordable option for prints that are 8×10 or smaller is Walgreens. They offer a matte finish to photos that make the photo look a little more professional. Plus shipping is only $.99- so extremely affordable. I went ahead and ordered the watercolor version of this photo and the standard matte print of it just to show you how they look- it was about $5 with shipping for both images.
This is the matte version of the original photo with just a few edits:
The reason I abandoned this project in the first place, is that I was struggling to get the watercolor images larger than an 8×10. I have a few suggestions for you if you do want a larger print.
First up is the engineering prints at Staples. These are very affordable and a simple way to upload your image and get it printed quickly. The drawbacks to engineering prints are twofold. First the size is not ideal for every frame- 18×24 or 24×36 or 36×48. My first ever attempt at this was an 18×24 engineering print and then I struggled to find a frame I really liked and that is why the project went to the wayside. Second, the prints will come on a very thin paper and your Staples will likely not print many images. The images you select need to have a lot of white space and very little color. I did have luck getting a photo of my daughter swinging with the entire background of the photo a super pale blue sky. The images I most recently sent that had more color, Staples would not print and they cancelled my order.
Another option is to have your watercolor printed as a standard poster size or enlargement at the processing center of your choice. I did try having three images of my daughter on the soccer field printed at Costco recently. The size was fine, the cost was very affordable but I really didn’t love the super glossy finish to the photos.
For the larger size prints, I think it is worth it to pay a little more for Persnickety Prints. They will give you a matte finish on your photo on quality paper, professionally printed. So for three large images I wanted for my daughter’s bedroom, I ordered from Persnickety.
And that is it! How to take any photo and turn it into a watercolor with just a few clicks. Oh and I mentioned above you really don’t need a fancy camera or great editing skills for this. Here is a very quick iPhone photo I took on a walk the other day.

Here is the watercolor:
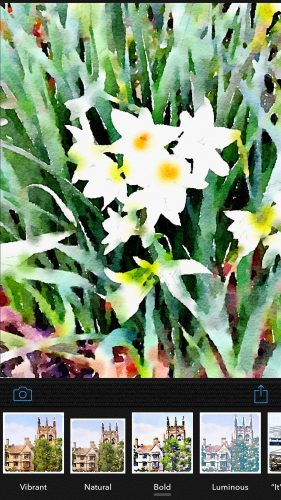
And that is just the filter I chose. You could go with several different versions of that same image in literally just minutes.
If you decide to give this a shot, I’d love to hear how it works out for you.
Leave a Reply