This is so incredibly simple and a perfect Spring project that takes just minutes. If you have any damaged screens on your house or if you want to change the color of your screen- here is the quick tutorial. This project is so simple in fact, we had our 8 and 10 year old girls do the repairs.
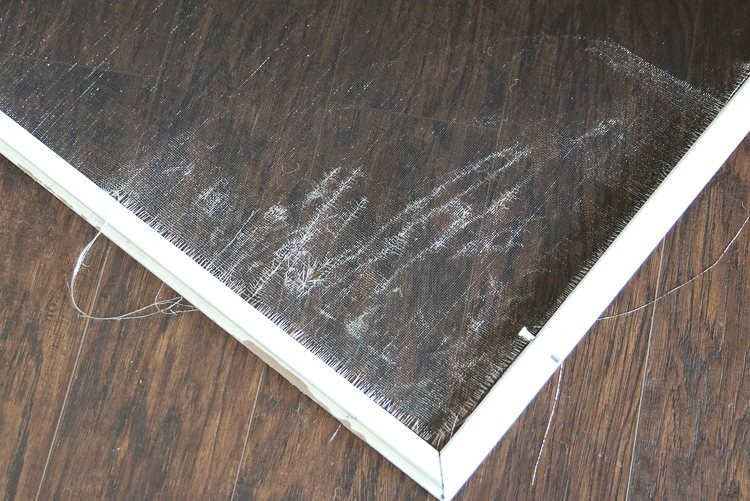
Ready? Here is our screen that was all scratched up by a puppy.
Remove the damaged screen and measure- you will need to purchase a screen that is wide enough to cover the window with some overhang. (Purchase the kit we bought here)
Cut into the screen- it should easily pull off the frame.

The black rubber that surrounds the screen is called a spline. If it is in good shape- carefully pull off of the frame to reuse. Otherwise dispose of old screen and spline.
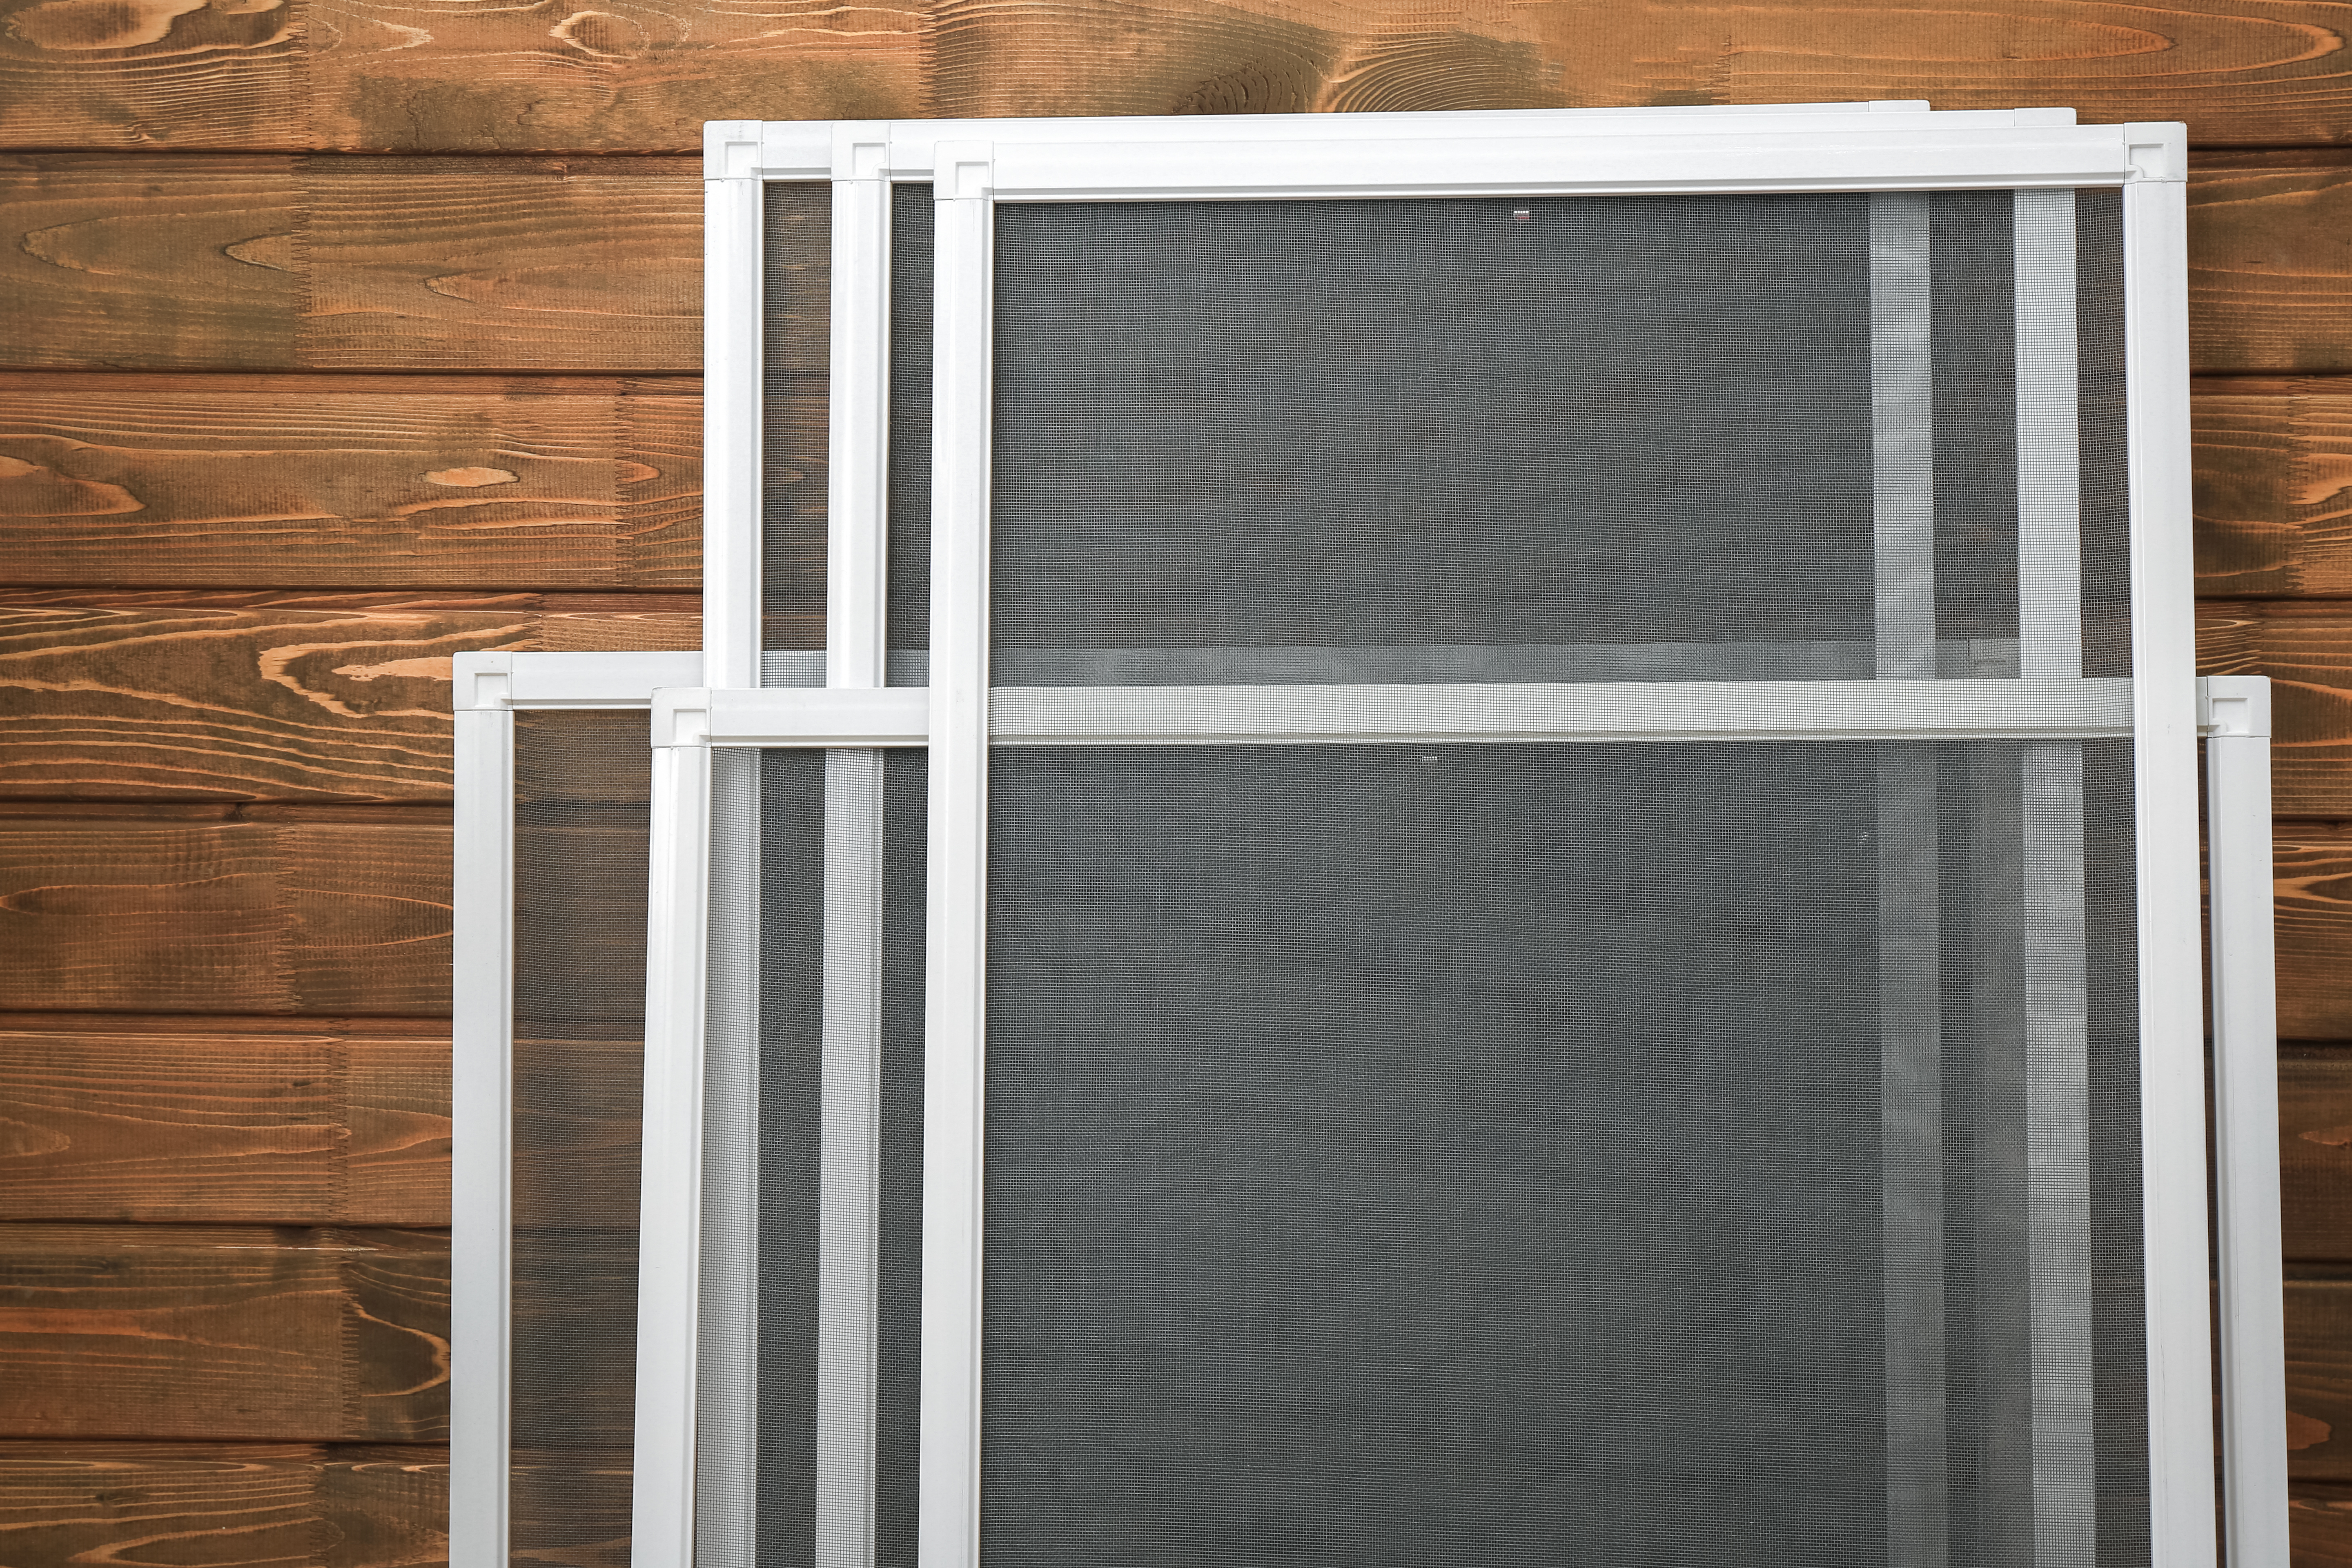
For just one or two windows, you can purchase a kit that will come with screen, spline and the tool that will perfectly embed the spline into the frame. If you have several windows, you can purchase one of the kits plus rolls of screen that are less expensive. Also, see the Albertsons Weekly Ad.

Roll out your new screen, leaving several inches of overlap on all four sides.
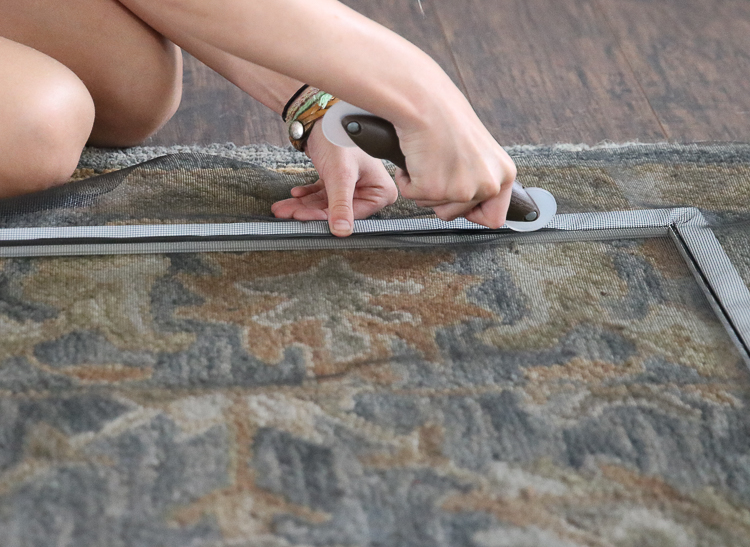
Carefully position the spline around the frame- with one hand pull the spline taut and use the roller tool to press the spline firmly in place. We found it was easier to pull the roller tool toward you rather than away from you. The spline will fit snugly into place, holding the screen nice and taut.
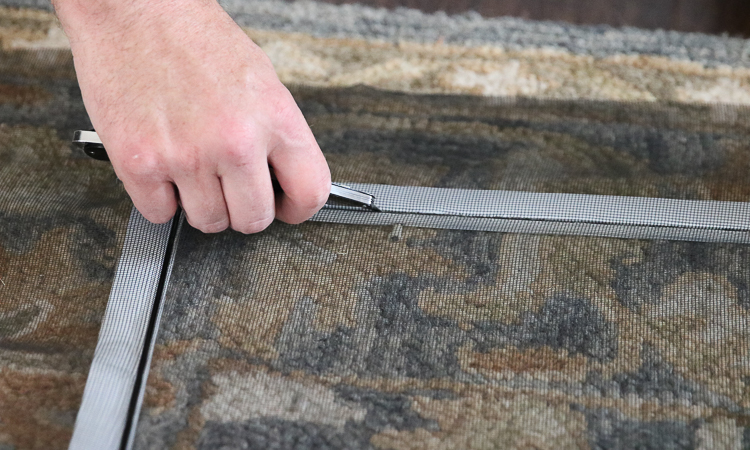
Once the spline is in place, use a sharp knife to trim the screen material as close to the spline as you can get.
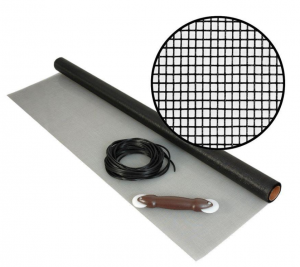
Here is the kit that makes this super simple– you can choose from black, charcoal or silver. This particular room gets a lot of sun so we chose a black screen to eliminate glare. For purely aesthetic reasons I probably would choose silver screens.
And that is it. Seriously about 5 or maybe 10 minutes tops to repair and replace your screens.
Here are a few other articles you might also enjoy:


DIY pergola- in just one weekend!~
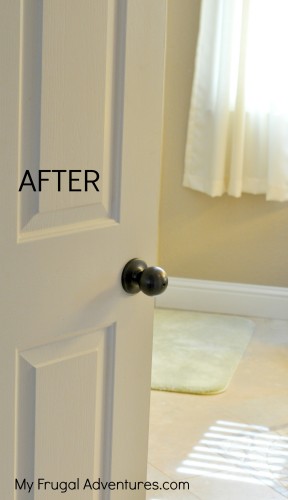
Simple painted doorknobs (easy way to update outdated doorknobs)
Hey, Charlene! Thanks for the information — but the links in your post take us to a Home Depot page with 139 products. If you would please clarify which kit you decided is best, I’d appreciate it!
Hi Annye, the one we bought is $8.90 and comes with a screen and spline and roller tool. It is right at the top- #3. That is what fit my window and we did the black but there are tons of other options depending on the size of your window and color you prefer. I put a picture of it at the bottom. HTH!