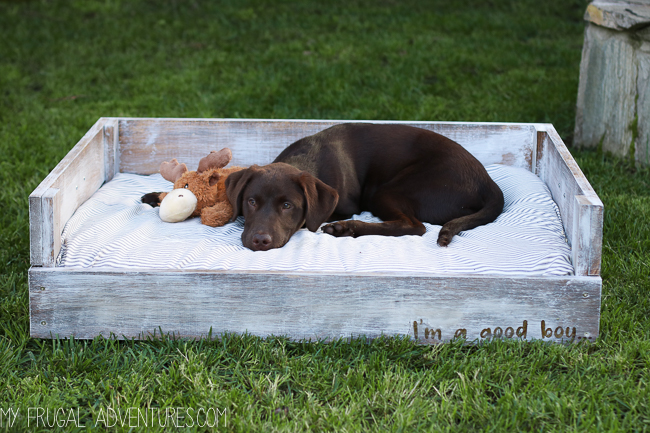
Here is a simple idea to dress up a dog bed for your best friend. I have always hated dog beds because they can look so sloppy just plopped on the floor. Plus our little old man dog has always preferred sitting with us on the couch (#spoiled) anyway. But we recently adopted a puppy and he really likes having his own space for quiet time. He actually goes into his crate voluntarily and likes stretching out on his dog bed.
So I decided to try and build a bed that might look a bit nicer and still provide him plenty of space to stretch out and nap.
I will share all the dimensions of our bed but you will likely want to customize to suit the size for your dog. This is a super simple build that is very inexpensive and just takes an afternoon to make.
I am happy with this because we can easily move it around the house and it looks a bit nicer than just a standard dog pillow laying on the floor. I think Bosley likes it because it is slightly enclosed like his crate so a little more of a den feeling than just the pillow on the floor.
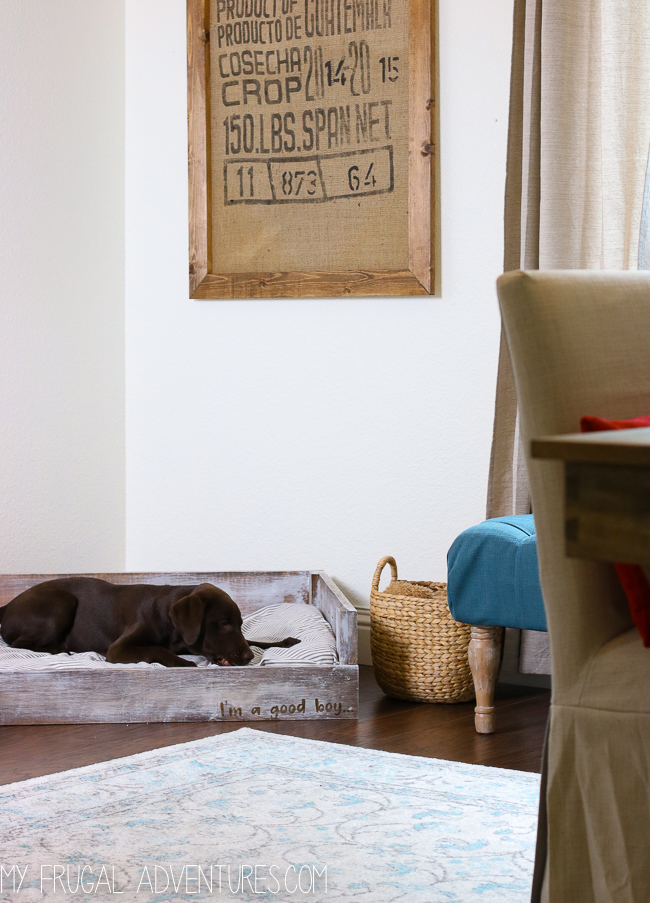
Ready to make your own little dog crate bed? Here goes!
We started with this basic bed. I originally bought this orthopedic bed for our grumpy old man dog but he has never used a dog bed and has decided he is not going to start now. The puppy though loves them so he inherited this bed. This one is slightly firmer which makes it easy to slip into the enclosure. You can still build the enclosure to fit around a fluffier pillow bed- just make the dimensions of your wood smaller than the bed for a super snug fit.
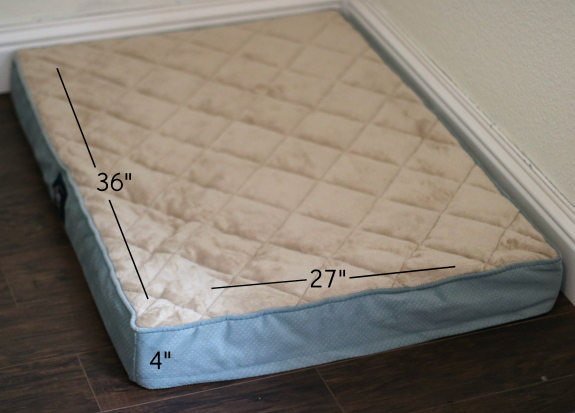
If you’d like to purchase this same bed we have, find it here. It does have a slipcover that zips right off for laundering.
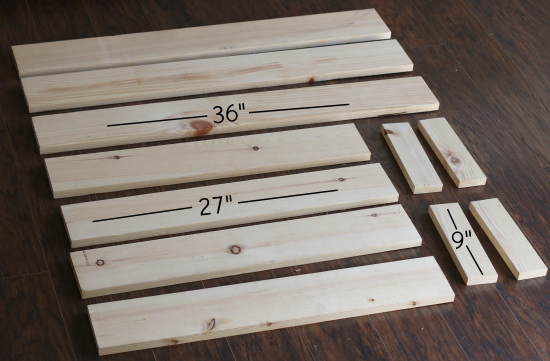
These are the measurements of our wood. We used pine 1×5″ pieces for the box and 1×3″ pieces for the inside strips to hold it together securely.
I started by staining all the wood. You can paint or stain depending on your preference. I wanted a weathered wood look and decided to stain and then used a dry brush with a pale grey/white paint. I lightly sanded and that was it for the wood prep. We sure to paint or stain all sides of the wood as all sides will show once it is built.
Next we just assembled into a box shape, adding planks to the bottom like so. We attached the 9″ pieces to the 27″ pieces to create the sides. There is one 9″ strip on either side of the 27″ strips (on the inside.)
Next we screwed the back two pieces to the side pieces to create a three sided box. The last step was to attach just one piece to the front to create a box. Now you have your box and really you could leave it like that with the bed inserted inside the frame.
We wanted to a create a little bit of a base because we do move this outside from time to time and I didn’t want the bed resting directly on grass getting muddy and dirty. Our bed is flat on the floor so the three planks for the base worked fine for our needs. We just used scrap wood- I believe this is just a cheap fence post that we cut to fit right inside and screwed into place.
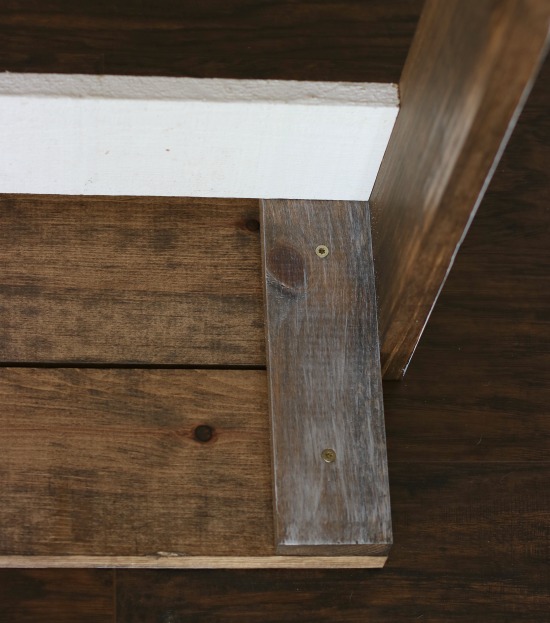
I did try adding legs to this piece and they looked fantastic but our pup is going to be a big boy and I think he prefers the stability on the ground. I also considered castors to roll the bed around but again if we move it outside the castors would be a disaster on grass.
If you have a smaller dog, adding legs to the base really makes this piece look like custom furniture. If you do add legs you will want to add planks without the gaps to create a completely flat base.
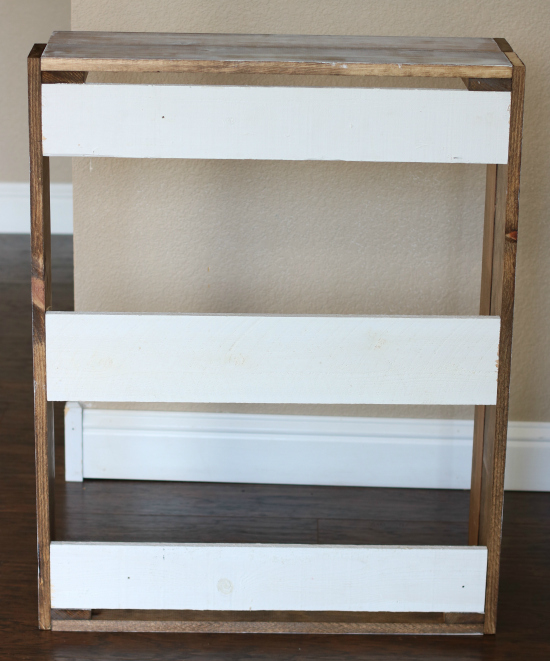
I wanted to add a few more little touches to the bed. The first was adding his name to the side and I’m a Good Boy to the front. I cut the words with my Cricut and then used stain to go over the vinyl.
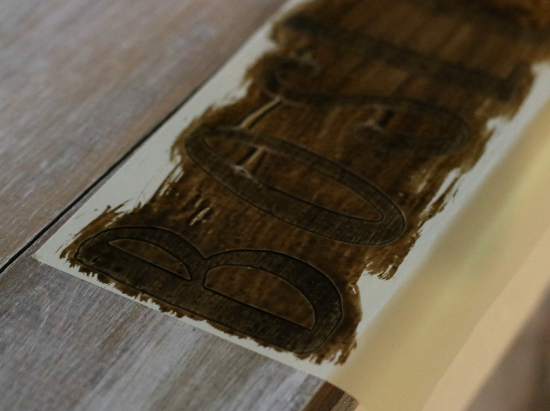
The stain does bleed under the vinyl a bit but a little touch up with grey and sanding and I think it looks fine. I did have more success using a small craft brush stolen from the kids rather than the standard paint brush I would normally use for stain.
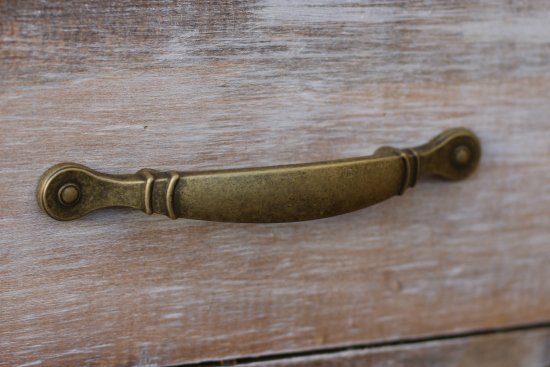
I also added little handles on the side to make this easy to move around. Sometimes we take it outside.
Last but not least, I added some little felt pads to the bottom of the box to protect the floors from scratches and scuffs. And that is it!
Oh one more note. I didn’t love the look of the bed so I just tucked some excess fabric around the bed. This makes it super easy to yank off and launder. One of these days I will get around to making a slipcover for the bed with this fabric but for now I prefer this as I do launder it every few days.
And the finished product:
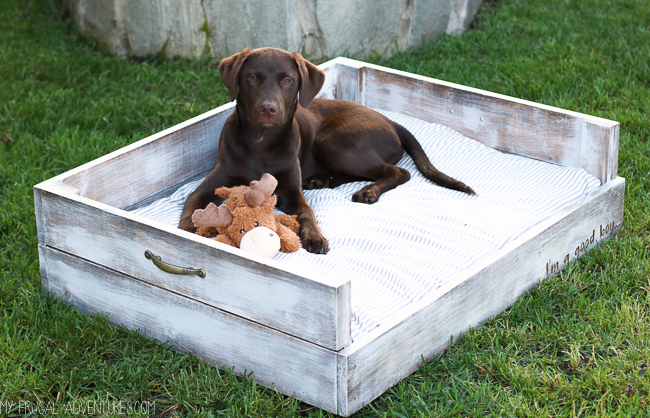
And here are some things I used for this bed:

Minwax English Chestnut // Felt Pads
// Cricut Machine
// Antique Brass Pull (similar) // Ticking Stripe Fabric
And here are a few other projects for your dog:

The dog bed looks awesome! I recommend putting bolsters around the edge so that your dog can rest or lay his head on it.
Love this so much – definitely going to share this post. hopes that is ok.
Is the bed heavy? without the dog bed in it? We have a molly mutt bed that you stuff with old blankets and clothes, etc and the bed alone is heavy….
Hi Cate, It is not heavy but weighty. Lol. If you need to move it around a lot the frame is cumbersome to move up and down stairs and such and isn’t the best option for tons of mobility. If you keep it in the same spot, it is totally fine. 🙂
It looks super cute ! I love the mattress ! We made one from our old bed head board and it was nice but
It lasted about a month :-/ my dog chews everything even my Anastasia Beverly Hills #12 brush
Beautiful farmhouse bed. I have the same white washed color
Hello! I love this idea, thank you so much! Can you explain in more detail how you got that stain color? What products did you use?
Hi Lindsay. I did this project awhile ago but I noted in the post the Minwax English Chesnut color stain. I stained the wood first and then I am pretty sure I just dry brushed on white paint. I am certain I would have used whatever white was in the cabinet and just brushed it on lightly, adding more white in some spots, heavier stain in some sports until I got what I wanted. I don’t think I did anything else except maybe sanding a little when the white was too bright.
I tried to find the in process photos I took that didn’t make it onto the blog but unfortunately I have a G drive from that year that was corrupted and I lost a ton of photos. I think this project was part of that. Good luck! I bet yours turns out great.
PS: I found this tutorial that offers great tips and I think her weathered wood looks similar to what I did:
https://cherishedbliss.com/how-to-weather-wood/