I wanted to post an easy and quick homemade treat idea for the holidays for those of you looking for something a little different.
There are some amazing cookie recipes, various loaves- Gingerbread, Snickerdoodle and so on, fudge and candies… but what about something that everyone likes that is just a little different for the holidays?
Ice cream. Ice cream is crazy easy to make, absolutely delicious and comes together in a fun package for gift giving this holiday season.
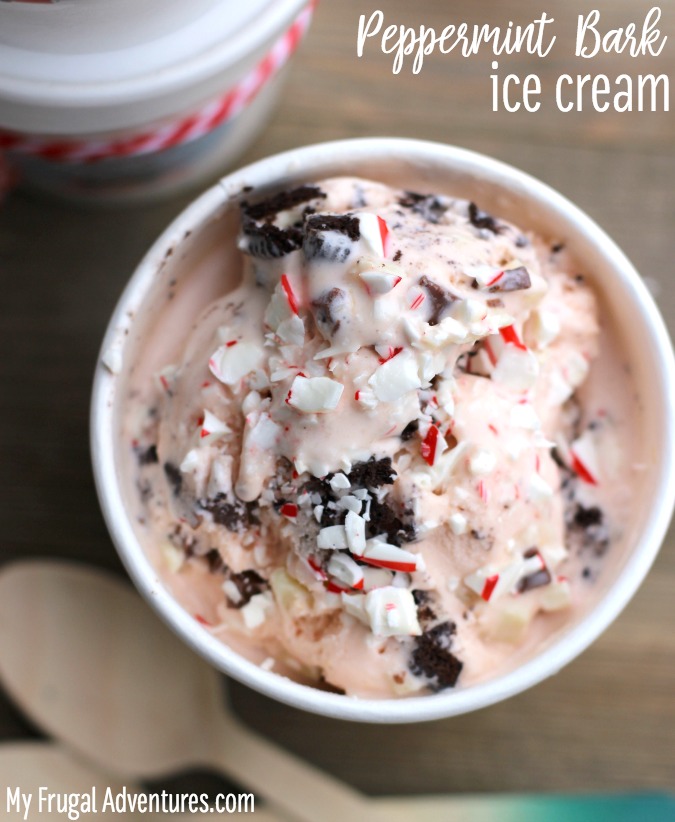
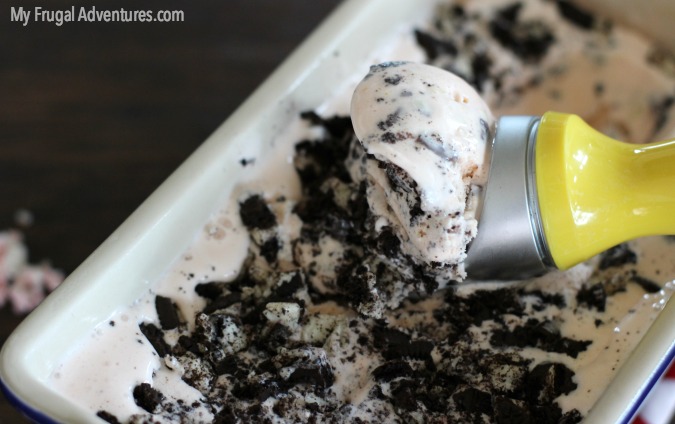
I had to have a winter-y holiday flavor, so I came up with this Peppermint Bark recipe featuring vanilla ice cream, crushed candy canes, white chocolate and chunks of milk chocolate.
It is seriously good and a guaranteed hit with your friends and family. You can totally make this ahead and freeze or keep this in the freezer for quick and easy last minute gifts. Yeah!
I have two recipes for you below. One recipe is no churn- meaning you can mix this up with just a hand mixer or Kitchenaid and you don’t need an ice cream machine.
The second recipe is using an ice cream machine. I find that the actual ice cream machine recipe is more flavorful and rich and just has a lot more dimension to it. It really does taste like an expensive gourmet ice cream. Don’t get me wrong, both recipes are delicious. If you have an ice cream machine it is worth digging it out. If you love ice cream, well. You might consider buying one and making your own treats all year long.
Ready to get started?
- 3 oz milk or dark chocolate finely chopped
- 3oz white chocolate finely chopped
- 4-6 candy canes ground
- 2 cups half and half
- 1 cup heavy whipping cream or whole milk
- ⅔ cup sugar
- 4 egg yolks
- 1 tsp vanilla
- Peppermint sandwich cookies (optional)
- Simmer cream, half and half and sugar in a saucepan for about 5 minutes until sugar dissolves.
- Remove from heat, add vanilla and set aside.
- Whisk 4 egg yolks in a separate bowl and carefully add to milk mixture, stirring constantly.
- Place over medium-low heat, stirring frequently until the mixture coats the back of a wooden spoon.
- Strain mixture over mesh strainer and allow to chill in the fridge for at least 4 hours or preferably overnight.
- Add in candy canes, milk and white chocolate and stir.
- Pour into your ice cream maker and churn according to maker directions.
- Pour mixture into a loaf pan or ice cream containers and freeze overnight.
- Optional- top with crushed peppermint sandwich cookies and more crushed candy canes prior to freezing
That is the churn method using an ice cream machine. If you do not have an ice cream machine and prefer the no churn method that just requires a mixer. You can get the very, very simple recipe here- simply substitute the candy cane and chocolate for strawberries.
Now for a few quick notes– be very careful and slow adding the eggs. They can scramble on you and that is not delicious ice cream.
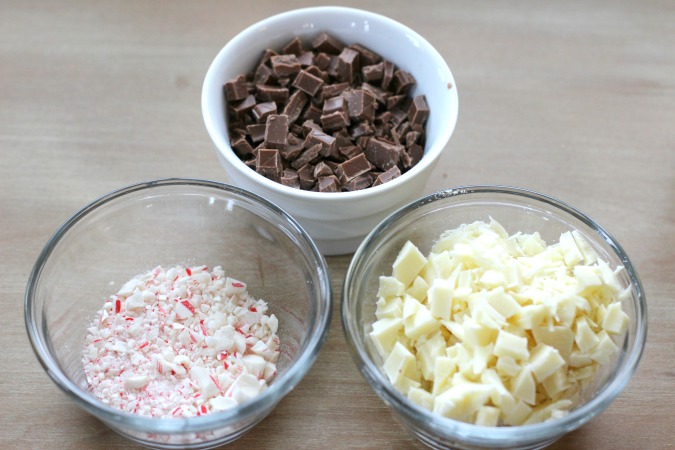
As for the chocolate- I try to chop into small pieces. I have used chunks of chocolate or even chocolate chips in the past and it is not super pleasant to bite into a frozen chunk of chocolate. As for those candy canes- I popped them into the food processor for about 2 minutes and they were chopped right up for me. You can also pop them in a sandwich bag and bang the heck of it with a rolling pin.
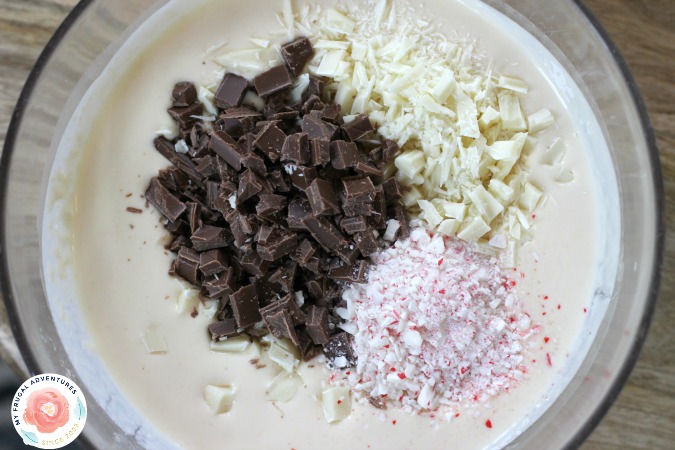
The candy canes will dissolve in the cream mixture so you can reserve some of the candy cane to sprinkle on top if you like.
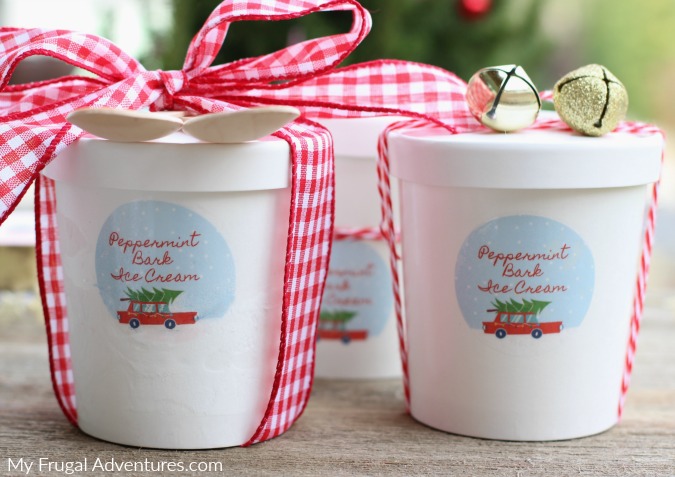
The loaf pan is perfect to serve to your own family but if you want to give this as a gift, transfer the ice cream from your machine directly into the ice cream pints.
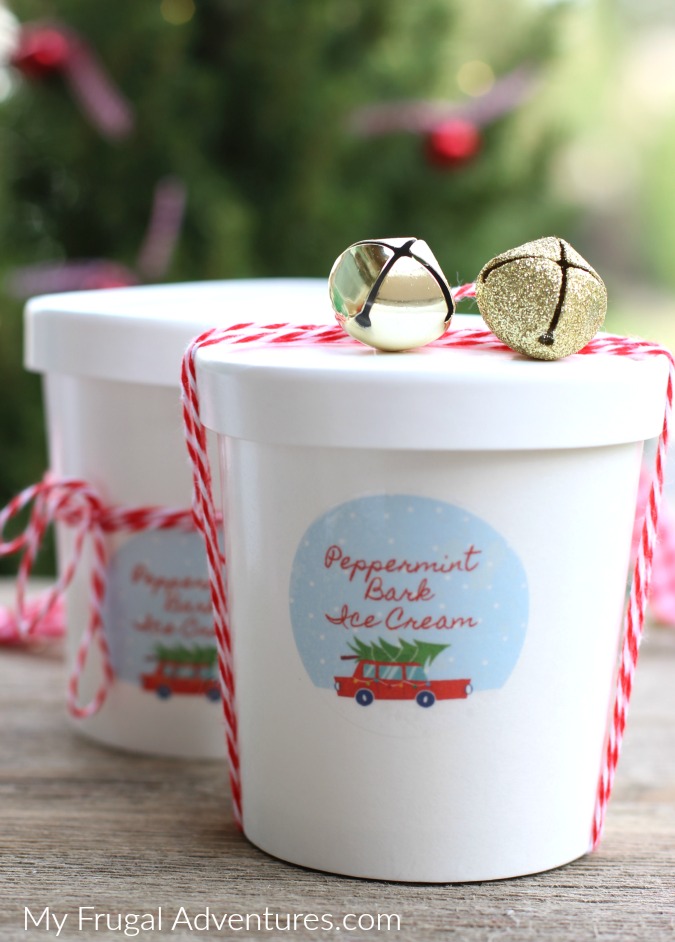
I made these quick little labels using Avery labels. These only took a second to make but you do need to take care with any labels as the condensation from the pints can make the labels smear. I only had trouble with one pint out of 6 that I made but next time I will probably tie the label to the twine instead of sticking it on the container.
And if you want to add two little spoons to your ribbon, I think it adds such a fun touch.
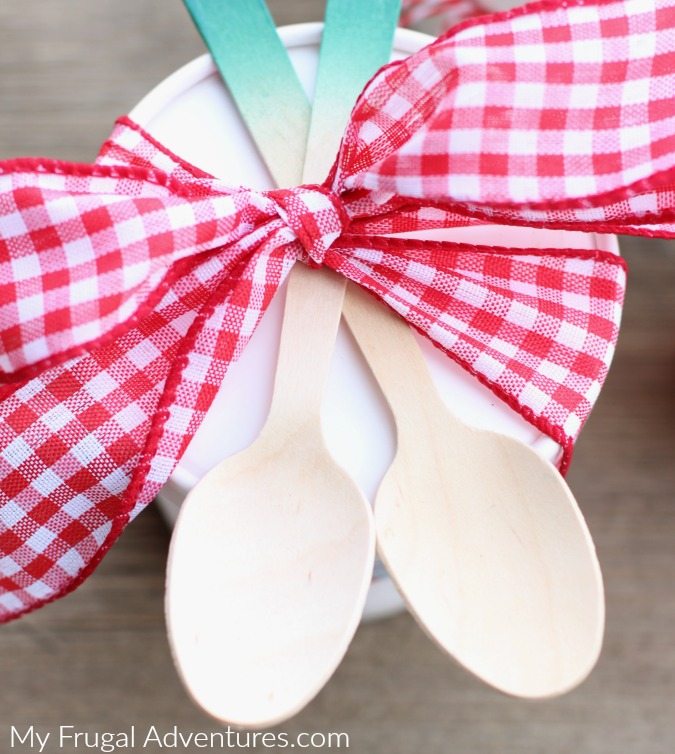
Cute right? I hope you like this recipe! I certainly did.
Here are a few things you might like for this recipe:

Cuisinart Ice Cream Maker // Ice Cream Pints // Wooden Spoons // Avery Round Labels
Where do you find the pint containers?
Hi Kathy,
There is a direct link to the place I bought mine at the end of the post 🙂
Can you use actual peppermint bark to replace the chocolates and candycanes? I have several bars that were given to me, and this seems a good use for them, aside from just eating them LOL
Hi Tati- absolutely! Would be fantastic. Without the candy canes I think you might get a more vanilla ice cream with peppermint chunks and not the peppermint ice cream with chocolate chunks if that makes sense.
Just be sure to finely chop the chocolate bars. Enjoy!
I love how this turned out. It looks amazing!
The instructions don’t specify when to add the vanilla. When would you recommend that we add the vanilla?
Shoot I am sorry for that error Bob! This ice cream is so good- I hope you love it as much as I do 🙂 I updated the recipe but you can add the vanilla once you remove from heat and before adding eggs.
This recipe is great. My daughters wanted only “candy cane” ice cream, so we didn’t include the chocolate. Here are some comments about my experience:
1. This recipe is for a custard-style ice cream base — which is what we like, which is why we used this recipe instead of others. Generally, custard-style ice cream bases can be so rich that they overwhelm the flavorings. So, we tend to err on the high side of the recommended flavorings (in this case, the candy canes).
2. The recipe calls for 4-6 candy canes. It doesn’t specify what size of candy canes, and candy canes come in a bunch of different sizes. I pulverized six 8″-9″ (?) candy canes, which yielded a little less than a cup of pulverized candy canes.
3. The ice cream was delicious, creamy, and very candy-caney. But, as Charlene said, the mix dissolves the candy canes. Because I’d used 6 candy canes in addition to the sugar that the recipe calls for, the mix was saturated with sugar. In turn, the ice cream was a smidge too sweet for me (although my daughters were crazy about it), and the sugar kept the ice cream from hardening as much as it normally would. (It scooped very nicely, but it melted a little quickly.)
Bottom line, in light of my experience, next time, I’d probably use 4 candy canes in the mixture, and *maybe* add another candy cane or two as a “mix in” after the ice cream is hardened or complete.
Thanks for posting this recipe! I’m now in search of a gingerbread ice cream recipe…. 🙂
— Bob
These are super cute. Would you be willing to share the image of the labels? Thank you!