Here is a fun little craft that is perfect for back to school. We can always use new tote bags- for after school activities, library books, slumber parties- the list goes on and on.
As some of you know, my little girl just got her first American Girl doll, which she loves. She has been dragging that little doll everywhere (along with hair brushes, glasses, outfits…) There are little cases and such that you can buy to hold all.the.things but I just wanted a simple tote. Something that wouldn’t take up a lot of space and that would be cheap and cheerful to corral this new member of our family.
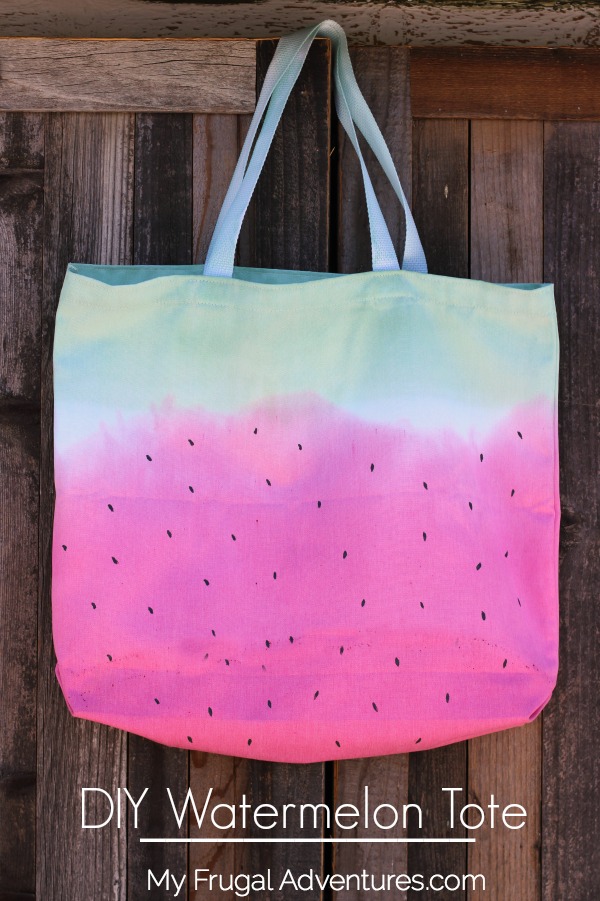
Watermelon is always a favorite with us and best of all this tote took me about 10 minutes to create and was really inexpensive.
To get started you need the following supplies:
- Plain White Tote
- RIT dye in red or pink (I used fushia)
- RIT dye in green (I used Kelly Green)
- fabric paint in black or sharpie
Next I prepared the fuchsia dye according to the box directions (I did the tub method). I wanted to do this outside just to be sure no drips of pink made it onto the counter. I tried more of a dip dye technique where I dipped the bottom of the bag for several minutes into the tub of dye just to get a more concentrated color. I dunked the rest of the bag for just a minute to try and get a slightly lighter color.
*Note: I think I didn’t stir the mixture quite enough because I had some residue on my tote. Just be sure to mix really well so all the powder dissolves.
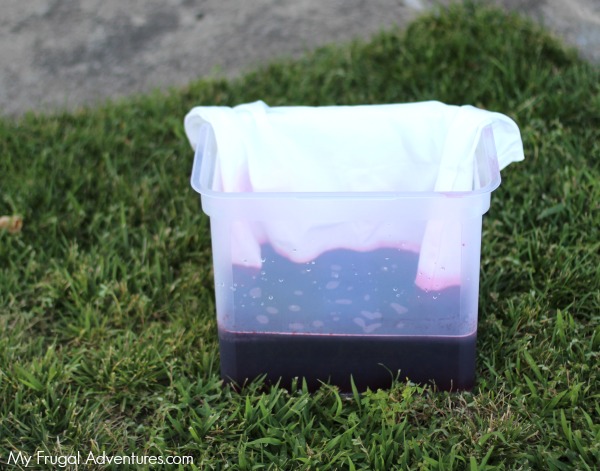
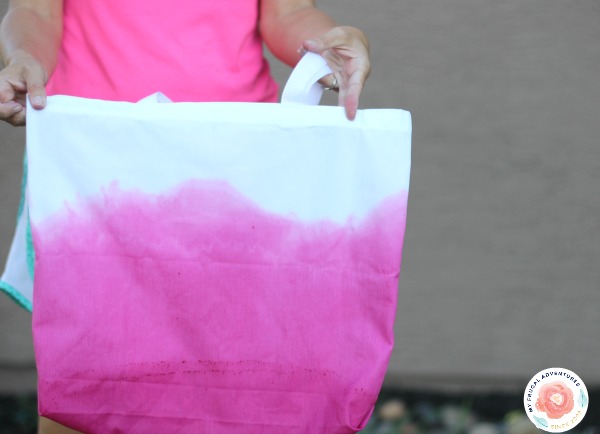
I tried to leave about 30% of the top of the bag white so there would be space for the green rind and also I wanted a little white in between the two colors.
I left the pink to dry for about an hour (my tote dried very quickly) and then I repeated the process with the green- just dunking the top of the bag.
*Note: The colors will fade considerably so you might dunk them until they are a bit darker than you want as it will fade.
A few things I learned- I really wanted some white in between so leave more space than you think you need. The green sort of bled a bit so I didn’t get as much white as I wanted. Also, next time I will probably put the handles of the canvas bag in a ziploc and tie it tightly with a rubberband. I think that might prevent the handles from getting dyed. My thought it that occasionally dye will bleed off on other fabrics and I would like to avoid that by keeping the handles white.
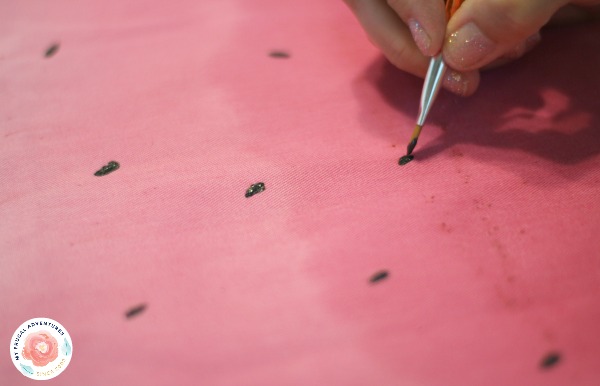
So now the dying process is completely done and again my bag dried quickly. I took a black fabric paint and painted on the seeds of the watermelon. This was a quick process and I did it freehand. The only trick really is to try and create more oval shapes and not so much circles with the paint.
And once that dried I was completely done!
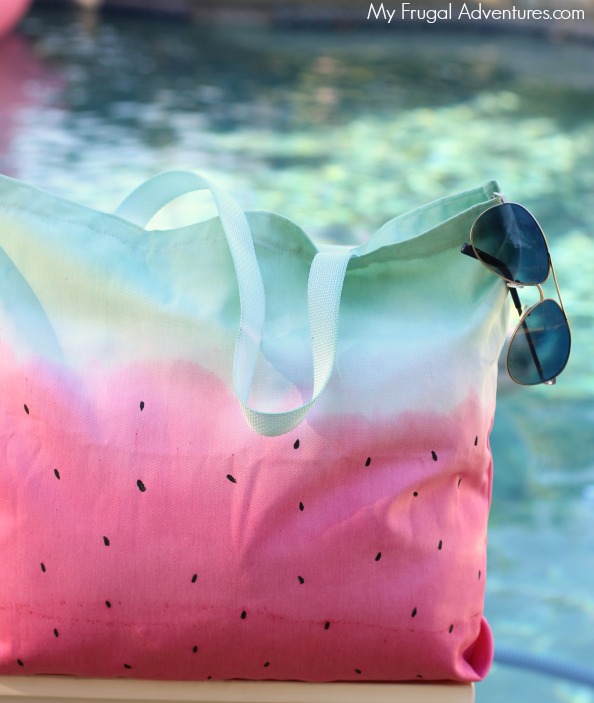
Here is the finished tote. I think it turned out really cute and again this project just couldn’t be simpler.
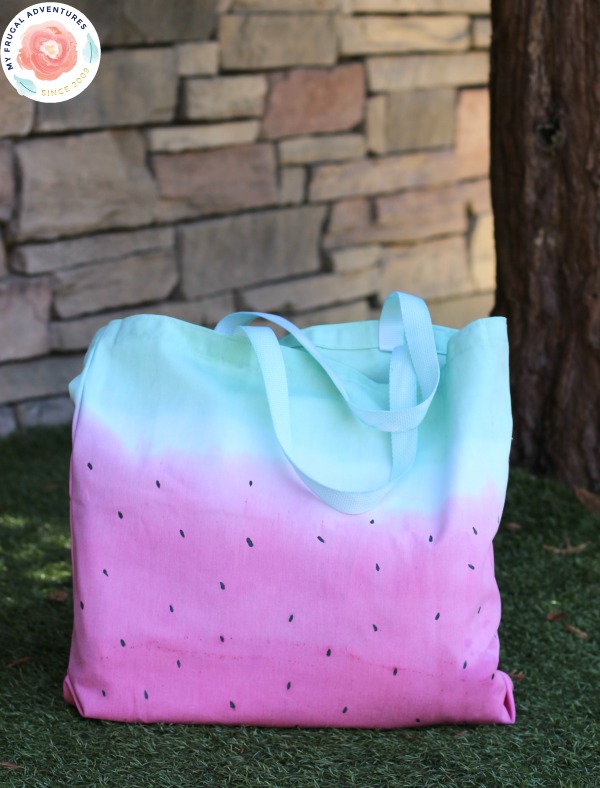
The size on this is great and it is super sturdy so I know we will pack this for travel this summer. Somehow the suitcases seem to get smaller when we travel 😉
Here are the supplies I used:
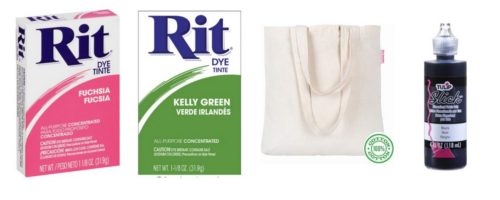
RIT Dye Fuchsia // RIT Dye Kelly Green // White Tote // Black Fabric Paint
And here are a few other fun posts you might enjoy:

Watermelon Soap– fun gift idea!
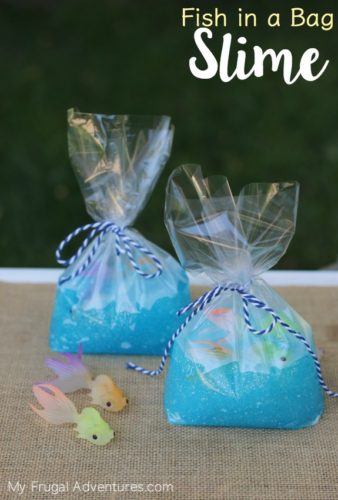
Fish in a Bag Slime (such a fun and simple little craft)
super cute!
b