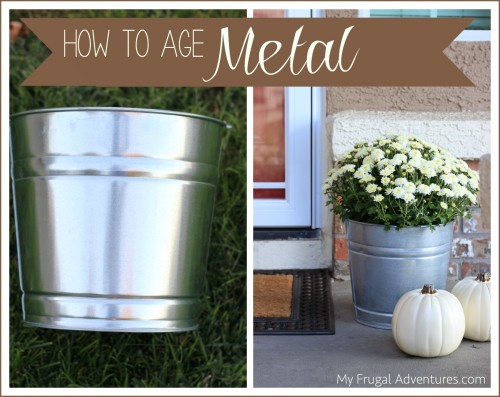

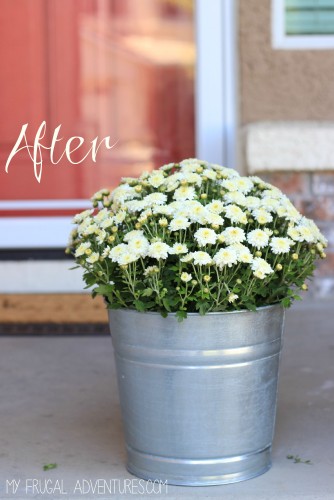
Fall has officially started and I am so ready for the crisp weather! I picked up a few mums to change up the front porch and really wanted an aged, vintage looking metal bucket to rest one of the plants inside.
I have actually been on the hunt at antique faires and thrift shops all summer looking for a vintage galvanized bucket to put a lavender plant inside. One of my favorite stops in wine country is this cool, old shop/restaurant and they have these buckets all over the place with rosemary and other plants inside and it just looks gorgeous and so simple and so elegant.
I have found a few buckets that were reasonably priced but they were so aged- the bottom was really worn down or the bucket required a lot of cleaning and my lazy girl kicked in and said who needs a fabulous bucket when spider webs are involved? Not I!…. or I’d find perfect ones that were just too expensive. $35 for a bucket? Meh.
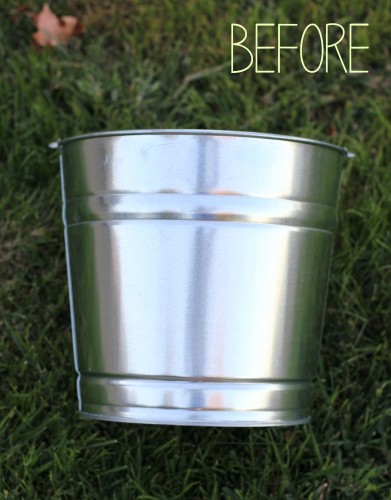
So I finally picked up a metal bucket from Home Depot for about $9. I found it near the paint department and it was the perfect size for what I wanted. The problem though is that the bucket is super shiny. This is totally appropriate for Trick or Treating with Bob the Builder but not so much of the wine country elegance I was going for.
So I was chatting with the paint guy at Lowe’s and thinking maybe I’ll paint it gray and add some dabs of black and white paint to try and get more of an aged look.
But oh no friends- he had a better idea! He mentioned that I might try two different things to give the bucket a little bit of a patina. The first idea is to soak the bucket in vinegar. So I came home and added straight white vinegar to a spray bottle and really went at it with the bucket. A few hours later- nothing. No difference whatsoever.
(I think next time I might try adding a bunch of vinegar to the sink or a big bucket to really immerse the bucket and see if that makes a difference over just spraying it on.)
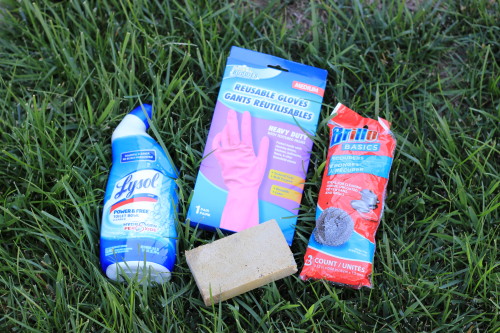
But in the meantime I moved on to suggestion #2. He suggested using a highly corrosive cleaning product like ammonia or toilet cleaner or possibly bleach. I decided to try that instead and headed straight for Target to pick up toilet bowl cleaner.
I started the process by sanding down the bucket- I usually sand laminate before painting it to help the paint adhere and I figure this is the same thing. I just gently sanded the bucket to scuff it up a bit and maybe add some interesting texture to the bucket. A real bucket wouldn’t age uniformly so sanding it up will give the bucket a bit more character.
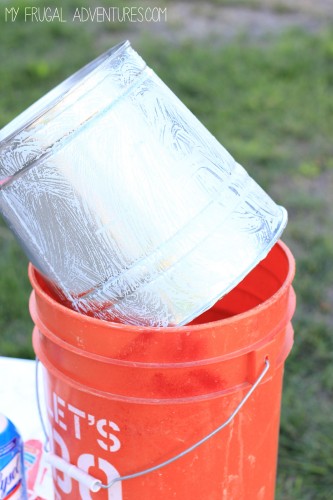
After that I squeezed a generous amount of toilet bowl cleaner all over the bucket. At first I just used my hands- in gloves!- to rub it in and I placed it on top of an old bucket to dry. I left the bucket for about 90 minutes and came back and noticed slight but not much change. Bah!
But it was going in the right direction because the bucket was looking a little less shiny and a little more worn.
So I decided this was time for a little tough love and tried once again. I slathered the toilet bowl cleaner all over the bucket and let it sit overnight. This time I used a heavy duty scrubber to really scrub in the toilet bowl cleaner. The next morning, I rinsed it off completely and ta da! Not totally the look I wanted but for sure less glossy and closer to what I was going for. A nice improvement!
So for $9.00 I think this looks pretty great. If I lived in Seattle or Florida or somewhere that gets a lot of rain, it would probably look amazing by mid-fall. Sadly in California we get no rain but hopefully by winter sitting outside in the elements this bucket will get prettier and prettier as it naturally ages.
So if you find yourself with some new, glossy galvanized metal buckets or other accessories and want to give them more of a vintage makeover, give these methods a shot! I’d love to hear from you as to what works for you!
Please remember to use gloves for this project and work in a well ventilated area. The cleaner I used was very strong in smell so I actually went outside. Also my bucket took a really long time to notice a difference but you might want to check on your project frequently as yours might be much faster.
And here are a few other projects you might enjoy:

Leave a Reply