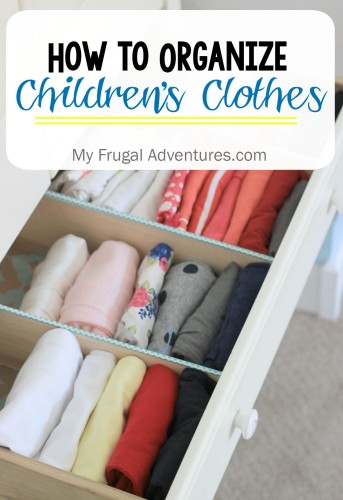
One of the first lifestyle posts I ever did on My Frugal Adventures was a little tip on how we keep dresser drawers organized.
I thought I would revisit that post from several years ago because we recently updated the dressers and I thought I’d share that with you.
With a normal dresser drawer, the clothes get dumped on top of each other and can become messy and hard to find what you need. Even if the clothing is folded nicely, it is still hard to see exactly what you have in there.
This is especially true for the kid’s clothing since mine tend to shove things where they fit, not necessarily where it should go. I wanted a system to show me exactly what shirts/pants were available and to keep things separated so I wouldn’t have to dig around each morning.
I use this system on all of our children’s clothing and I also use it in my dresser to keep all my own tank tops, workout tops and t-shirts organized.
Originally we purchased a bunch of clear plastic storage tubs and they fit perfectly 4 wide in the drawers. I folded everything to stack face up in the drawers. These tubs are about $1.00 each at Walmart, Target and the Dollar stores.
This is what the drawer looked like with the tubs inside- I didn’t tidy up at all this is what the top drawer looks like on a regular day.
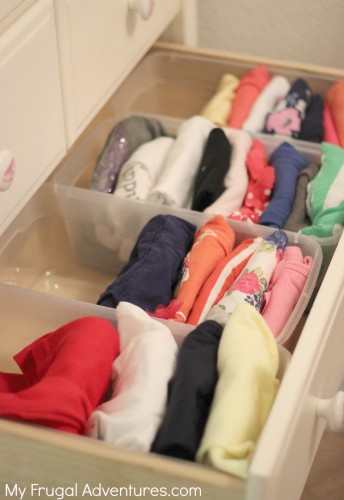
This has worked nicely for years now but there is a little extra space in the front and back of the tubs that is wasted space- about 3 inches total. My girls have a lot of clothing so every inch of space in the dresser I do need. So with school starting and all the fresh, new outfits we set out to find a different solution.
To solve the problem took about an hour per dresser and about $6 in materials. I absolutely love how this project turned out. All the clothes fit perfectly, I can see everything in the drawer at a glance and it is easy for my husband and kids to put things away exactly where they belong.
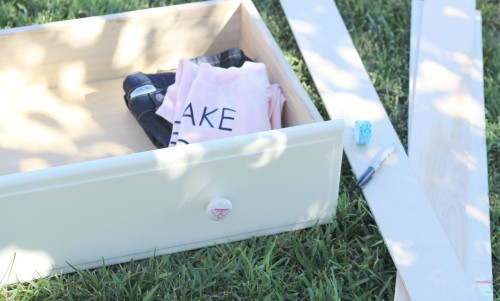
To get started we picked up a sheet of quarter inch plywood at the home improvement store for $6. This is a very thin and inexpensive wood so you can look for something a bit sturdier if you prefer. The sheet was easily enough to create inserts for one entire dresser- we made about 10 dividers per dresser and each was roughly 15 inches long.
The home improvement store will cut for you if you head in with your measurements. It is extremely important that the measurements are perfect so measure twice and cut once 🙂
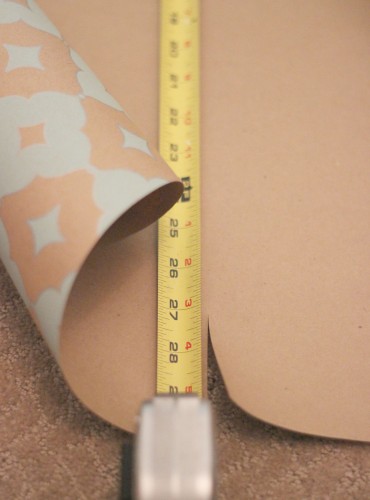
Once the wood was cut, I emptied the entire dresser, vacuumed it out and then took some thick wrapping paper I had on hand to line the drawers. This is totally unnecessary but my girls were delighted with the little pop of color and it does look so nice when you open the drawer. I found it easiest to just measure the inside of the drawer and then cut the paper to size. Slip it inside the drawer and you are done!
Next take the plywood strips you cut and place them in the drawer. I used (3) pieces of wood per drawer and just carefully wedged the piece of plywood in. If you cut too short the plywood won’t stay in place. If you cut too long it won’t fit so again measuring is very important. We had to recut a few pieces that weren’t perfect 🙂 Also you want to be very gentle with the plywood. It is very thin so if you bend it, the sheet might not slide perfectly into place.
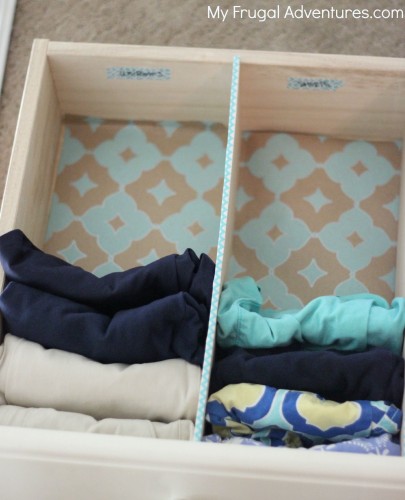
Plywood can splinter so you can cover your pieces with scrap fabric or paper if you like. I decided to just cover the tops of the wood with washi tape. Simple and fast and protects fingers from any potential splinters. You can see my strip of blue Chevron washi on the drawer top. The kids loved this little touch. My older daughter’s drawers are blue and my little girl I just randomly chose a red and white polka dot tape. “Oh Mom it looks like ladybugs!” she squealed- so the washi tape was a hit.
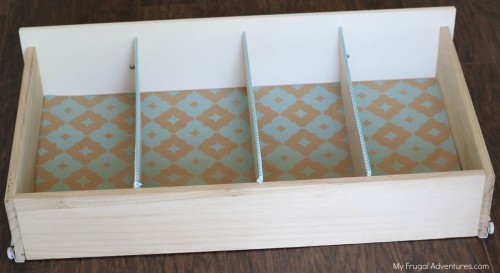
I actually like to sort the clothing by category so for the tops drawer we have tank tops, t-shirts, long sleeve and a slot for uniform polos. For the bottoms we have skirts, shorts, pants/leggings and uniform bottoms. I hang dresses up.
To make it easy for the kids to keep things in the correct space, I used a piece of washi and wrote the category and put that on the back of the drawer. The washi will peel right off if you want to remove it in the future so don’t worry about ruining your furniture.
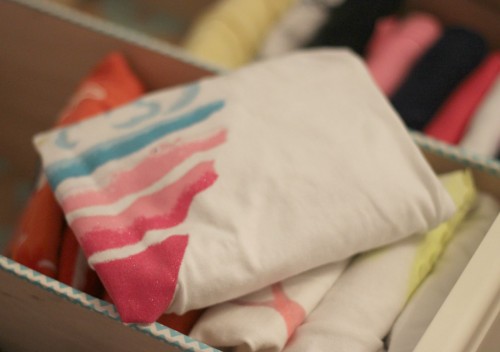
Next I folded everything into little squares. It is very simple and I can fold skirts, jeans, tops– everything really into these little squares. I try to fold the tops in such a way that whatever decoration is on the front is easily visible when it is folded to make it easier to quickly scan and pick out outfits.
Here is how I fold the shirts:
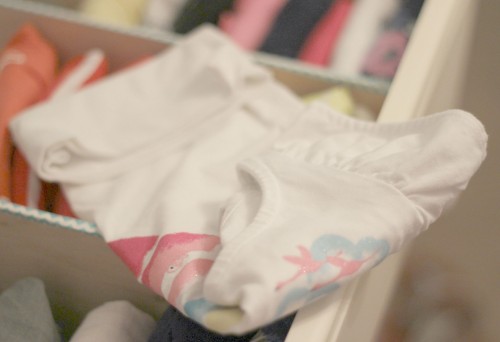
I fold from the top and then from the bottom and then once more in half and the graphic on the front will show once I put it inside the dresser. Once it is in this little square, you can slip it right inside the dresser and it stays nice and neat.
And here is the finished pants drawer- this is holding 10 pairs of pants, 9 skirts, 4 uniform skirts and 6 pairs of shorts. That is a lot of clothing and there is ample room for more.
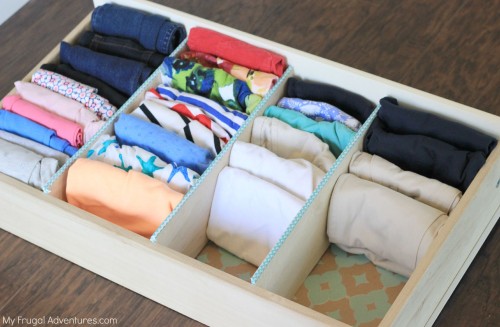
Everything is easily visible when you open the drawer, I can grab exactly what I want and the children can easily put things away.
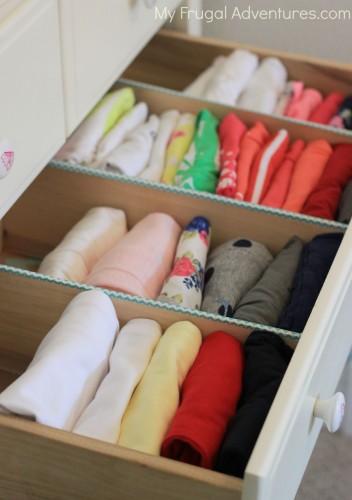
Here are the tops- uniform polos on the left, long sleeve and then t-shirts followed by tank tops on the far right.
In addition to tops and bottoms I have a divider for socks and underwear, tights and swimming suits and so on. The organization is slightly different for each of my girls’ as their wardrobes are a bit different.
The bottom drawer holds (from left to right)- PJs, Ballet clothes, sports clothes- soccer uniform etc..) and the last spot is play clothes for when we paint and do art projects.
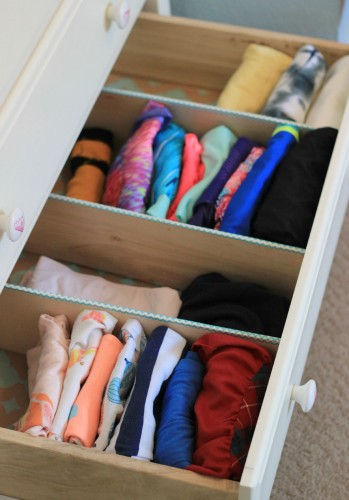
And that is it! As far as keeping things tidy, you can see from the before picture the clothes look OK most of the time. I actually don’t put clothes away- my husband and kids do that task. I would be a bit more meticulous myself but considering they do it themselves, I think this is an easy system to maintain for even small children. (Mine are 6 and 8).
Do you have any other tips for keeping children’s clothing under control?
Here are a few other posts you might enjoy:
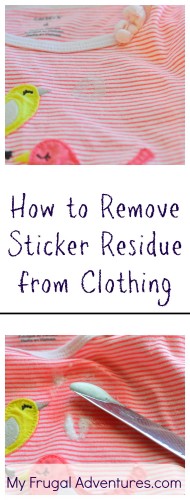
How to remove sticker residue from clothing
[…] 3) How to Organize Children’s Clothes {My Frugal Adventures} […]