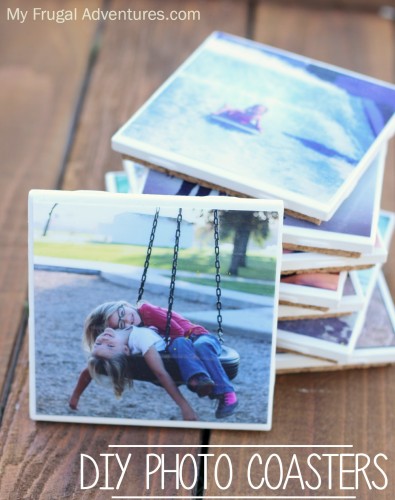
Here is a project I have been wanting to do for ages and ages now and I am so glad I finally got around to it.
I have been wanting to make custom photo coasters for my own home and for a Grandparent gift for awhile and I can tell you this is such a simple project and really inexpensive to do. Plus the kids can help which makes it more fun.
My Kindergartener had a class project recently that required several photos and since I love Instagram, I used a bunch of those for her project. Once the project was done I had a stack of photos and decided this would be a perfect way to use the photos.
So to start with head over to a home improvement store- I went to Home Depot- and buy plain 4×4 tiles. My tiles were $.16 each and you can buy as many or as few as you like. There are other colors to choose from as well- blue or a mossy green- or you can get different finishes… really whatever look you want. I think a chalkboard finish would look fantastic.
Next have your photos printed- if you also like Instagram photos they will be a perfect size. If you choose to use 4×6 photos instead, you just need to trim down the edges to fit.
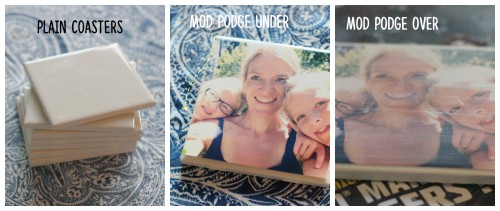
Once you have your tiles and photos, take some Mod Podge and generously paint the backside of the photo. Then adhere it onto the tile. Next apply a generous amount of Mod Podge directly over the top of the picture- make sure to get the edges of the photo so they aren’t peeling up. Allow this to dry and apply a second coat and a third coat- just over the top of the photo. The brushstrokes will show once the Mod Podge dries so try to be careful as you paint the top so it isn’t gloppy.
This makes the photo very secure on the tile. The next step is to just seal your photo coaster. You want to do this so the coaster is waterproof just in case a drink spills or you get the little condensation ring from a glass.
If you want a vintage or weathered look to your photos, you can take a fine sandpaper and gently sand the sides of the photo before sealing.
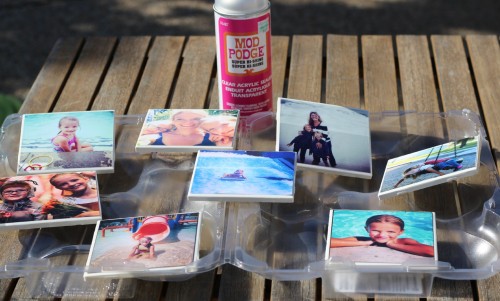
I used Mod Podge clear spray on mine- I had this on hand from a prior project and my can was from Hobby Lobby. You might choose a matte or a glossy finish. Mine was glossy. You can also pick up a can here.
I did two coats of sealer outside (in a well ventilated area) – giving it plenty of time to dry between coats. Spray the sides of the coaster as well as the top.
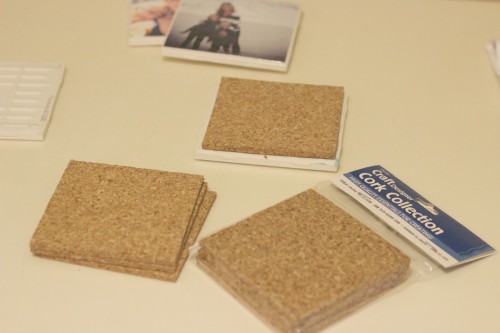
Once the final coat of sealer dries, you can purchase felt or cork to protect the bottom of the coaster from scratching your tables. I found some small felt circles that can be glued to the bottom of the coaster in the upholstery section of Joann’s, otherwise you might purchase felt squares and cut them to size or cork squares and again cut them to size.
I actually decided on these cork squares that were $3.49 for 4 (cheaper with coupon) at Joann’s in the felt section. I used hot glue and glued them onto the bottom. Stack them on top of each other carefully and let them dry to be sure the glue is well secured. The tiles I purchased did have scratchy bottoms so the thicker cork is perfect to be sure your table never gets scratched.
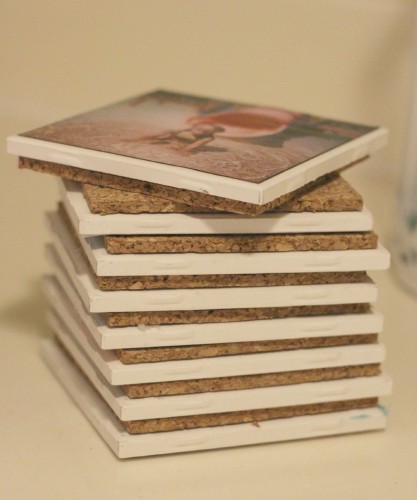
If you’d like to skip some steps, you can look at a store like Home Goods or Walmart or Crate n Barrel for a standard coaster with a flat surface and simply adhere the photo to that.
And boom! You are done! So easy and so cheap to make. You can do tons of them with all sorts of pictures.
Here is my cost breakdown for 8 coasters:
Tiles $.16 (Home Depot)
Instagram Photo Print $.24 (Walgreens)
Cork Backing $2.09 for 4 or $.52 each
Total $.92 per coaster!+Mod Podge and Hot Glue if you don’t have that on hand.
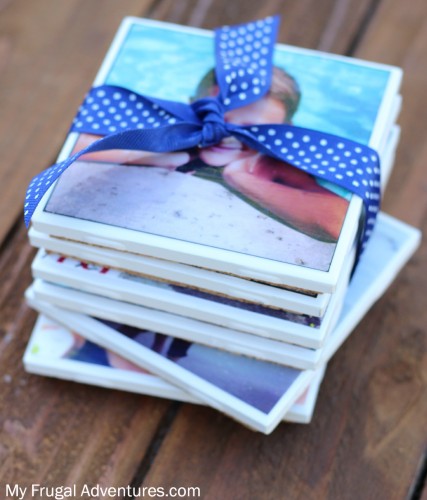
And to give this as a gift, you can either tie a ribbon on top:
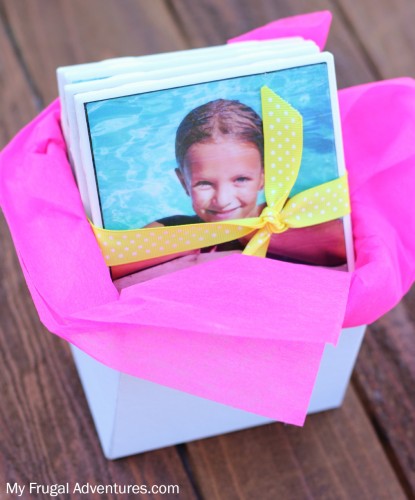
Or I found these little boxes at Michael’s for about $1.00 in the gift wrap section and they fit perfectly:
If you decide to try your hand at making these coasters, please come back and let me know what you think!
Here are a few other projects you might like:

I love this idea. So easy and thoughtful! Will definitely be making these, thanks so much for sharing and the great directions:)
Has anyone told you that you are a genius? I love your crafty posts! You always make such cute stuff on a budget! 😀 Thank You!
Why no Jessica but what a nice thing to say 😀 Thank you so much~
i made the coasters with pics of family and pets ,really cute idea.sending to daughter away in college.
Oh glad they worked out! What a fun gift for her 🙂