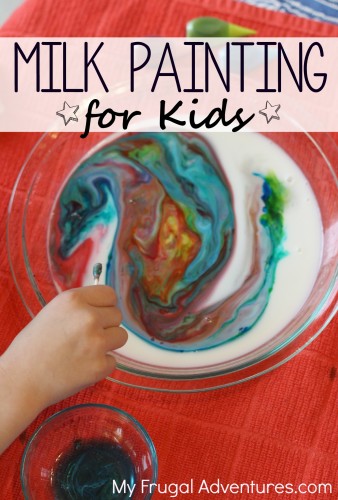

Have you ever tried milk painting with the kids? This is so simple and I wanted to post this idea for those of you that might be snowed in this week and looking for ways to keep the kids busy for at least a few minutes.
The beauty of this project is that you probably already have what you need on hand and it takes just seconds to prepare.
Your children can swirl around and “paint” beautiful color combinations using the milk as a canvas. This is a great way to talk about primary colors and how to create secondary and tertiary colors or they can just explore the color combinations on their own.
My Kindergartner actually did this at school one day and we have done this a few times since and each time she has so much fun swirling the colors around. “Mom I made purple! Mom look!”
Here are the supplies you need:
- Food Coloring
- Milk (the higher the fat content the better but any variety will work)
- Dish Soap (optional)
- Watercolor paper (optional)
- Q-tips or toothpicks
Now since you are working with food coloring it is a good idea to protect your surfaces and clothing but overall this is not a really messy project. Just be sure Mommy (or Daddy) is in charge of the food coloring and little fingers are in charge of Qtips and dish soap.
Start by adding milk to a dish of some sort- I used a Pyrex pie plate but a casserole dish or tray would be perfect. Anything with a lip to hold the milk but also a wide surface area for painting.
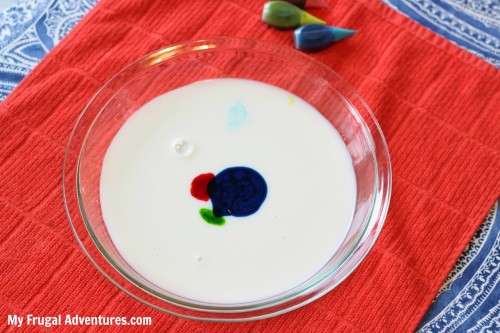
I added a thin layer of milk to cover the pie plate completely. Any variety of milk will work but a fuller fat content is probably best- (whole milk or almond milk etc…) We used 2% milk. Next add a few drops of food coloring in the colors of your choice- the primary colors of yellow, red and blue are best but no matter what this will turn out beautifully. Close together or far apart- doesn’t matter.
Now your child can take the Qtips and start swirling the colors around. It will create tie dye effects which are very cool or you can talk about using the primary colors to create secondary and tertiary colors… My 5 year old will swirl for about 5-10 minutes and then the colors tend to get murky. Just dump and add more milk for a new canvas.
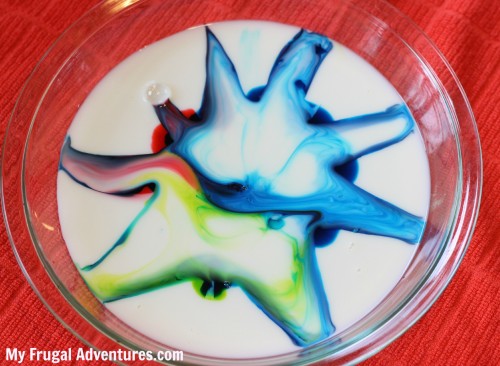
If you have dish soap on hand- you can either dip the Qtip in the dish soap first or you can squeeze one drop on top of the food coloring and directly into the dish with milk. That makes this craft even more fun as the colors will sort of twirl around. If you drop the dish soap on top of the food coloring it creates a big effect- I think it looks like a firework. The colors spread really big and it looks awesome. You can see above this was what happened to the dish of milk with drops of food color, I added one drop of dish soap directly to the center and Boom! It looks like this.
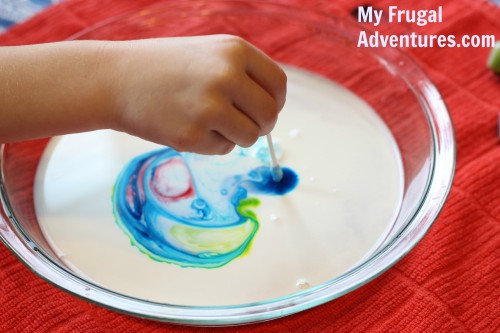
If they use the Qtip dipped in soap and swirl in the dish it will still make the food coloring swirl just not as dramatic of an effect.
And try holding the Qtip down near the colors and see what happens!
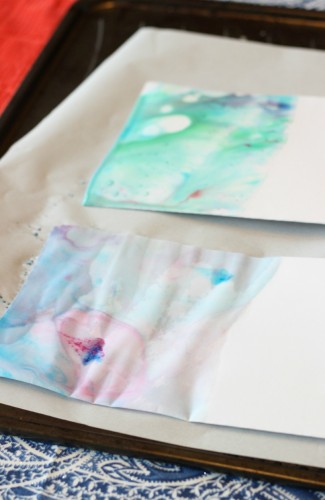
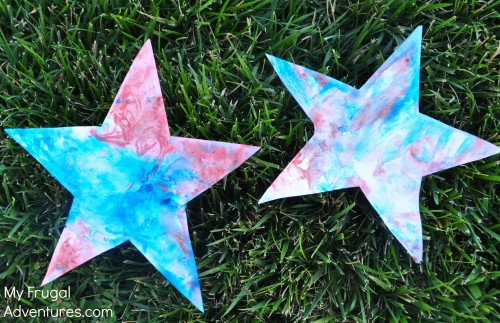
And once you get a color combination that you love, you can create fancy painted paper! We needed to make cards to send the Grandparents some dance photos so my little one played with the colors until she got a design she loved, we dipped paper right onto the top of the milk- gently so it isn’t submerged– and then set it aside to dry. Once it dries you have a pretty swirly, watercolor looking paper!
Regular printer paper tends to be too thin so try watercolor paper or card stock for better results. I planned to fold the paper to create notecards so we only dipped one half of a folded sheet into the milk. You can make the paper as large as you like, you just need to find a plate or dish large enough to accommodate your paper.
And that is it! Simple and fun art at home.
If you like this post, you might also check out:
I did this with my four year old today and he loved it. Thanks for the idea!
So glad Carrie!