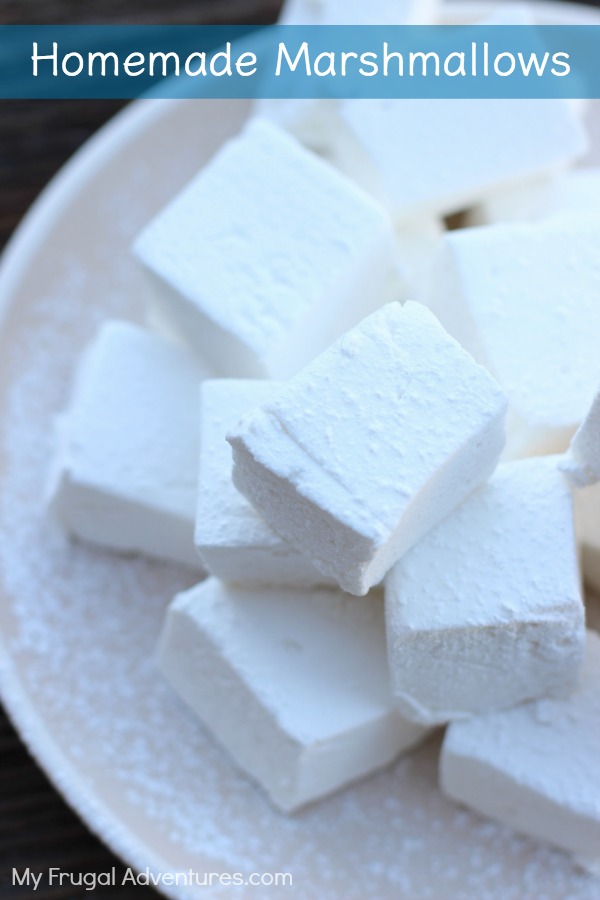

Well let me tell you, if you haven’t tried homemade marshmallows you are so missing out! Marshmallows are never really on my radar when it comes to treats– I like them on hot chocolate and in S’Mores but when I think about making something wonderful it is usually cookies, cupcakes… chocolate is often involved…
But I thought with Valentine’s Day and Easter and Summer vacation around the corner these would be wonderful to post now and hopefully this will inspire you to try these because they are wonderful! I am so glad I finally got off my duff and made a batch because now I know what I have been missing.
These are really easy to make and actually pretty fast. These are light and fluffy and they can be flavored in so many ways, cut into shapes– whatever you like.
If you have children I bet they absolutely LOVE these and what an treat for parties or birthdays or just to tuck into lunchboxes. Fun! I will for sure make these for soccer snacks this summer.
And if you are a fan of S’Mores, these marshmallows melt so quickly into the gooiest most amazing S’More. Truly an experience 🙂
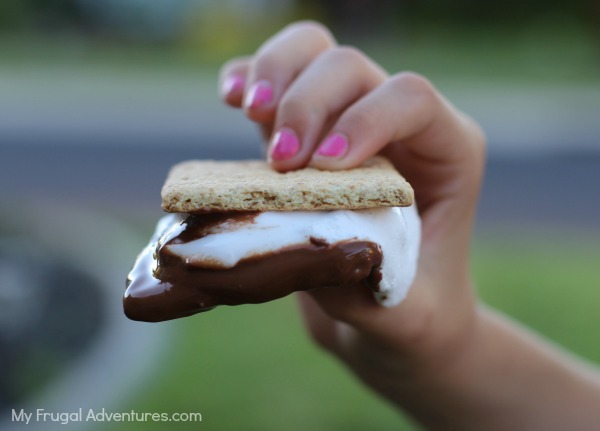
So here goes!
What you need:
Gelatin (I find this in the baking section at any grocery store)
Powdered Sugar
Corn Syrup (I use light)
Vanilla
Candy Thermometer (find one here)
- ⅔ cup corn syrup
- 1 cup water (divided)
- 2 cups white sugar
- 3 packets gelatin
- 1 teaspoon vanilla
- Additional coloring, flavoring, toppings as desired
- Start by adding 3 packets of plain gelatin into a stand mixer bowl.
- Next add ½ cup cold water to the bowl directly on top of the gelatin.
- Let sit for about 3-10 minutes- the gelatin will bubble up a bit and look gross. Don't worry.
- In a saucepan and add the remaining ½ cup water, sugar and corn syrup.
- Bring the mixture to a boil.
- Once it does start to bubble up, allow the mixture to boil for 1 minute.
- If you have a candy thermometer, wait until the sugar mixture hits 240 degrees.
- Remove from heat and immediately pour the mixture into the mixing bowl with the gelatin mixture.
- Turn the mixer onto high speed and whip for 8-12 minutes. The longer it whips the stiffer your marshmallow will be- careful it doesn't get too stiff or the marshmallows will be closer to taffy and nearly impossible to get out of the bowl.
- I set a timer for about 9 minutes for mine.
- As that is mixing, take a sheet cookie pan with a lip or a 9x13 casserole dish and butter very well.
- Once your mixture is about 1 minute away from finished- add the vanilla and keep mixing. Do not add it at the start or your mixture might not fluff up properly.
- Remove the bowl from the mixer and working very quickly, use a spatula to scrape all the mixture into your prepared pan.
- Take one piece of saran or cling wrap and butter the underside that will touch the marshmallows.
- Put the saran wrap on top of the mixture and allow to set at room temp for a minimum of 3 hours or preferably overnight.
- Once you are ready to cut the mixture, sprinkle a cutting board generously with confectioner's sugar.
- Loosen the marshmallow mixture and flip the pan upside down and press into the confectioner's sugar.
- Sprinkle more confectioner's sugar on top of the mixture and press into the marshmallows.
- Using a sharp knife cut into squares and enjoy!
- Store in an airtight container.
Here are a few variations that I tried with wonderful results:
Peppermint- perfect on hot chocolate! In the final stage of whipping instead of vanilla, add a dash of Peppermint Extract and green or red food coloring. The extract is VERY strong so better to add a dash and you can always add more to suit your taste. I made mine light green but red would be lovely too. Wouldn’t this be a fun and easy treat for St Patrick’s Day? Green S’Mores!
Coconut- my favorite for sure! Take 2 cups of unsweetened coconut and spread out on a cookie sheet. Place in a 325 degree oven for 5 minutes, stir the coconut and bake another 5 minutes, stir again and bake a final 5 minutes. This should result in a perfectly toasted coconut.
Set aside and once the marshmallows have completely cooled and are ready to cut- substitute the coconut for the confectioner’s sugar and press the coconut into the mixture. This one smells heavenly.
Lemon- these are so fresh tasting and delicious. Just like the peppermint flavor you simply want to add a splash of lemon extract to the mixture in the final stage of whipping. I excluded the vanilla- you can also make these yellow with a drop or two of food coloring. If you want something extra fancy, you can zest an organic lemon and sprinkle in the batter or just sprinkle the zest on top.
Funfetti- these are really fun! I added the sprinkles in the last seconds of whipping- I literally added about 60% of a sprinkles container and whipped them in for just a few seconds. Next after I poured the marshmallow mixture into the pan, I covered the top with more sprinkles and pressed them well into the marshmallow mixture. I saved just a bit of the sprinkles to top of the marshmallows after they were cut. Wouldn’t these be fun with little red and pink heart sprinkles for Valentine’s Day?
Here are step by step visuals of the process:
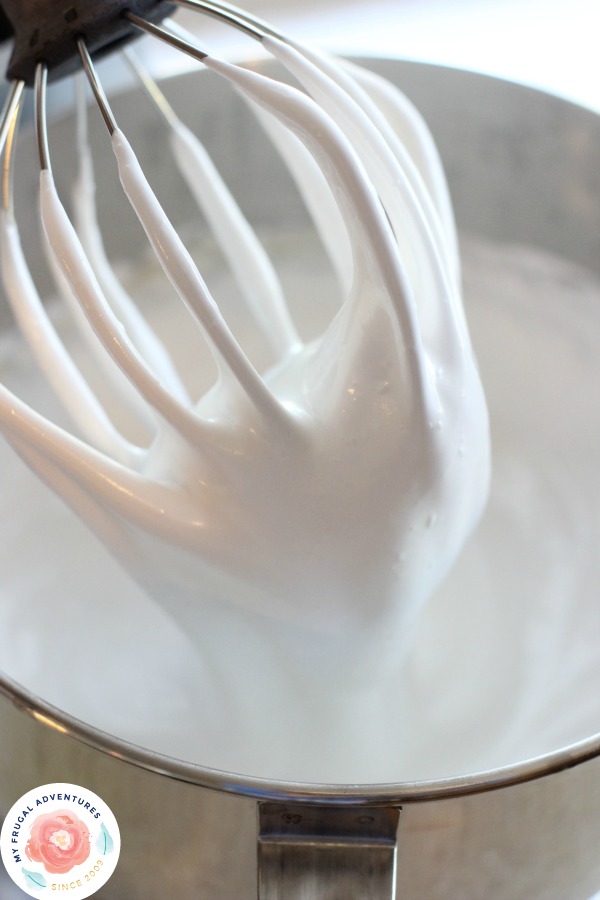
Your marshmallow mixture should be light and fluffy in the mixer and should start expanding until it reaches about 3/4 of the way up the sides of the mixer. If you do not find this to be the case, you may have an issue with your gelatin. Do not let the gelatin sit in the water for too long or your marshmallows at this point will be tough- similar in consistency to salt water taffy.
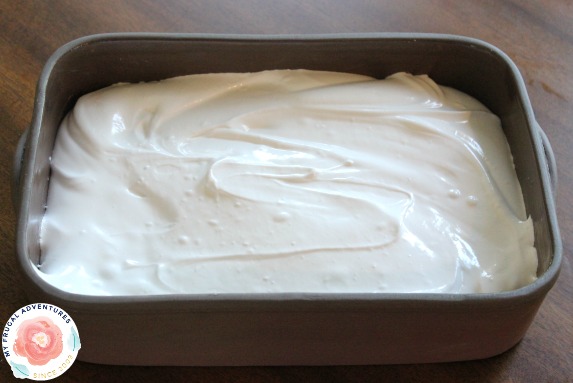
You need to work very quickly with marshmallows as they do start to set and can be very difficult to work with once it does start to set. Pour the mixture immediately into a buttered dish – this casserole dish makes about 40 big fluffy marshmallows from this recipe. I like to use a buttered casserole dish for marshmallows because if they do start to harden and get too sticky to work with, you can pop this into the microwave for a few seconds to melt it a bit and make it easier to work with again.
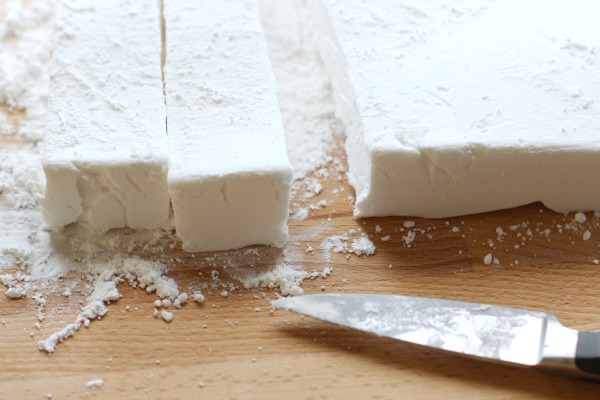
Once your marshmallows have a chance to set, pop them out of your dish and onto a cutting board. These are sticky so I like to be generous with powdered sugar. I use a sharp knife and dip the knife into the bag of cornstarch in between cutting rows so it cuts cleanly.
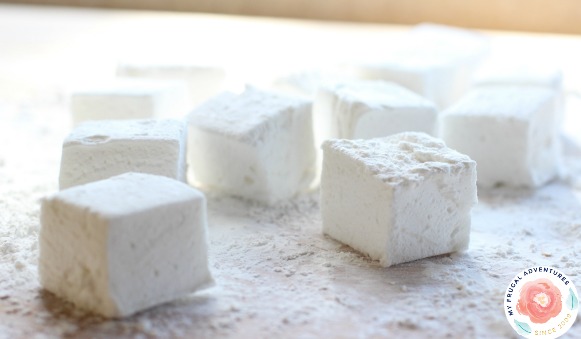
Here are the cut up marshmallows. I like to stick them in a large Ziploc bag as I am cutting them and sprinkle with powdered sugar and then shake. That gives all the marshmallows a nice even coating.
This recipe is based off a recipe from the most amazing cookbook, Butter: Baked Goods: Nostalgic Recipes from a Little Neighborhood Bakery*. I made countless batches of marshmallows and adapted the recipe a bit to one that I really love and hopefully you like it as well!
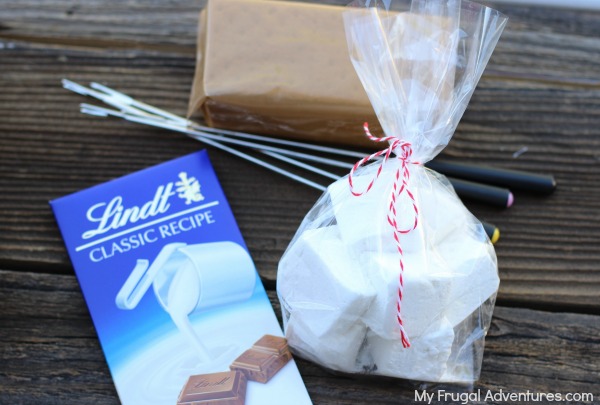
And if you want to give these as gifts they would be lovely in little cello bags with ribbon on top or mason jars. I popped these into a bag with graham crackers and chocolate bars for little homemade S’Mores gifts.
And if you like this recipe, you might also like:
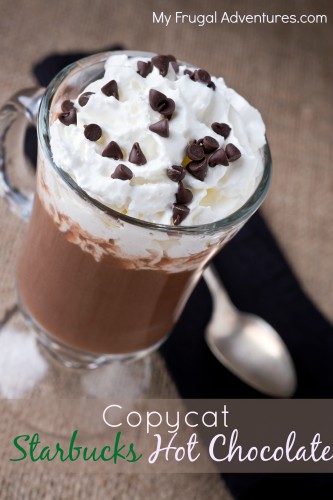 Copycat Starbucks Hot Chocolate— this is so good with the mint marshmallows!
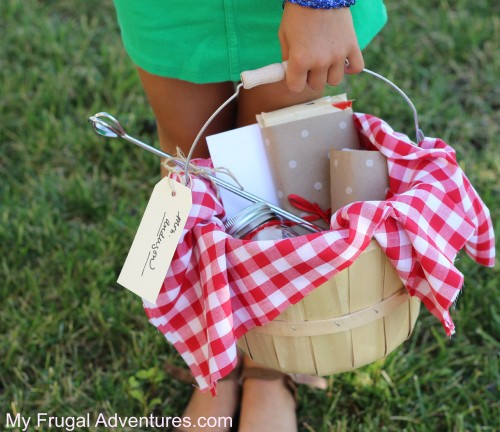 S’Mores Gift Basket-– we did these as teacher gifts last summer and I thought they were so cute.
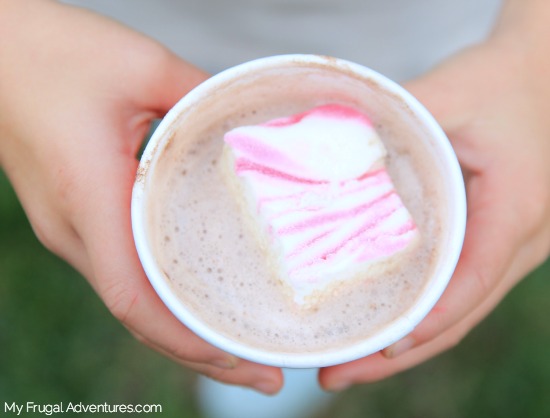
And here is a homemade Peppermint swirl version of these marshmallows I made for the holidays.
Ok…I’ll give. I’ve never had homemade marshmallows. Are they really that much better, sister? I’m thinking of maybe giving this a shot, but I’ve also been known to blown homemade mayo.
Yes I think they are worth it ;). You can get them premade at Whole Foods for about $8 too. The coconut were my favorite.
Even the pictures you took is making my mouth water! I’m going to make these and your homemade peanut butter cups for valentines day gifts! Yum!
Yeah! I hope you like those Dodi! I just started a diet and it is taking supreme willpower not to eat the leftover marshmallows we have 🙂
just curious, could you use the Jell-O instead of gelatin? isn’t Jell-O a mix of Gelatin and Sugar and Food Coloring?
Hally- I am not sure. I haven’t purchased Jello in years so I don’t know what the ingredients are. A box of gelatin is very inexpensive- maybe $1.97 or something at Walmart? I think you’d have to adjust the sugar content if you want to use Jello. I thought Jello had a lot of additives in it so you might double check that- the gelatin is key to light and fluffy marshmallows.
How many grams is in a packet of gelatine?
Can you freeze these? How long will they stay fresh in fridge and freezer?
Heidi I have never tried freezing marshmallows. I store them in a ziploc bag in the pantry for a few weeks.
I DID DO A BATCH AND FOUND IT BETTER THAN STORE BOUGHT ONES PLEASE GIVE ME A RECIPE FOR FRUIT FLAVOURS I WANT TO TRY TO GO COMERSHIAL
Hi! Just made these and they turned out great, thanks for the recipe 🙂
How long of a shelf life will they have. Would like to make them for a wedding and would like to know how far in advance I can start making them. Thanks.
Natalie these will last a long time- you could make them 2 weeks in advance or maybe more. I personally think they taste best pretty fresh though. The best case is making them a few days before and seal them well to stay fresh 🙂