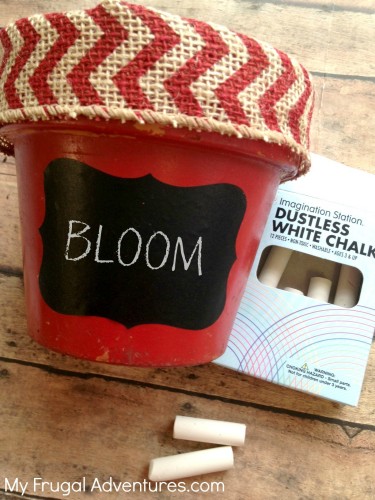
Here is a very easy project to customize a flower pot. You can use an old pot or these are only $1-2 each at craft stores or Home Depot.
Custom pots at stores can be really expensive but it is so easy to just make your own! This is a great way to upcycle an old flower pot into something fun and fresh. Take a peek below at how to make your own easy upcycled flower pot so you can get ready for spring.
This would also be a very cute idea for a gift. Include some fun gardening gloves, a few seed packets, maybe the awesome homemade Sugar Hand Scrub recipe and this would be great for Mother’s Day or as a housewarming gift.
Supplies needed:
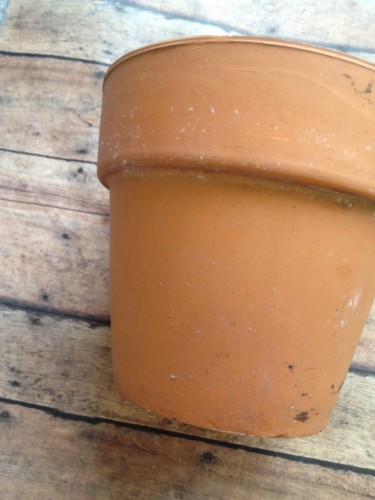
Old flower pot (clay or terra cotta is perfect)
Leftover paint (spray or brush on is fine, use what you have on hand.)
Paint brush
Thick, wired ribbon
Craft glue
Chalkboard label (optional)
Chalk (optional)
I was able to find most of these supplies already in my crafting stash. If you don’t have any of these supplies, they can be found at your local craft supply and retail stores for pretty cheap. Plus, with any leftover supplies you can easily upcycle several more pots!
Directions:
1. Begin by applying a coat of paint to your flower pot. You can brush it on or spray it. I sprayed ours in a rough fashion, allowing some of the natural clay to show through. If you want a more polished look, apply two coats until the entire piece is covered.
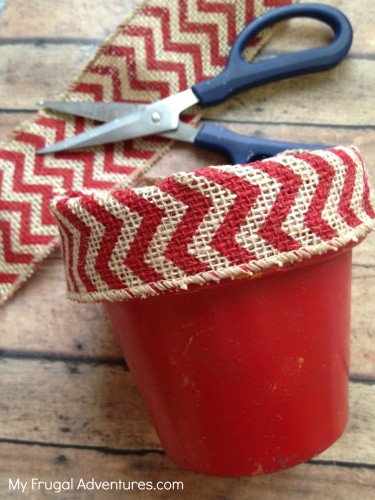
2. Wrap a length of wire lined ribbon around the top of your pot. Wire ribbon works best as it clings to the pot nicely. Snip the ribbon to fit, secure it with glue, and fold any excess ribbon over the sides of the pot.
3. Apply a chalkboard label to the front of the pot.
4. On your label write words such as “Bloom” or “Grow.” You can even write the name of the plant you plan on putting inside of it.
That’s all there is to it! Now all you need to do is add your plant and you are ready to roll! In no time, a boring old pot can look like something handmade and much more expensive. So gather your supplies and give this upcycled flower pot project a try!
I think this is a great project to do with your little ones as well.
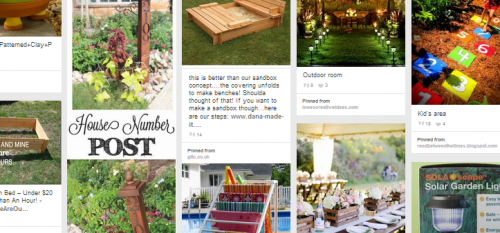
And check out my Outdoor Spaces board on Pinterest for lots more project ideas to brighten up your space!
That’s so cute! I just received my issue of Better Homes and Gardens and was so excited to see all the gardening ideas. It’s been such a cold winter that I really needed that. Have you seen how to plant in burlap sacks? I saw a gardening show how they’re using these in food pantries to raise fresh produce in urban areas, but they work great on patios too. I’m planning on trying that this year. Please update us on your garden this year:)