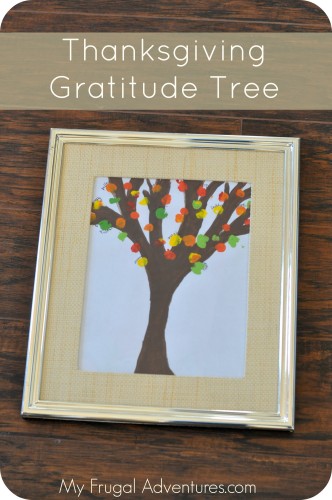
Here is a really easy Thanksgiving Craft to do with the kiddos. I love things like this because they can be such cute little keepsakes to drag out year after year.
You can make one of these as a card for the Grandparents, frame it as I did above or upload this to your computer and how cute would it be as the cover of a holiday photobook?
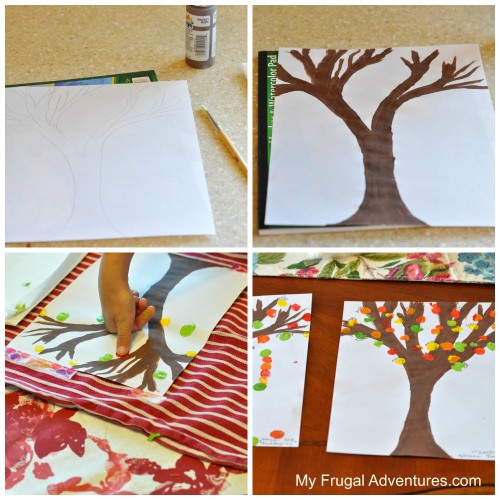
To make this tree was very simple:
1. I drew on watercolor paper the outline of a tree trunk. You want a thicker paper so construction paper or scrapbook paper or something thicker then regular copy paper.
2. I used brown paint to paint the tree on the page following the pencil outline I already made.
3. I opened up several fall colors of finger paints- red, yellow, orange and green.
4. My children took turns sitting and using each color one by one to dip their thumbs in and then dab onto the paper as a leaf. Each leaf is a thumbprint. My 6 year old did hers by herself and my 4 year old I helped by holding her thumb down all over the tree.
5. Once that dried we sat down to talk about all the things we are Thankful for. I think this is a nice activity since Christmas is coming and the kids are usually very focused on holiday treats and toy catalogs ;). Nice to get them to think about how blessed they already are and focusing on having a grateful heart.
This is really where the treasures lie because the things they are thankful for at this age can be so charming. (For example, my 4 year old is thankful for cheese and my 6 year old is thankful for Disneyland.)
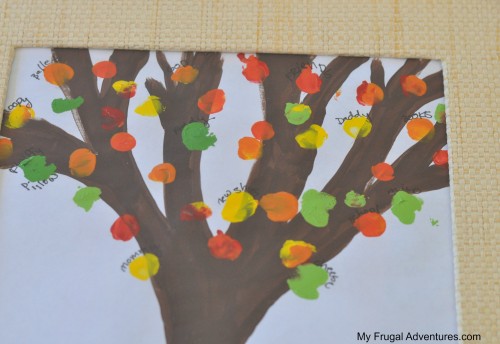
6. Use a black fine point pen to write the things they are thankful for on the leaves.
I framed the trees to put up on a side table. My kids LOVE it when their artwork is given a place of prominence like this- I think it builds their self esteem to see things they have made that are treasured like this.
So anyhoo- grab the paint and get to crafting. This is crazy easy and a fairly fast project. Oh and here is an up close of how I wrote the things they are grateful for. I am not particularly artistic so maybe some of you have cuter ideas on how to do this?
Tips:
1. I like to tape the pages down with Washi Tape or painter’s tape when we use fingerpaints. It just keeps the paper from pulling up with their fingers- Washi or Painter’s won’t stick to your art like regular tape will. (I used a circle pink and orange Washi tape that you can see in the photos above. I put a dish towel between the paper and the tablecloth and just taped the paper right to the dish towel.)
2. I learned how to draw a basic tree in elementary school art class but here is an online tutorial you can see to help you get the trunk going.
3. You can’t see in the photo but I put Thanksgiving 2013 plus the child’s name in black ink at the bottom of each photo.
And see more fun ideas, crafts and recipes for Fall and Thanksgiving on my pinterest boards!
Thank you for sharing such a cute idea.
BTW, I am thankful for cheese too 😉
Love this! So cute and easy enough for me to do.