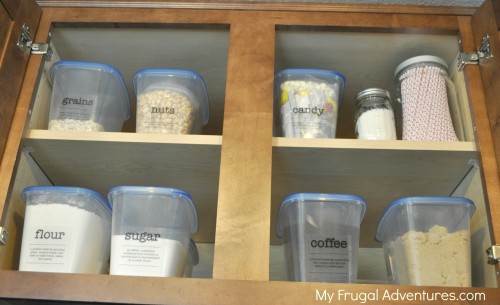
Last year I posted about my big pantry organization project. I thought I would update the changes that I made after living with the project for awhile.
One thing I want to say up front is that this project was very inexpensive and simple to do. It took me less then an hour from start to finish. I see so many gorgeous spaces in magazines and on pinterest and once you get halfway into the project you realize it is going to cost you a small fortune and about a week’s worth of time to do.
So this project cost a total of $9.00 for the containers and $3.99 for the labels. So less then $15 total and so far I am pretty happy with it.
For my spring cleaning projects I like to divide things up into baby steps so I don’t get overwhelmed. I try to tackle one thing each day- so rather then saying “clean and organize kitchen” on my to do list I just pick one section to focus on at a time like “organize baking supplies.”
This project was all the baking supplies in the pantry. We have a pretty small pantry so I use the shelf space above the fridge to hold all the baking supplies. I actually do like to bake so this is a well traveled section of the kitchen.
Here is how the space used to look:
So I basically used what I had which was a mismatched set of old Tupperware and other containers.
The issue that I found was that the containers were not large enough and I couldn’t actually see inside. So after countless times of grabbing the flour container to discover one teaspoon of flour remaining, I decided to change things up.

The first step is to pull everything out. Take inventory of what you have. I usually make things from scratch so I just have standard supplies like flour, sugar, oats, nuts etc… If you have a lot of mixes and things like that you might need to consider what size containers you need to organize your project. Count how many containers you think you will need.

Next I headed on into the Dollar Tree stores. They have all sorts of containers in varying sizes there for just $1.00. If you don’t find what you need today just check back next week because in my experience they change things up all the time.
I found these great plastic bins that seemed to be fairly sturdy and are all uniform in size. I came home and dumped them all in tubs of soapy water to wash and that was it.
You can also try Home Goods, Marshall’s, Ikea etc.. to find the right size containers for your needs.
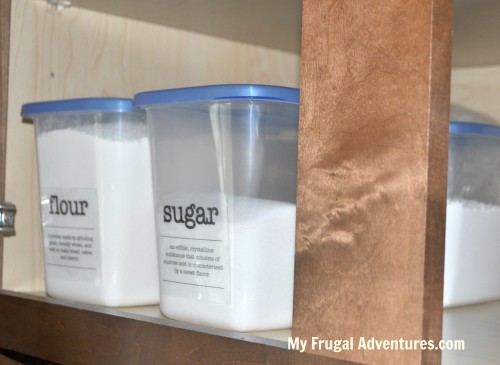

Next I started filling the tubs with all my baking supplies. I really like these new tubs because now I can actually see at a glance how much of everything is on hand.
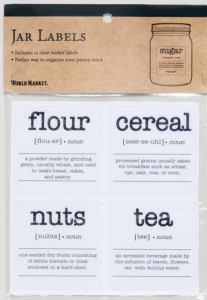
I fell in love with these little labels from World Market- they are $3.99 and there are 12 to a pack. The labels aren’t exactly what I need (for example no Brown Sugar or Powdered Sugar labels) but I was short on time and didn’t want to have to make my own.
I found some cute free printables for you though if you do want to customize your own- those are at the bottom of the post.

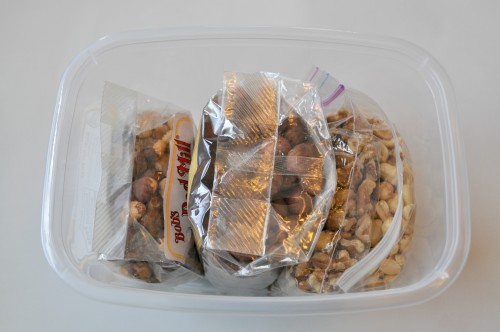
For things like nuts I just left what I could in the original packaging to avoid having things go stale.
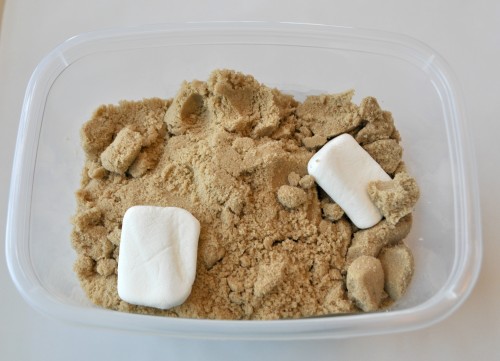
And then just a quick tip but if you store brown sugar, you might considering adding a slice of whole wheat bread or a few marshmallows right on top of your sugar so it stays nice and soft.
And then I just doubled up on the tubs to make sure everything fit inside. You can see on the sugar tub above there is a container of powdered sugar right behind it.
For the candy label I just put all my Almond Bark, Candy Melts and Chocolate Chips inside and then there is actually a container of marshmallows behind that. (And doesn’t everyone have an entire tub of different marshmallows? No idea how that happened.)
And then the last little thing is all the stray stuff that doesn’t fit nicely into containers. I grabbed (2) of the shoebox size tubs from the Dollar Tree and have one for baking mixes- cake mix, pancake mix etc… And a second one to hold all the little cupcake liners, decorating tools, cake pop supplies etc… (I have little girls so we seem to be making treats fairly often around here.)
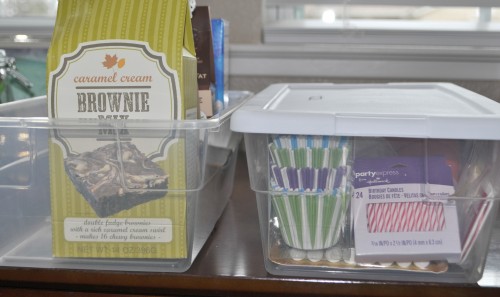
Those fit into the tubs and then since we don’t use these things very often I just tucked them behind the other containers.
So that is about it! Nine containers for $9.00 plus $3.99 for labels and all done. I am pretty happy with how this has turned out and I love being able to clearly see exactly what I have on hand.
Here are a few ideas for labels:
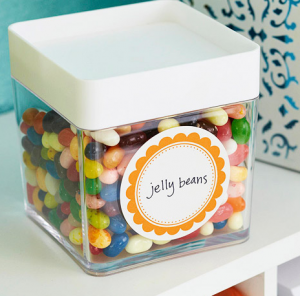
Here are some free printable pantry labels from Better Homes and Gardens. Pick from blue, green or orange and you can customize these with whatever you want.
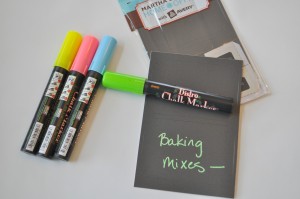
If you like the look of chalkboard labels, you can buy these labels at craft stores, office supply stores or World Market has scrolly ones and I love these nifty chalkboard markers from Joann’s. They come in various colors and write on the labels just like a sharpie.
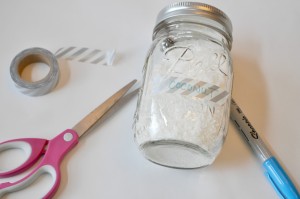
One last idea is Washi Tape labels. I love Washi Tape because it comes in all sorts of patterns and colors, it is inexpensive and it comes right off most surfaces without any messy residue. Here is it for my jar of coconut.
This would be really fast and easy to label all your containers.
And stay tuned because I will show you how the rest of the pantry turned out soon!
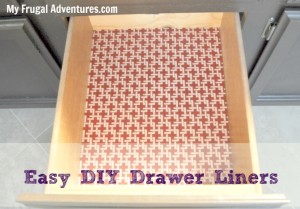
And really, really the last tip is if you want to line your cabinets or drawers – you can see a super simple and inexpensive way to line things perfectly here.
Does anyone else have little tips for easy organizing in the kitchen?
I’m totally inspired Charlene! Thanks!! 🙂
I LOVE those labels! They will work great with my LocknLock containers. Also, I will be throwing a couple of marshmallows into the brown sugar–I had no idea. THX
I use LocknLock containers I found at WalMart in all different sizes, and I also did my baking stuff first! I made my own labels with mailing adhesive labels and went to each product’s website (Arm N Hammer for the baking soda, etc.) and used a screen capture tool (called SnagIt) to steal the logo for each product and typed out the name in a cool font and printed them out. I used clear mailing tape over top to make a bit more water resistent. They came out great, I was pretty impressed with myself!
I need the labels too! My daughter likes to make pancakes for us and they just don’t taset the same with flour instead of the pancake mix.
I buy a variety of dried beans in bulk–usually at winco. I store those in mason jars with lids. I can easily see the beans and they look pretty nice lined up on my shelf.
Now I am off to put marshmallows in the brown sugar.
Charlene,
I was wondering were to get a good deal on mason jars? Thanks for all the great ideas on everything. I will be getting the labels at World Market! Thanks!
Great ideas! And thanks for the tip about the brown sugar! 🙂
In the past, I have saved my pasta sauce jars that have a nice twist on lid, wash really well, and then store baking supplies, beans, nuts, etc. I like to use piece of scotch tape and sharpie marker to make a label. This is a no cost solution and they are uniform.
I also keep an eye on my local freecycle group to see if people are offering rubbermaid or gladware type containers with lids to use for storage or in lunchboxes.