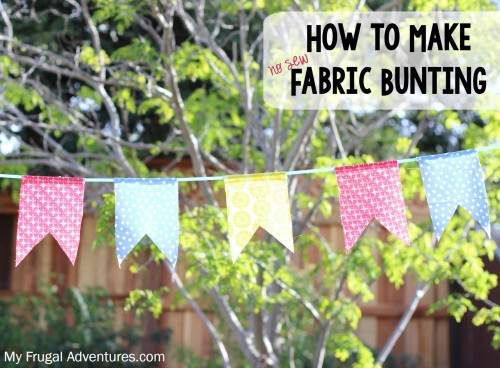

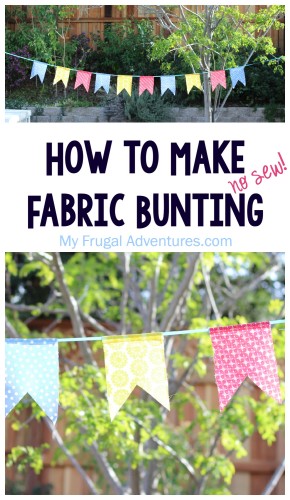
I recently made this fabric bunting for a party and thought I’d post a little tutorial for you guys. I have never actually seen a fabric bunting tutorial- although I am sure plenty exist– and just pieced this one together. It turned out to be really simple and very fast. Even better, I used some old fabric quarters I had on hand so it is very affordable to make one of these. Mine was only $3.00!
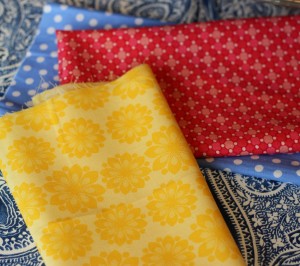
I started with three fat quarters (I usually pick up a bunch of these when they go on sale for $1.00 at Joann’s.) The beauty of making your own is that you can use exactly the fabric that you like to get a perfect look for your event. I used fabric I had on hand but I can see all sorts of ways to do this– bright pinks and greens for Cinco de Mayo, heart patterned fabric/ gold polka dots and a solid color for a girl’s room, bright cherry red and some fun patterns for summer parties, floral patterns for Mother’s Day…. anything you like would work!
Traditionally bunting are cut into a V shape but I prefer the square look- you can do these in any sizes that you want but I chose to do about 4 inches or so by 6 inches or so for my bunting.
I looked high and low for something easy to use for a template and found a brown paper treat bag. Perfect! This is a little smaller than a lunchbag but anything you can find in the right shape or just use cardstock or cardboard to create your template. If nothing else a cereal box would work beautifully.
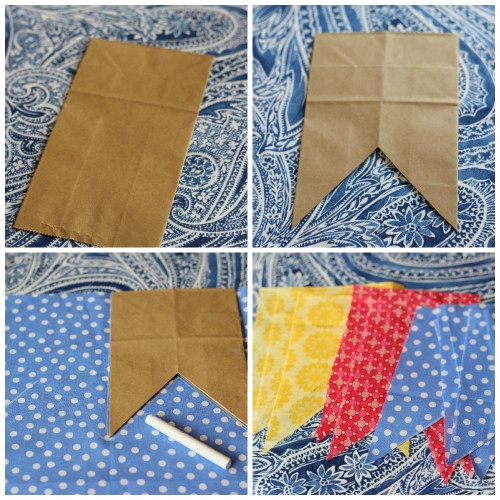
I folded the bag in half and cut a diagonal line. I did this by eyeballing about how big I wanted the fabric to be. Once I had the proper shape, I just used a piece of chalk to draw an outline for the bunting. Next I cut the shapes out with sharp fabric scissors.
I found some ribbon I had on hand and laid all the fabric out on the table in alternating colors. I lined the ribbon up at the top of the fabric squares and used a few dabs of hot glue to fold over the fabric so it was firmly attached to the ribbon- like this:

I used the iron to get a crisp edge on the back of the fabric.
And now you are done! One last tiny step you can take is to hold a lighter about 1/2 inch from the fabric edges. That will seal the fabric so you don’t get frayed edges. If you are handy with a sewing machine you can always sew the sides for a really nice look but sadly I am not a sewer. This took me about an hour to make and my bunting was 7 feet long with plenty of fabric to spare.
I can’t say how many squares you will get from each fat quarter because the sizes of the bunting will vary from person to person but I had plenty of leftover fabric from my fat quarters.
And here are a few other projects you might like:
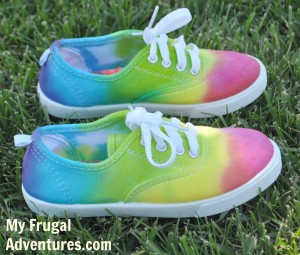
How to Make Tie Dye shoes for kids- so fun and only $5!
DIY Party Sign with just coffee filters!
Leave a Reply