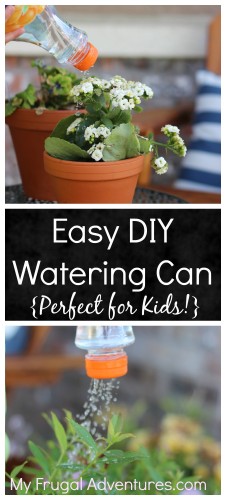
April marks Earth Month and I thought this would be a perfect time to post a really easy and free little DIY project.
This idea really works for anyone that has a garden or plants but I think it is especially fun for those of you with little ones.
One of the first things I think I ever pinned when I started on Pinterest was this idea to put holes in a milk jug to make a DIY watering can.
A Journey to Dream blog came up with this idea and it is such a smart one.
The girls love to help water plants and I have purchased several watering cans for them- cute kids ones (these Melissa and Doug ones are my favorite) and darn if they don’t get ruined or cracked or broken. My girls always leave them outside and we get terrible winds in Northern California… and anyway. Off to the graveyard for another watering can.
So after discovering that last year’s watering can had a big crack down the side I decided to make a watering can and see if it would really work.
So this is extremely simple to do and free because you can open the fridge door and see what you have inside to make your can. I think it is a great lesson for littles as well to learn that you don’t have to race out and buy everything. (Great lesson to me as a busy Mom too 😉 – guilty as charged! )
At first we used a milk jug- I simply rinsed it out very well and then my husband used a small drill bit to put holes in the lid of the milk jug.
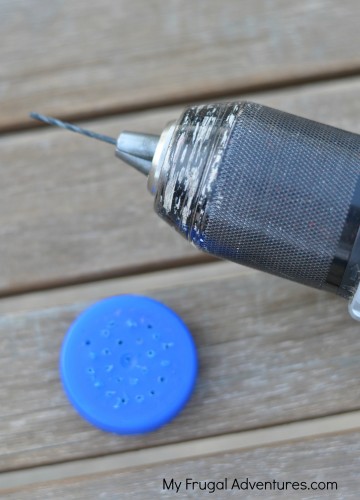
This is the only part that you want to take care with– if your holes are too big you will flood the poor plants. So we used a very small bit. I call this the stabby looking needle bit for the drill (that is the technical term) but my husband said something along the lines of 1/8″ still bit… blah.. blah.)
If a drill is not an option for you, another idea would be to use a nail and just bang some holes through the cap. Again you want to use a really small nail though- like a finishing nail. Yet another idea is to heat a needle to stab the holes through– you can get those directions from A Journey to Dream.
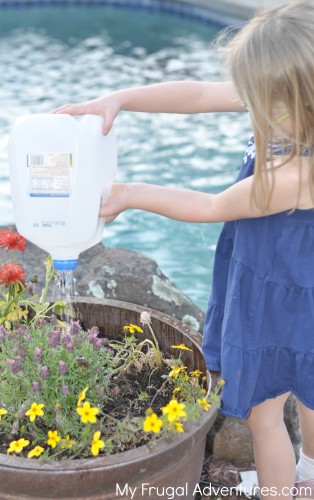
This really does work. That is my four year old watering a planter– I found the water flows out perfectly. In fact I think this works better then some of the watering cans we have had.
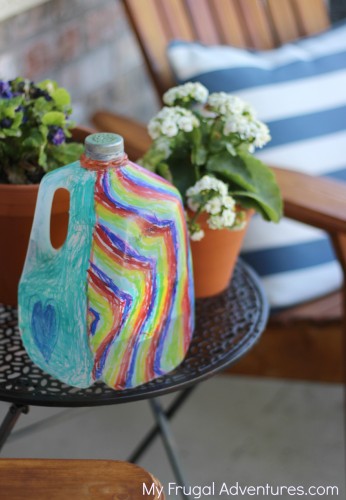
Plus you can beautify your milk jug– this is clearly a masterpiece courtesy of Sharpie and a 6 year old.
What I found after a few weeks is that the plastic of the milk jug is fairly thin so our jug started to get a little weak. Also it was a little big and heavy and cumbersome for small hands. To get a perfect flow of water you need to hold the jug upside down so that was quite a workout for the littles.
So I decided to use a little juice bottle we had in the fridge that seems to have a much thicker plastic. So far that has worked really, really well. The only drawback is that the stream of water is not steady- you have to shake the bottle just a bit to get the water out. This one has worked well for the girls so far.
So I guess the point is that you can probably use just about any container you have– even a single serve iced tea or juice bottle would probably work for really small children.
And here is one of my cute little gardeners:

Watering the plants has become tied with getting the mail for bringing a tremendous amount of excitement into our afternoons ;).
Give this a shot and see what you think!
Happy Earth month!
If you’d like a few more ideas of things to do with the littles-
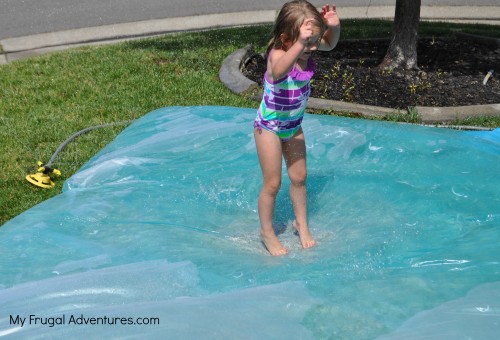
How to Make a Giant Waterbed for Kids (this seriously surpassed our summer trip to Disneyland in fun level for my kids.)
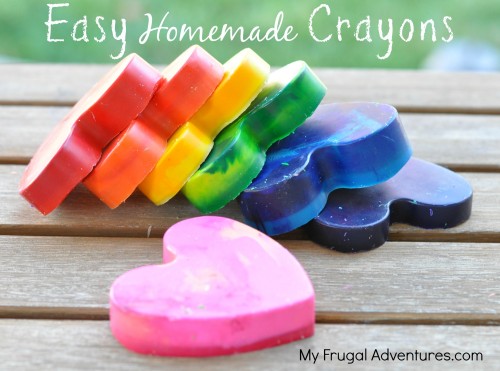
Or how about some super easy DIY crayons? This is so fast and a very fun little gift idea.

What a great idea! Love that we can recycle simple things into something very useful. 🙂