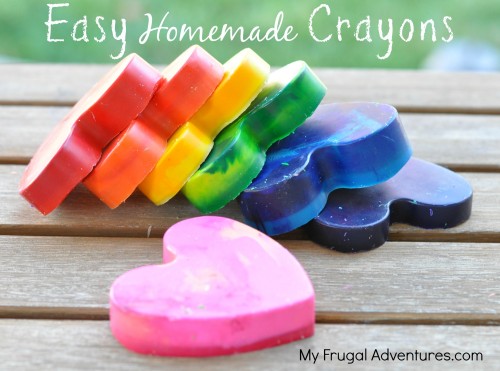
This is certainly not an original idea. I have seen the idea of making your own crayons a bunch of times over the years. It has always been one of those projects I have filed away and never made the time to do.
My girls were watching cartoons recently and started going on about how they wanted this fancy crayon maker to make their own crayons (darn commercials!) so I decided it was high time I gave this project a shot!
I can say this is the easiest thing ever to do- it really requires very little effort. My girls were pretty darn impressed with me after this and they really liked the crayons we made. An added bonus is that these are really pretty crayons so very fun as a little gift. Plus your creativity can go crazy with colors, shapes, glitter, you might even scent your crayons.
So here are the steps to making your own Crayons.
1. Collect any stray crayons roaming around- broken is perfect for this project. Any color, any brand.
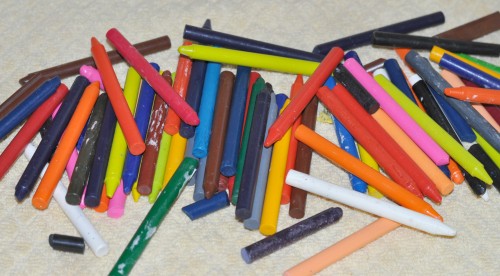
2. Fill a Tupperware or bowl with water and soak the crayons until the water is fully absorbed into the paper. This will make peeling your crayons much, much easier. Crayola brand peels off very easily. Roseart and other off brands were harder to peel. You just want to peel off as much of the label as you can.
3. Find a mold you can use that is oven safe. The size or shape is totally up to you. I used a little silicone heart shaped mold that I had. You can find all sorts of shapes and sizes here- including a fun Lego mold.
4. Sort the colors according to what you want the crayons to look like. Rainbow colors or you can mix and match colors and they will have a swirled look. Layering crayons would be fun too- i.e. small chopped pieces of red with small chopped pieces of pink on top for example.
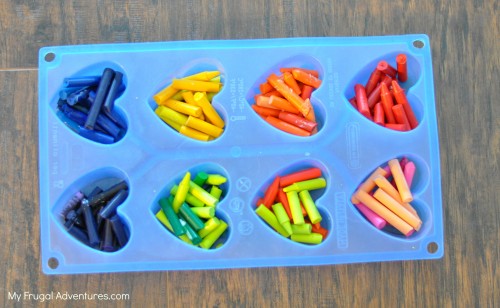
There is tons of room for creativity here- I did rainbow colors and then two swirly crayons with different colors mixed together. If these are gifts or party favors you might do specific colors or shapes. Like Red, White and Blue for 4th of July or Red and Green and White stars for Christmas. Pink hearts for a Princess party etc…
You can fill the molds as high as you like. About half will make a thinner Crayon and 2/3 will make a thicker crayon. You don’t want to fill it too high or the wax will spill over.
5. Set your oven to the lowest temperature. Mine was 170°. Place your mold on a baking sheet (in case the wax does spill) and put it inside until the wax melts. This will vary by oven and by the size of the crayons but mine took roughly 30 minutes. Crayons and more craft and art tools are usually on sale on Michaels Weekly Ad.
Here is what mine looked like:
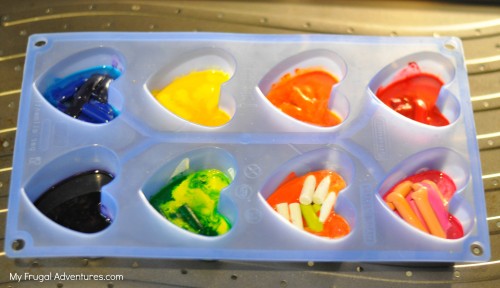
6. Once they are fully melted carefully remove from oven and take the mold off the baking sheet (if you can.) My mold was so wobbly I couldn’t lift it or the wax spilled. Let cool. I didn’t time this process but I want to say an hour or so and they will harden. You can pop them right out of your mold once they are hard.
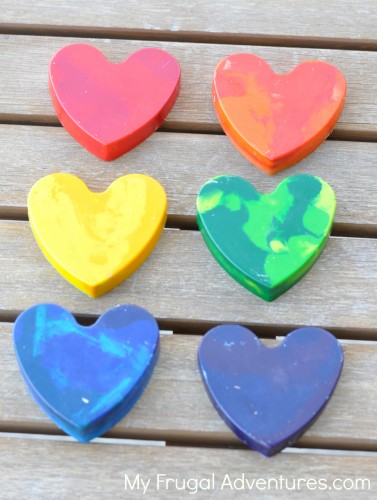
7. Now you are all done! Time to play! This is what mine looked like right out of the mold:
And here they are all wrapped up as a little gift! How cute is that?
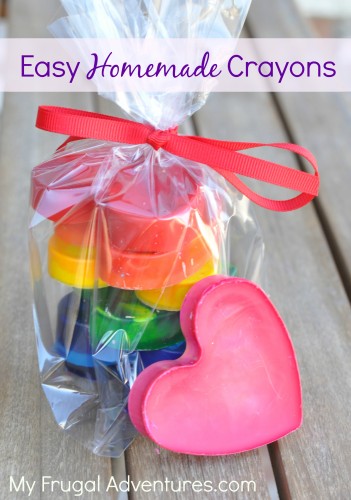
Add a few coloring books for a little gift, use these as a stocking stuffer or for Easter baskets or you might make your own art kit with paints and scissors and fun paper.
If you want to see more fun ideas for Children’s Crafts check out my pinterest board.
One of my other favorite projects was this easy homemade flubber. This is so fun to squoosh around- great rainy day project because it is no mess.

Where did you get the heart mold?
Cute idea! Where did you get the heart mold? Thank you.
Ariana,
I believe it came with some pots and pans I ordered a long time ago. You can keep an eye out at craft stores in the baking section or Walmart or Target or you can take a look at Amazon here for several options:
http://www.amazon.com/s/?_encoding=UTF8&camp=1789&creative=9325&field-keywords=silicone%20heart%20mold&linkCode=ur2&rh=i%3Aaps%2Ck%3Asilicone%20heart%20mold&sprefix=silicone%20he%2Caps&tag=myfrugadve-20&url=search-alias%3Daps
IDEA has some molds for really cheap I think
IKEA oops auto correct 🙂
i love this idea you can get heart diamond and bugs dianasour molds from kmart they are sold in the cake tin section the ones i got were the soft teflon ones i live on 40 achres and i have made a fairy garden i couldnt buy mushroom moulds so i made my own and i bought the hearts and bugs so i made concrete ones and painted these and had the grandkids paint some then we attached them to the trees
Awesome idea and I will try this for my daughter’s birthday. Just out of curiosity, do these colours work similar to the earlier ones? I mean: are these new colours work equally good in terms of texture and prints vis-a-vis their older forms?
Hi!
Nice! Can you re use the molds for anything else? Would it be safe?
Mine were able to be reused. I don’t make jello or things like that so I haven’t used them for food but I have to make soaps and bath bombs and such. 🙂
I would not recommend soaking the crayons.. we had lots of Resturant crayons, Ikea crayons.. the paper got slimy and hard to get off.. kids wouldn’t touch them and some of the washable crayons.. the color got all over everything from being wet… we did have a blast.. also different types of crayons melted unevenly..
Vicki- maybe the quality of the crayons is the issue? I have only used Roseart and Crayola. I imagine Ikea and free restaurant ones might be a lower quality. Thanks for pointing that out!
I’m not using silicone molds, do I have to oil the mold I’m using?
Karina- I am not sure what kind of mold you are using but if you think it is likely to stick, I would for sure 🙂