Here is an idea for something fun to do with the kiddos this summer. Do you remember tie dying clothing when you were a kid? I do. There was a tye die resurgance in the 90’s and it was the coolest thing ever to me circa 5th grade or so.
So I was wandering through Old Navy and spotted these little shorts for children:

And I was thinking they were cute but I thought it would be a fun activity to do with my little girl and just make our own.
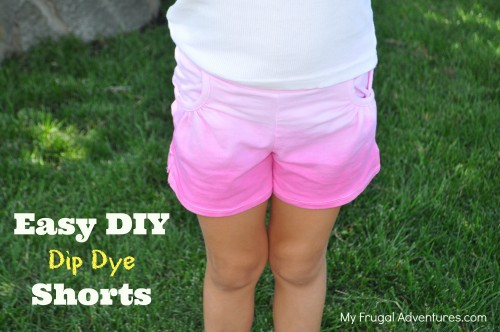
I have to say I am REALLY happy with how these turned out. The pictures I took do not do these justice. They are really cute and you can see the layers of color much better in person.
So I am sure there are actual techniques for this process but I say instructions- perschumpkins around here and we just went for it and they turned out fantastic.
This would be a fun thing to do with your children or try this if the kiddos have stained up something light in color. It might hide whatever it is they spilled.

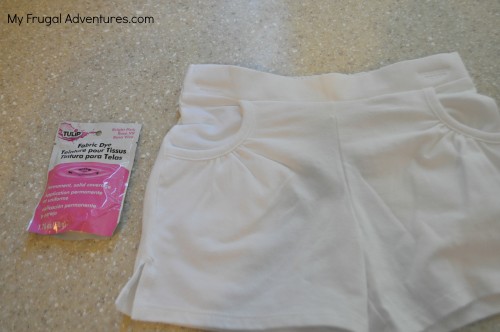
We started out with some cheap white cotton shorts and a fabric dye. The shorts were $5 at Old Navy and the dye was $3.50 with a coupon at Joann’s Fabric. Michaels has RIT dye for about $2 regular price.
Now you want to follow the directions on your package- my package said to add 1 gallon of water and 1/4 cup salt to a large bowl or the sink. We put a huge container in the sink to do this.
I only added a little bit of the dye- I actually added too much and it got pinker then I wanted. The first dip you want to be VERY light in color so just add the tiniest little bit (like 1/4 teaspoon or so). I added too much intially so I just added another gallon of water and that helped a bit.
You can dip one small corner of the clothing into the dye to see what the color will look like. If you like it, put on some plastic gloves and dip your entire item of clothing into the mixture.

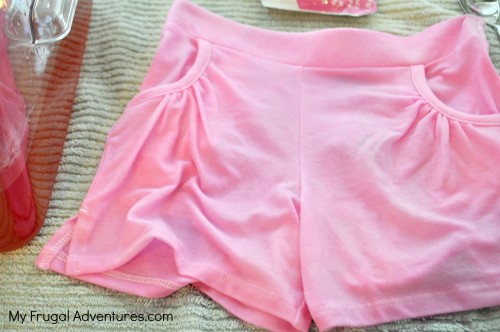
So this was my first dip- you can see I was too heavy with the color on the first dip but that’s OK you live and learn.
Now add more color. Not too much because you just want a shade more- so sprinkle a little into the bowl. Pick up your clothing by the top (in this case the waistband of the shorts) and lower it into the bowl leaving about 2-3 inches at the top outside of the water.
Repeat for as many times as you like. I did four dips total-each time adding a bit more color. For the last dip I added all the color and I also added just a little more salt (1 tablespoon or so) which helps the dye absorb into the fabric.
So after four times my shorts looked like this:

I left it there overnight to dry on a ratty old towel. The next day I tossed them into the wash on cold with regular soap. (Make sure you wash these by themselves in the machine and just to be safe you might wash them by themselves the second time as well in case the dye bleeds.)
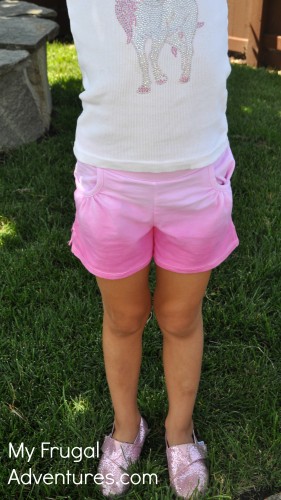
And here is the final product:

A very happy little girl! These really do look great in person. Not homemade at all.

So if you have kiddos that want something not everyone else has give this a shot! I was so happy with this result I am going to try doing a tablecloth with this same process.
I think the results will be a lot more dramatic if you leave half the item white and then do just two layers of dip dying (as they did above at Old Navy). Also you want to decide if you want the darker bit at the bottom or at the top. These would look just as great with the heavier pink color at the waistband and then gradually getting lighter to the bottom cuff.
I would say this entire process took about 10 minutes and then the overnight time to dry.

This post is part of the 30 Days to a Funner Summer Series.
You can catch up with the entire series by click below:
- Day 1: Get Organized! How to organize children’s activity bags.
- Day 2: End of Year Surprises for Children
- Day 3: Strawberry Lemon Slushie Recipe
- Day 4: Homemade Hamburger Seasoning to AMP up your burgers
- Day 5: How to make Giant Bubble Solution
- Day 6: How to Save Money on Road Trips
- Day 7: How to Create a Summer Schedule.
- Day 8: How to make a GIANT water bed (this is so fun!)
- Day 9: Perfect Chocolate Chip Cookie Recipe
- Day 10: 8 Ways to Get Outdoors this Summer
- Day 11: How to Calm a Child’s Room
- Day 12: How to Make Movie Night More Fun
- Day 13: Watermelon-Lime Sorbet (just 3 ingredients!)
- Day 14: Ideas for Mommy-Daughter Dates
Your girlie is beautiful! And, it looks like (from her smile) it comes from the inside out 🙂
…..and the shorts are cute too!
Oh thank you so much Lisa. We are crazy about her ;).
Just curious, Charlene, why it’s called “drip dye”? I would expect the process to be “dip dye” because you’re dipping the article into the dye… but maybe I’m over-thinking it?
Lol because I am a dummy Annye :). You are totally right and I wish I could blame it on an alcohol problem or something but I have no idea why I said Drip :D. Can I hire you as my editor?
You’re a lot of things, Charlene — smart, warm, funny, creative — but “a dummy” isn’t one of them!
And yes, I would love to be your editor; just let me know how I may help!
I love the sparkly shoes that match the shorts!
you dipped the shorts about 4 times. how long did the clothing “sit” in the pan each time? 2 minutes? about how long between dips? just the 1 minute that it took you to add more dye and salt?
My teen has a few items that I think she would love to dye like the Old Navy clothes. I like that it only took 10 minutes total.
Cathy, I just held it for about a minute each time to dip and then set it on an old towel and then added more dye, stirred and dipped again. It really is fast. Oh the teenagers these days are amazing with the stuff they can do with clothes! I bet she has tons of cool ideas. Those shoes are Toms and I love them too ;).
Her legs are so cute in those