Have you ever made a ribbon or fabric banner? It is so simple to make and adds a very affordable pop to a room or to a party.
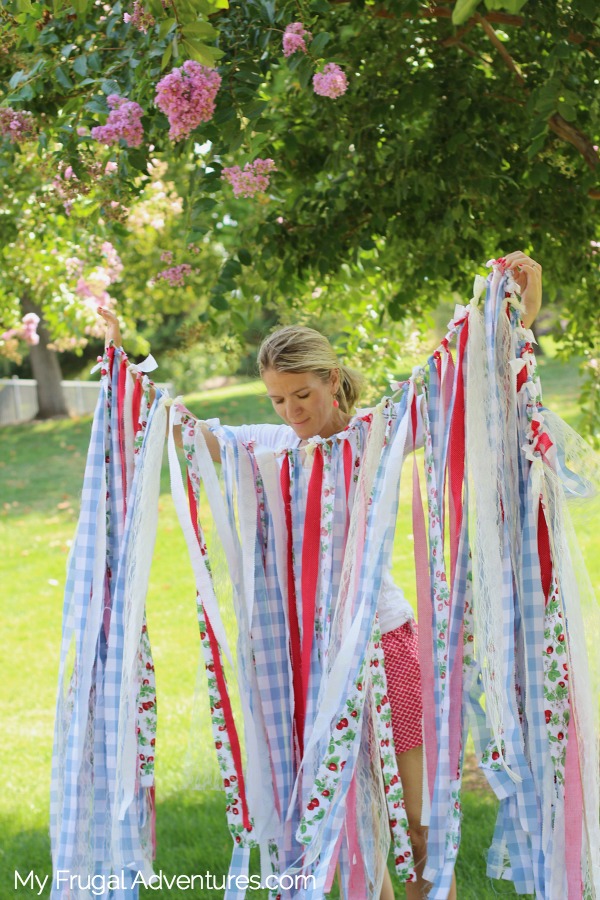
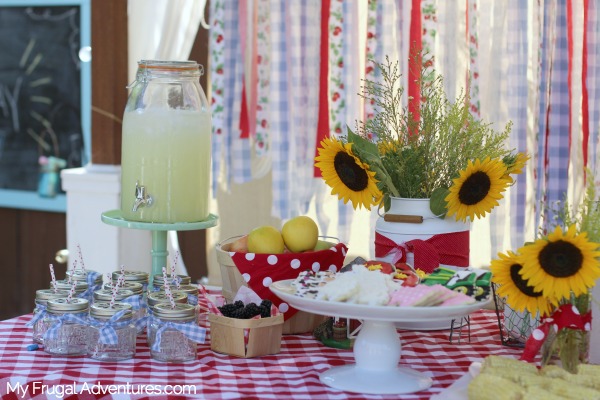
I am hosting a Farm Fresh birthday party for my little girl this weekend and since it is August and we live in California, we always seem to have a pool party. I knew I wanted most of the party set up outside and again, we live in California. The neighbor’s fence is so much closer than you would like. Sigh. I wanted a backdrop that would be large, relatively inexpensive and still fun and whimsical for a little girl. Enter a large ribbon banner.
You can make this banner in any color, any size, it is fairly lightweight and you can totally use assorted ribbon or to make it even cheaper, strips of fabric.
I had a few yards of blue gingham left over from our Winnie the Pooh party and decided to use that for the banner.
Here is how you can get started with your banner- I made mine almost entirely during one episode of Flipping Out- so basically a 60 minute project.
~~ Measure the size of the banner you might want. For a swag banner that might hang in a room or on a party table, you probably want between 6-12 inches in height. My banner is 48 inches long so more of a backdrop for our party.
~~You can use either ribbon or use fabric. Ribbon gives a more tailored look but it can be a bit more expensive.
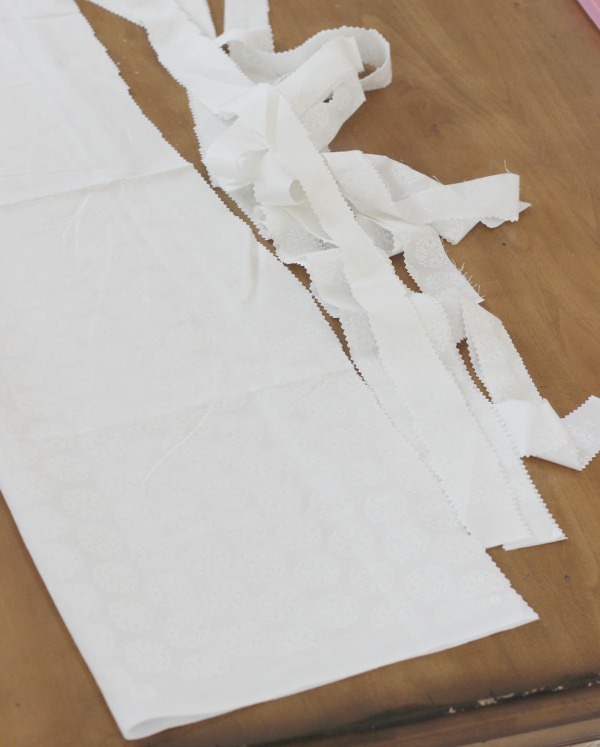
~~If you are using fabric, start by laying your fabric out and cutting it into long strips about 2 inches wide. I had a length of blue gingham that was about 3 yards long. I used other fabrics that were one yard long. Ideally you want your fabric or ribbon to be long enough to fold in half and tie in a loop around your twine. So for a 12 inch swag, you would want about 25 inches of fabric. Fold it in half and you have 12 inches on each side plus 1 extra inch allowance for the knot on top. I folded my fabric in half to make cutting faster.
I was using scrap fabric so for the pieces that were not long enough, I just tied them to the top of the twine instead of doubling them over. The beauty of this project is that it looks lovely if it is imperfect and a little rustic/homemade.
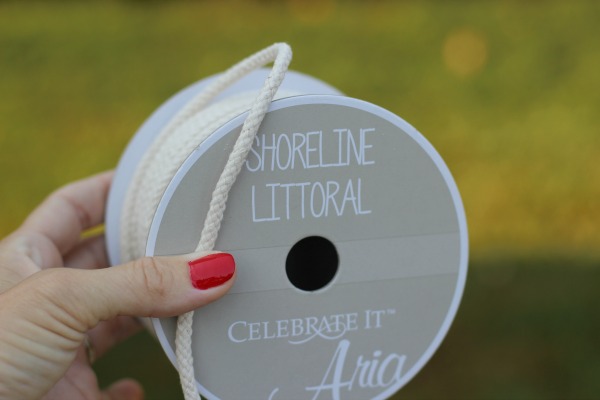
~~Once you have your scraps of fabric, find a thick ribbon or twine or rope to use as the top of the banner. I used a rope ribbon from Michael’s and mine is quite long- roughly 7 feet or so. I measured the length I needed for the sign and marked it off on the rope. Be sure to allow for several inches of extra rope on each end so you can tie it off or hang it up. I had at least 12 inches on each end of the rope as excess. I used a thicker rope because my banner was so long. You can use twine or much thinner ribbon for a smaller banner.
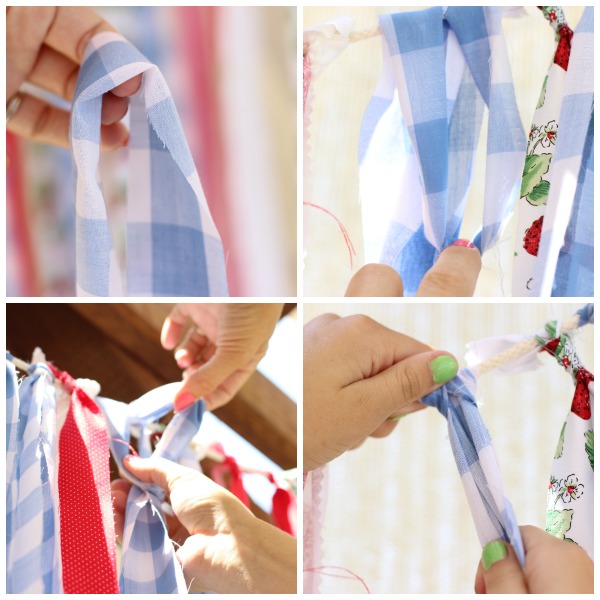
~~Now start to tie your fabric or ribbon. If you have double the length you want, just fold the fabric or ribbon in half to create an arch using your fingers at the top and hooking the very top of the arch with a finger. Pull the arch over the top of the twine, and the ends of the fabric through the hole. Pull the ends tight to look like a necktie.
Tying the fabric is quite simple you just want to be sure you tie in the same direction each time so all the knots face the same way. Like so:
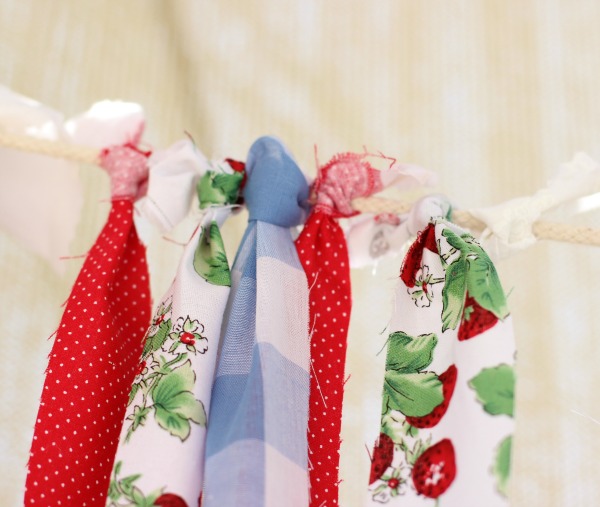
Now if you have strips of fabric or ribbon that are not long enough to double over, just tie them in a knot at the top of the rope.You can see I did that with the strawberry and red dot fabric above. For a shabby/homemade look, keep the excess fabric on the top. For a more polished look, trim the fabric down to the knot.
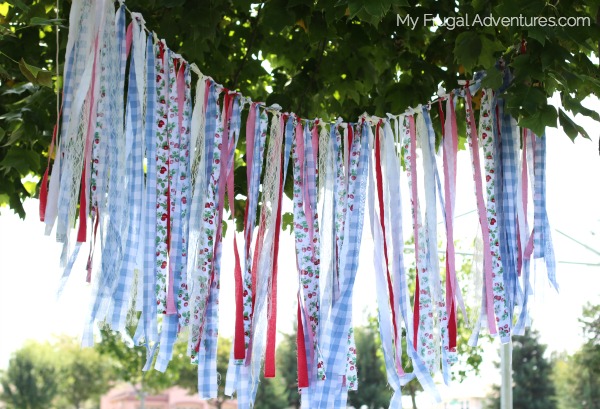
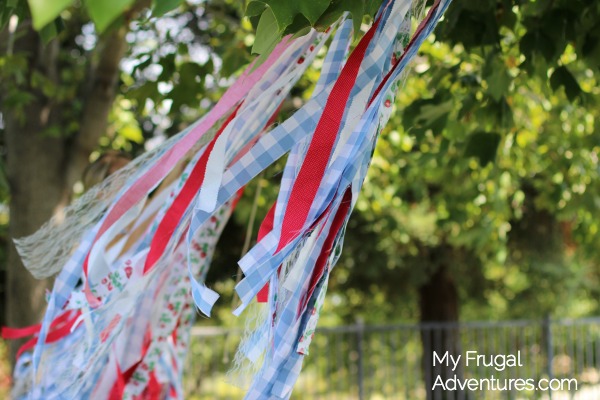
Since my project was so large, I laid it out on the back of the sofa and just kept tying my ribbon in patterns- red, strawberry, gingham. You can get creative here depending on how much fabric/ ribbon you have. Once I thought I was done and it looked pretty full, I put the banner up where I wanted it. That gave me a clear visual of where there were gaps. I wanted it to look nice and full but still light and breezy as a fun vintage backdrop. If the ribbon bottoms are uneven in length you can trim them to be perfectly even. I actually liked mine being a bit uneven.
I wound up picking up one more yard of white fabric and filled in the gaps on my banner. YFor a little extra texture, I also picked up a large roll of lace and trimmed it to the length I wanted, folded it in half and tied it to the top. If you can use different textures like silk ribbon, burlap, lace, linen and so on, it will add even more interest to your banner. I had mostly cotton to work with so I used pinking shears on the white fabric to give it a slightly different look.
And you are done! I am really happy with this as the backdrop for the party.
[…] Ribbon banner. Okay, this might use up all the rest of your ribbon stash. If you need more material to pad it […]