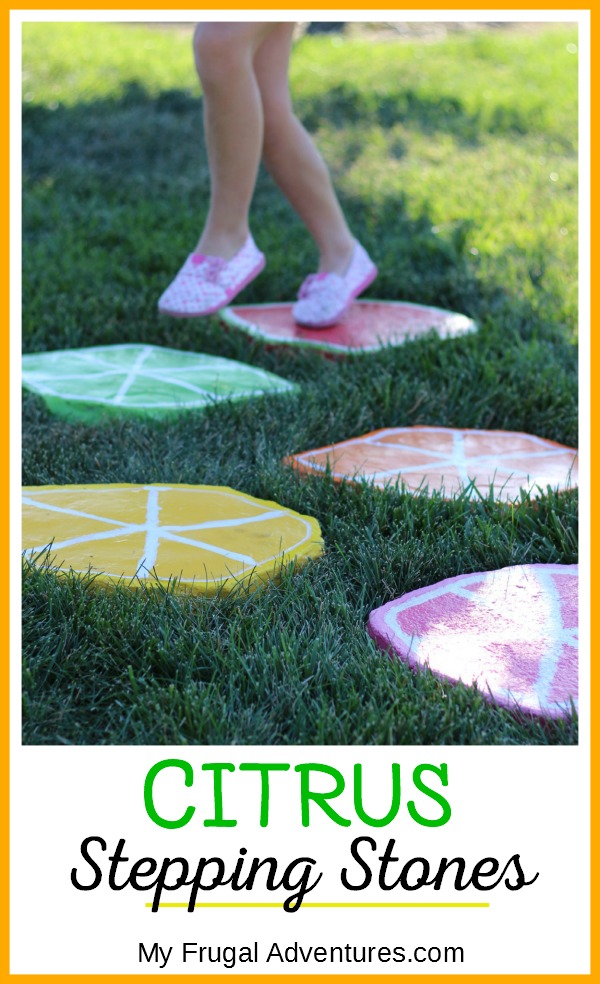

Here is a fun project to consider this year- super easy fruit painted stepping stones. Anyone can make these- in fact my 6 and 7 year old girls did most of the painting for these stones. These are so fun for a touch of whimsy in your yard or they would be perfect leading up to a small garden!
We have a side yard that is dedicated to the kiddos and I decided to make these stones for something fun and to add color to the space.
So to get started you need just inexpensive stepping stones. These range from $1 to $5 per stone depending on the style that you like. Our stepping stones are actually about 6 or 7 years old. We had originally painted them with random spray paint we had on hand for that side yard and I never thought they looked particularly good.
We decided this summer to redo the side yard for the kids and this was the first easy project. I wanted to do something fun and interesting and something that would not take a ton of time or money. We made these citrus perler bead coasters in Spring and I decided to try the same pattern on the stone.
Here is what you will need- most of this stuff we already had on hand:
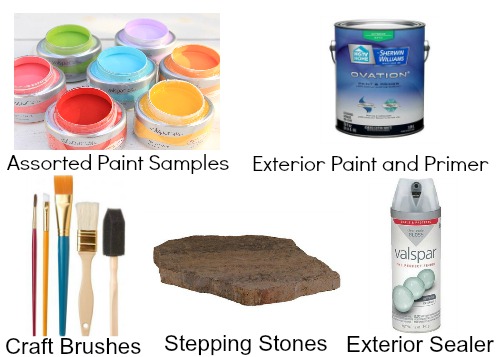
Click below to see the complete list of instructions:
To paint stone or concrete you should really use an exterior paint. I didn’t want to buy a bunch of cans of exterior paint so instead I did a primer coat with paint/primer exterior paint. I won’t know how well this holds up until next year but fingers crossed it still looks bright and pretty. I should note we live in a mild climate (California) and although it gets extremely hot, this particular area is fairly shaded so the sun won’t be directly beating down on these stones and fading the paint.
I started with paint I already had on hand for this rainbow picnic table project these were all Valspar paint samples from Lowe’s:
Oh So Red 1009-1 (Watermelon base)
Hint of Cherry 1004-1B (Grapefruit base)
Tangerine 2004- 1B (Orange Base)
Dandelion Wish 3001-1B (Lemon Base)
Chopped Chive 6006-8B (Lime Base)
This doesn’t take much paint per stone so you can also use craft paint to keep this project affordable.
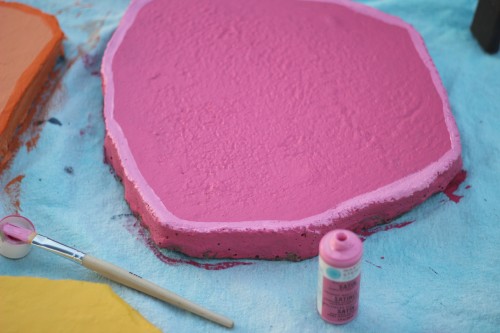
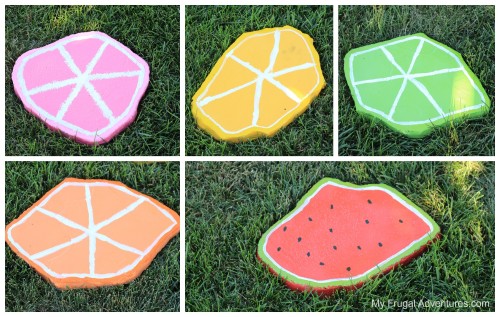
Once the first coat of paint completely covered the stone, I added a peel/rind for each fruit. For the watermelon I added a green circle in craft paint I had on hand. For the lemon a different color yellow, for the lime a different green and so on.
The craft paint dries very fast so once the first circle was dry, I added a second coat. This was where the kids came in- I did the first circle and the kids followed my line for the second coat. My 7 year old added all the watermelon seeds by herself.
Next we added the pith or a white circle right next to the peel. I just did one coat for this so it wouldn’t be as pronounced.
Next I drew a straight line down the center and then added sections in. We did two coats for the sections.
Once it was dry I just did two quick coats of sealant and done! We did this entire project in probably 90 minutes. I painted the colors in just a few minutes one night and did the fruit shapes the following night while cooking dinner.
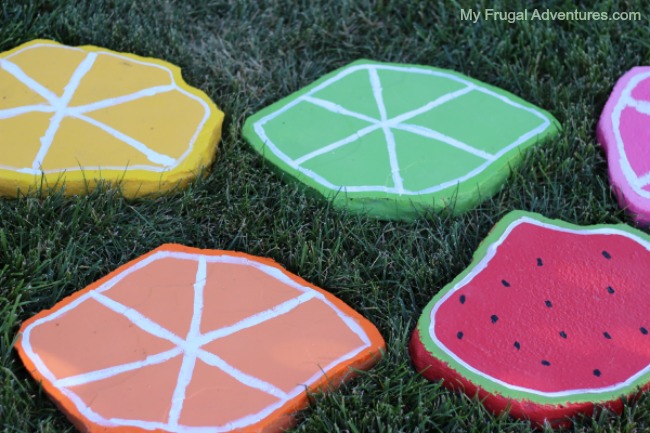
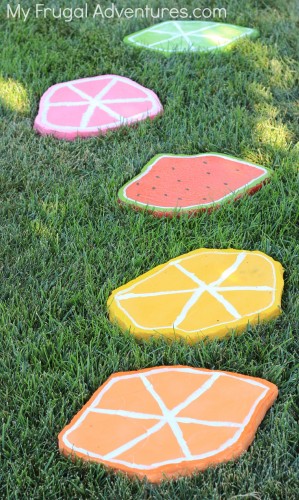
And here is the final product– we are not artists by any stretch so yours will likely turn out even better than ours did. Oh and the grapefruit my 7 year old did all by herself with a tiny bit of guidance from Dad. So this is for sure a kid friendly project.
And one more shot all lined up:
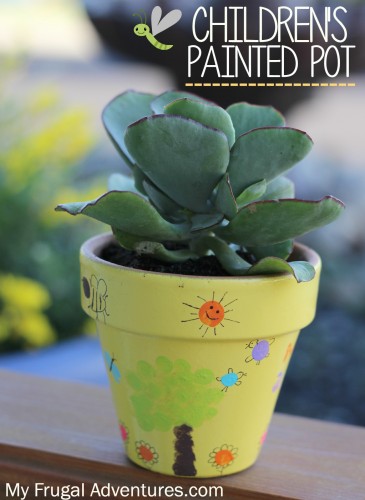
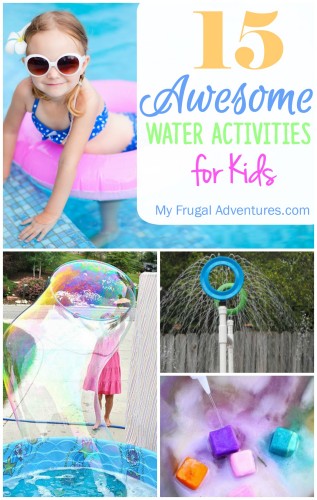
And if you like this project, here are a few other kid friendly ideas to consider:
Love love your stepping stone ideas. Do you have any other suggestions or ways to make more decorative stones? Maybe using household items such as molds.
Would love to see more ideas. You seem amazingly talented!