
Summer is finally here for our family. My children seem to get out of school so much later than other parts of the country.
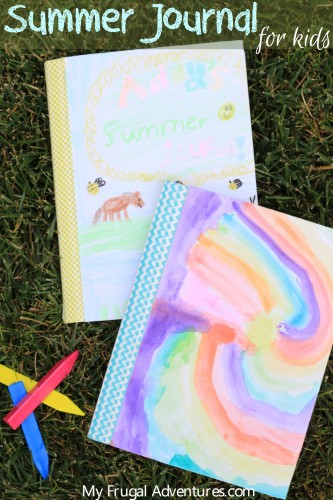
The first project I wanted to do for summer was to create a summer journal.
I wanted to make a journal for a few reasons- the first is obviously to keep them writing all summer. I have a 7 year old and a 6 year old and both of them definitely need the practice writing correct sentences, practicing spelling and so on.
The second reason is because we really do quite a bit with our children. They get to go on a lot of trips, camps and other activities that I certainly didn’t get to participate in when I was a kid. So if Mom and Dad are shelling out tons of money on these adventures and taking the time to plan things out, I really want the girls to reflect back on the experiences they have. 😉 Hopefully by taking a minute to write about their activities they will appreciate things more and we will have a great keepsake to look back on.
Lastly, it is just so fun to see the things that resonated with them. We recently went on a trip to Lake Tahoe and did a ton of things that day but what my 7 year old remembered most was a special rock she found on the beach that looks like a strawberry. Such a little thing and I never would have remembered that myself.
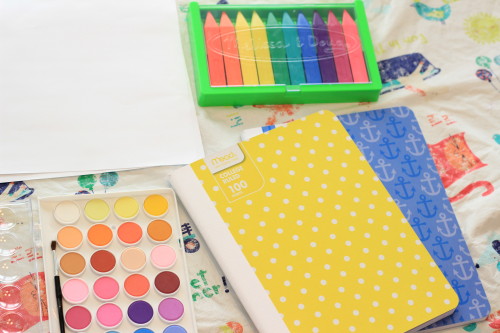
So to start we picked up some cheap composition notebooks at Target. I spent a little extra for the sturdier cover and also got the ones with a white spine instead of black.
I thought I had watercolor paper at home but sadly we were out so we used a cardstock white paper. One child chose to do watercolors and the other to use crayons to decorate the cover.
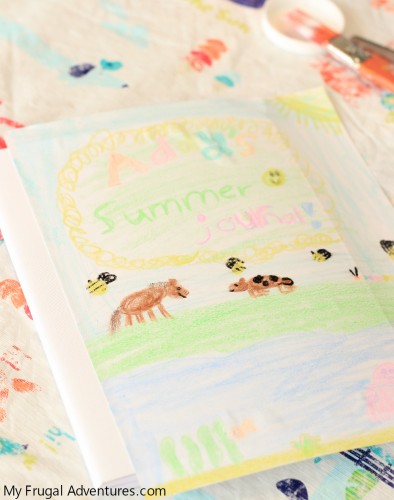
Once they finished with the page and the watercolors were dry, I took Mod Podge and brushed that completely over the front cover. I pressed the artwork over the top and then took a ruler to gently run over the page just to remove any air bubbles or creases.
At this point you might want to put something heavy on top just until the Mod Podge dries- I used a book.
Next you will have some overlap on the cover paper. You can simply trim this off or I prefer to tuck it over like wrapping a present for a more polished look. If you trim off the excess, the paper might eventually pop off so the extra step is worth it.
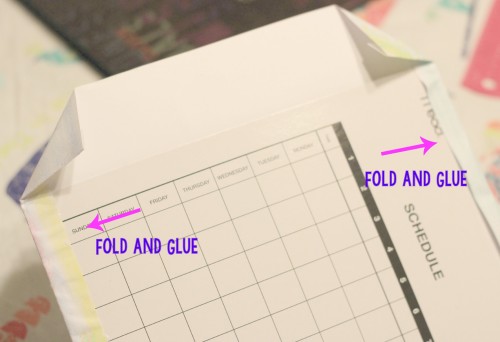
To get a clean edge I start by folding the top and the bottom of the page and then I add a bit of glue to adhere it to the inside cover. Once you glue, you will want to place a book or something on top until it dries.
Once that is dry, fold in the corners of the side flap- you can see pictured above where I folded them in. The last step is to glue that flap down and again I would weigh it down with something until the glue dries. I used white school glue.

After all the flaps were glued down and dried, I went ahead and added washi tape to tape the edges. This is just to keep it extra secure and nice and smooth when the kids handle it.
And now you can finish it there- the white binding looks better than the black with our artwork and the white is also easier to cover than black with washi. I decided to do one more small step of finishing off the spine of the notebook. At first I tried to use a glitter washi tape- it looks amazing but the tape I have was a little too thick to work on the spine.
So I used a regular washi tape instead and just covered the spine of the notebook from the front to the back.
And that is it!
I figured I would have to come up with bribes or other incentives and that the girls would complain about writing in the notebook. Shockingly, they have really taken to it! I got them each a roll of washi tape and some fun, bright pens to write with to make things more exciting. We just started this journal this week and my girls have actually volunteered to write in it three times already.
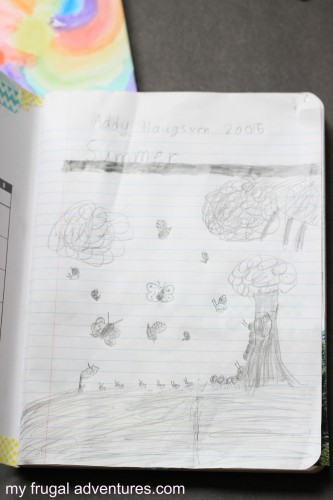
Here is the inside cover of my 7 year old’s journal:
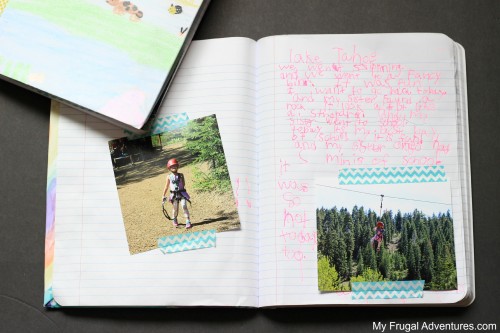
And in addition to just writing, I am hoping they tape little souvenirs to the book and photos. I actually got them started by printing out some photos from our trip to Lake Tahoe.
And you can decorate these notebooks in any manner that would make your children happy. If the kiddos don’t want to customize the cover, you can always buy scrapbook paper at the craft store and follow this same tutorial to create a fun cover.
Hopefully this super simple and cheap project gets your children interested in writing this summer.
And here are a few other fun projects:

Free Summer Reading Programs for Kids
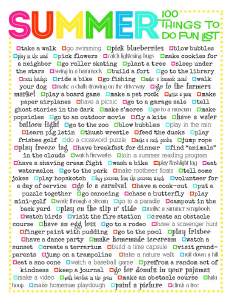
Free Printable Summer Fun List with 100 Ideas for Family Activities
Love the Journal! So great to remember the summer and keep up on writing skills!! Win win!! I like the idea of adding actual pictures and maybe even postcards! Great keep sake as well! Thanks so much!! ** I also love your summer fun list!