
If you have little girls, you might be interested in this crazy easy little tutorial to make fun, floppy hair bows for them.
You can make several of these for significantly less than they would be in a store and you can choose the colors and patterns you like.
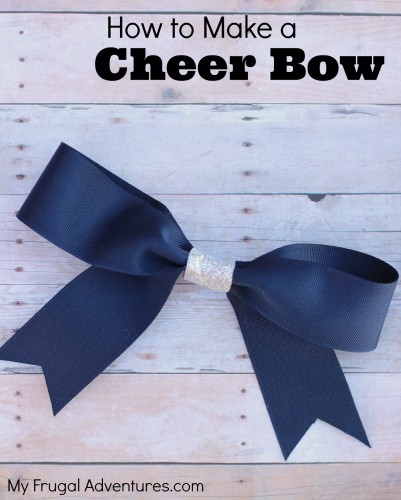
These are called Cheer Bows but a cheer bow is typically much larger in size. I have two small children so my bows are for them and I used a smaller ribbon so these wouldn’t overwhelm their little faces. For a real Cheer bow your ribbon will be twice this size. Either way you decide to do it will look fantastic.
These little bows are so cute for school or for sports or dance. You can also make them for holidays or special ones for trips- like Disney- or for holiday outfits.
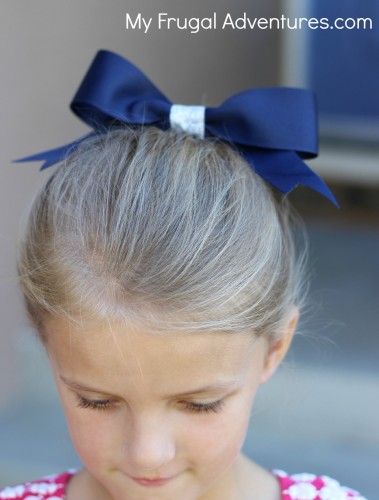
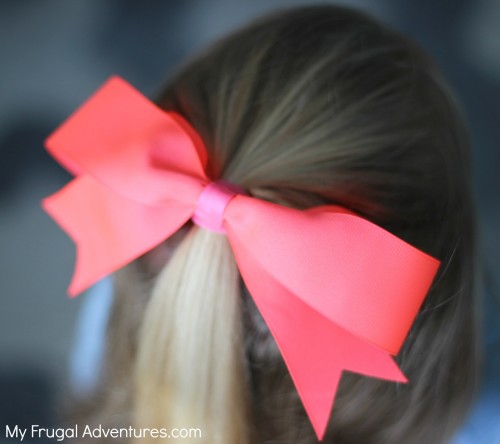
Here is what they look like in a ponytail:
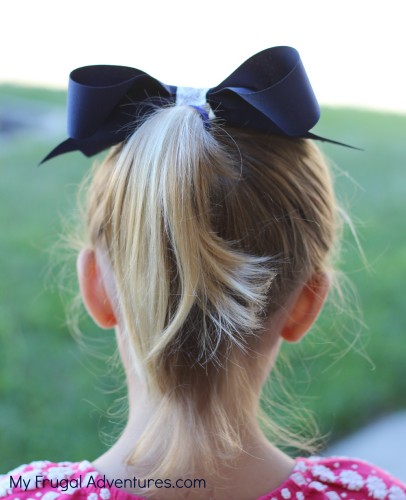
And from the back:
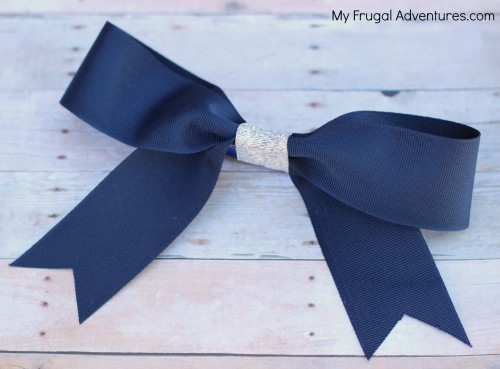
And a super up close shot:
So to get started you need a few things:
- Thick Ribbon (1 1/2 inch for my size bow or 3 inch for a traditional Cheer Bow)
- Hot Glue Gun
- Ponytail Elastic
- Extra Ribbon in roughly 7/8 size (optional)
- Zip Ties (these are available at home improvement stores or Walmart)
If you can’t find the zip ties, you can always use a needle and thread and just wind the thread around the Cheer Bow numerous times to make it secure. The zip ties make this project super fast though if you can find them. The downside to the zip ties is that you have a tiny piece of plastic that juts out a bit in the back. It wasn’t a big deal to me and you can hide it later so it won’t show.
To get started you want to cut your thick ribbon to the size you need- typically 28 inches or so.
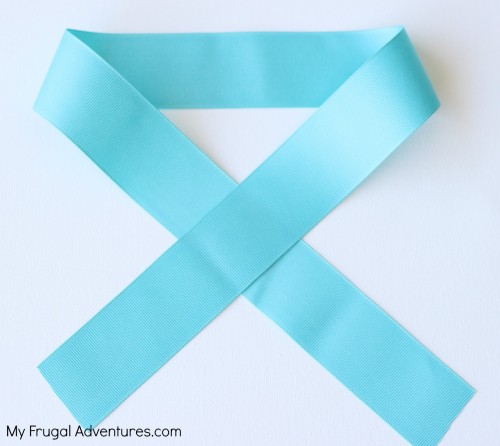
Next you want to place your ribbon in this shape- it needs to be almost a triangle shape because you want the loops of the bow to sit nice and flat once you make the bow. If you start out with more of an oval shape (like the breast cancer ribbon), your loops might be twisted.
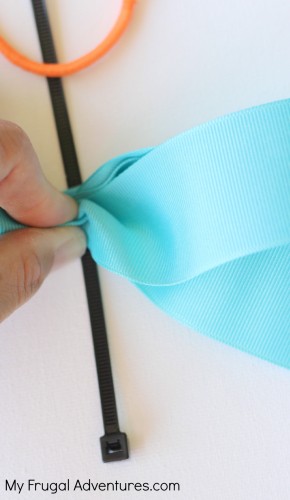
Now you slide the zip tie underneath the ribbon and you sort of pinch the top of the ribbon to the bottom to create the bow shape. The zip tie you can just tighten and you should have a really pretty bow. To make this really secure, if you put the ponytail elastic under first, you can just tighten that in with the ribbon and the zip tie will keep it from ever falling off. See above the ponytail holder is placed on top of the zip tie. Then you can see below how I just scooped it up with the end of the zip tie and let it fall toward the pinched center of the ribbon and it got perfectly tightened in the center as I tightened the zip tie.
If you forget or don’t want to use the zip tie, you can also just hot glue the ponytail holder to the back of the ribbon and that works as well. I have done it both ways.
I used my left fingers to pinch the bow and then my right hand to tighten the zip tie at the same time. This might take you once or twice to practice first. If you mess up and twist the loop of the bow, just cut the zip tie and you can try again.
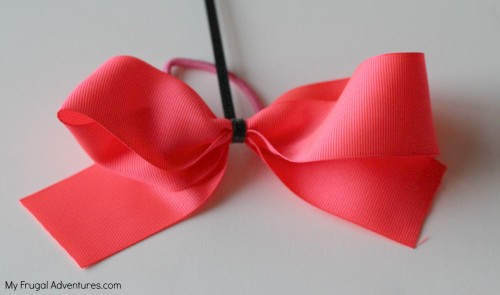
Now you trim the end of the zip tie off and then take the square portion of the zip tie that is on the bow and sticks out– make that your back side of the bow.
Now you have a choice. You need to cover up that zip tie so you can either trim a small piece of your thicker ribbon to glue over the black zip tie or you can purchase a second ribbon in the same color or a contrasting color to cover up the center. Totally up to you and either way looks great.
If you decide to just trim a piece off your current ribbon- here is what that looks like:
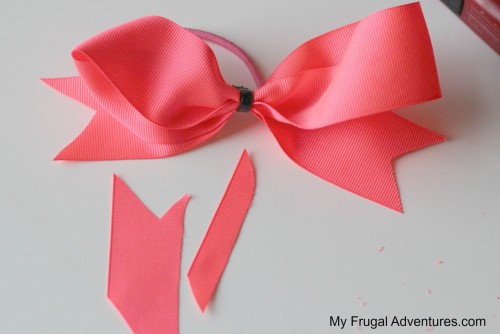
Note I also trimmed the ends of the ribbon into a V shape to make it look a little more polished.
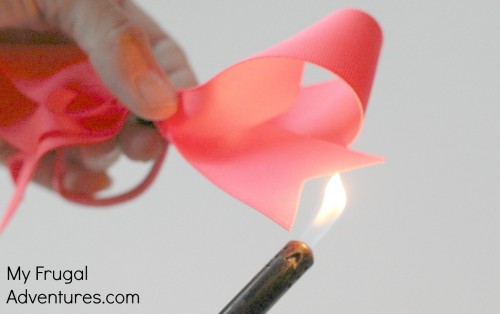
One important step to take for any of the trimmed edges of ribbon is to use a lighter right next to the ribbon that was trimmed. Don’t actually touch the ribbon with the flame but hold it as close as you can without touching. This will very slightly seal the ribbon to keep it from fraying.
If you do decide to get a second spool of ribbon to use for the center piece, please note the ribbon might not match exactly. For this pink hair bow I did buy a second spool of ribbon in exactly the same color and once I glued it on the color tones were just slightly off. You really can’t tell in person but in the photos it is a little more pronounced.
And now the very last step is to take your small slice of ribbon and using a hot glue gun, just glue it over the zip tie to cover that up.
And now you are done!
This is extremely fast once you get going and really doesn’t cost a lot of money. I bought spools of the 1 1/2 inch ribbon for $3.99 at Joann’s (use a coupon to save a bit more) and then the zip ties we actually had on hand but those are very inexpensive. Probably a $5 investment total (assuming you already have glue, a lighter and ponytail elastics) and you can make a few of these bows per spool of ribbon. I have seen similar style cheer bows for $8-10 at retail clothing stores so this is considerably cheaper to just make yourself.
Here is the final bow:
I made a few as you can see. I did bright pink for my littlest for her dance class and then a teal color for my big girl. I also did some navy and some navy and silver (school colors) for my little girl. They are adorable with her school uniform!
And if you like this post, here are a few other easy crafts you might try with your kids:
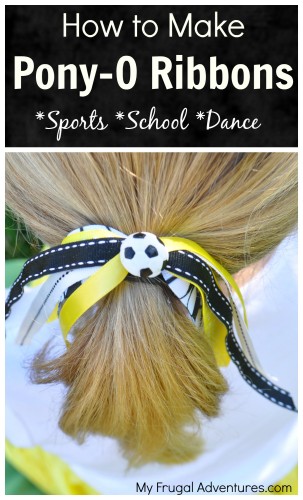
How to Make Pony O Ribbons for girls
Leave a Reply