
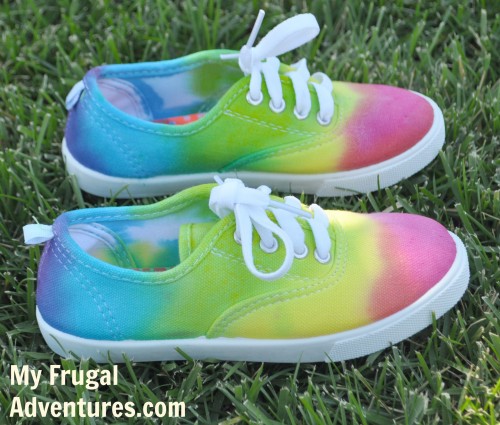
Some of you might remember the really fun tie dyed shoes my little girl and I made last year. My 6 year old loved those shoes and we just finally put them in the donation bin after a year of hard use.
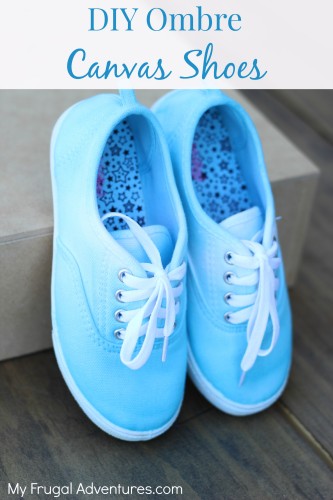
So this year I thought we might make some fun colored shoes again but maybe a slightly different design. Her favorite color (at the moment) is blue so we decided to do a fun ombre pattern on the shoe and I think they turned out really well!
The best part is that she loves them and they were only $7 to make- for both the shoe and the dye.
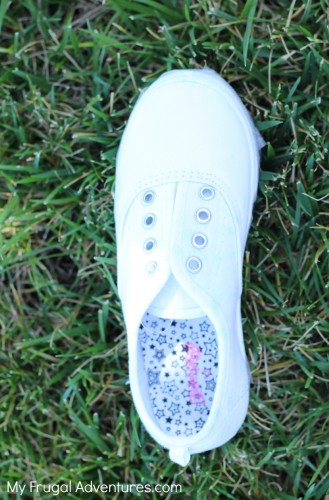
So to start off we hit Walmart and picked up some plain white canvas shoes for $5.00. Next I stopped off at the craft store and got a package of blue RIT dye for about $2 (I think I used a coupon on it). You can probably get the dye at Walmart too to save a trip.
Then we came home and to make these is actually a pretty fast process. You have two choices- the first is to mix the color according to package instructions and then if you’d like the ombre look on the shoes you just want to hold the shoes in certain sections for longer to get a darker color.
I think another option would be to mix only a small portion of the packet of dye into the water for a lighter color and dip the shoes and then increase the amount of color and dip again. A foam paint brush might actually work with this method instead of dipping the shoes.
I wanted the easiest way to do this since I was working with my 6 year old to make them, so here is what we did:
To start out you want to protect the soles of the shoes from dye. You can skip this step but the shoes look much nicer with a clean crisp white sole and no little drips and splotches of dye.
To protect the soles you can either smear a light coat of petroleum jelly all over the sides of the sole (because who cares what the bottom of your shoe looks like). I think using petroleum jelly makes the shoes a little harder to handle- especially if you are working with a child. I was envisioning the petroleum jelly smearing all over the place. If you do decide to take this route, after you dye the shoes just take a washcloth with a little baking soda to clean it off the sole of the shoe. An old toothbrush would also be a great option.
The other way to protect the soles is to put painters tape all around the sides and then push it on firmly for a secure seal. My husband regularly hides the painter’s tape from me so I improvised and used packing tape :). That didn’t work perfectly but it was better then nothing.
Next get some gloves and move to a spot where you won’t ruin things if the dye drips. We went outside and sat on an old towel to make our shoes.
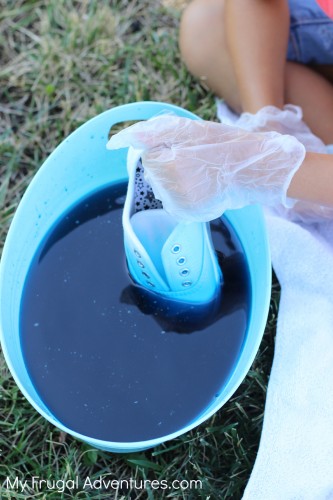
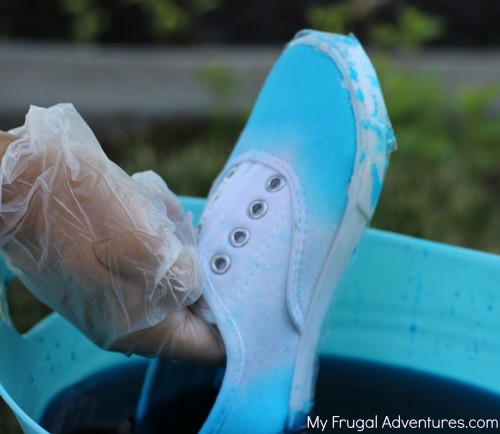
Mix up your dye according to package directions and we just alternated the length of time we dipped- just a super quick dip about 2/3 of the way up the front of the shoe- if you want any white parts to show through you want to be careful because the dye colors really quickly and it will spread just a tiny bit.
I didn’t want to leave a lot of white on these shoes because they are for a child as play shoes but if you only dipped the front of the shoe they would look really great.
We held the toe in the dye for about 5-10 minutes to get a deeper color of blue.
Then we flip flopped the shoe and repeated the process on the heel. Note our shoes had a bit of dye on the inside so you might be aware of that in case it sloshes around when you flip your shoe.
Oh and also be super careful touching the shoes with your gloves. If you get any dye on your gloves and then touch the shoe that dye will spread. We lost a tiny bit of the whiteness that I wanted to keep just from a little drop on the glove that spread when we were holding the shoe.
And once the shoes look the way you want – and you repeated the process on the other shoe- I put them out in the sun to dry for just a few minutes. Basically enough time to get everything cleaned up. Now remove the tape if you used it and I tied the shoes in a plastic bag and leave them outside to dry for 24 hours. This step is not necessary but hopefully it helps to keep the colors really vibrant.

The very last step is to rinse your shoes under cold water until the water runs clear. Once you do that you are good to go! I put ours out for a few more hours once I rinsed them off so they would completely dry.
And finally you are all done!
These should be fine to wash but note you want to wash them alone.
Here is what ours looked like:
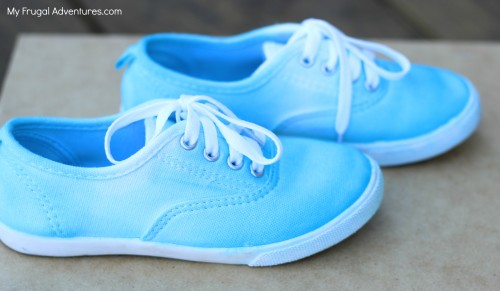
My little girl loves them and they look so cute in person. No one would ever guess they were just $5.00.
Here are a few other ideas you might like:
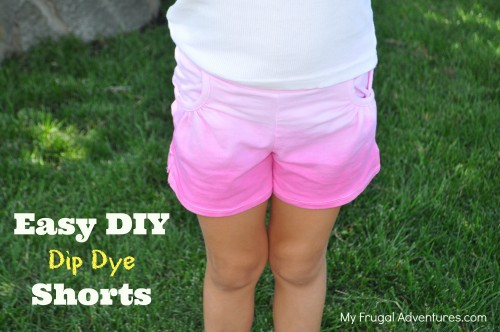
We did the same process last year on some cheap white shorts. They turned out really cute.
And here are the cute rainbow shoes we did last year– these were really fun.
Leave a Reply