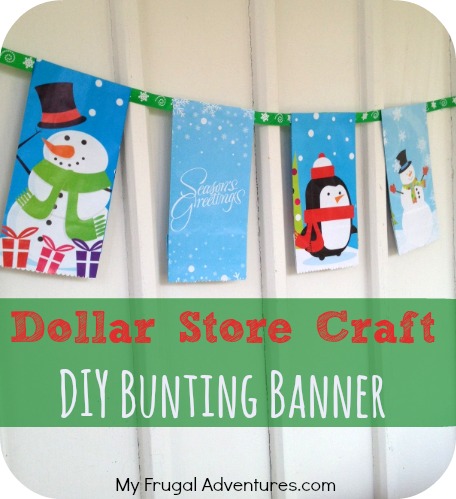
Bunting Banners are a great way to add a pop of color and charm to a small space, a gathering, or even just your entryway.
These can be fairly expensive to buy or kind of complicated to make. This one is crazy easy and it would be perfect if you want to add a little decor to a child’s room or for a class party or this could be something fun for your Elf on the Shelf to do this year as well.
Here is what you need:
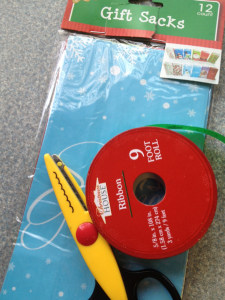
- Holiday ribbon
- 1 package of assorted paper gift bags
- Scissors or scalloped scissors
- Glue
The Dollar Tree currently has a 12pk of holiday bags for $1.00. This pack is perfect for this project and gives you plenty of material to work with. Choose a coordinating color of ribbon and you are ready to roll!
Directions:
1. Begin by choosing the bags you wish to use. I went with a blue/snow theme and pulled all of the bags with that theme and matching colors from the mix.
2. At the opening of the bags, take your scissors and create a fancy edge. You can do this by hand or use scalloped scissors. You can skip this step but it does make the bottom of the bags look a little nicer.
3. Lay your length of ribbon out on a flat surface (the floor works best) so you can begin attaching your bags.
4. Apply the glue to the back side of the bag (this will be the side where you see the folds, the front is purely decoration and flat) and press it to the ribbon. Hold it in place for several seconds to make sure it adheres.
5. Use your fingers to measure out a space to glue the next bag. For this one, there is a width of 3 fingers so it looks nice and uniform. You can always use a ruler as well.
6. Continue gluing on the gift bags until your bunting banner has the look and length you wish.
Now all you need to do is hang it! Super cheap and super easy!
Leave a Reply