
Well I have seen homemade Playdoh recipes about a zillion times this summer. It seems like every time we go to a festival, we get a little sample of homemade playdoh and a recipe card. I have seriously collected several of these so far and I played with a few recipes to see what worked best. We got a recipe from my daughter’s preschool teacher (the parents in the class take turns making playdoh each month for the class to use) and this one is probably my favorite so far.
It really does take just a few minutes to make your own and you can color it as you like- add glitter- fragrances- whatever you like.. I have a little lady that LOVES Playdoh time and so we decided this was a must for our Summer Fun List.
I actually prefer homemade playdoh because I found the clean up was a little easier. The bits that fell into the carpet usually make a huge mess with normal stuff you buy but the homemade variety came up much easier for me.
One tip is that you have to commit to the Playdoh- once you start cooking it takes just a few minutes so don’t decide now is a good time to empty the trash… or all of the trash cans in the house… and then take the dumpster down to the curb… and then have a quick chat with the neighbor. You might burn your Playdoh and it doesn’t smell good if it burns. Just sayin’.

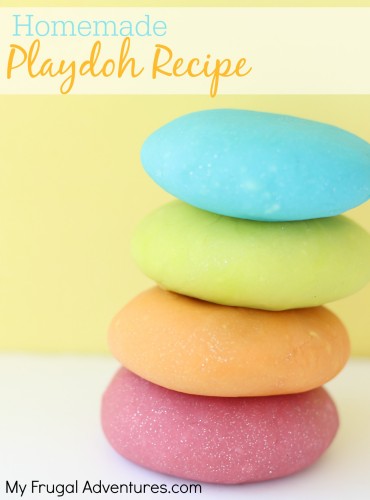
So I like to make this batch which makes roughly the equivilent of 5-6 cans of normal Playdoh. I divide the cooked dough up on a piece of parchment paper according to how many colors I want to make. Then I add the coloring to each ball of dough.
You can use standard food coloring to color your dough and you can add any fragrances such as Peppermint oil or vanilla or lemon extract etc… You can also use Kool Aid to color your dough. I used both means to color the dough you see pictured just so you can see the results are pretty much the same.
The Kool Aid I found didn’t have quite as bright of colors as the food coloring (the purple I made looked sort of grey so I didn’t even include that in the photos) but the orange turned out really nicely so I think it takes a little experimenting to see what happens. You can also use boxes of Jello to color your Playdoh and those tend to have more vibrant colors. I actually just added the packet of Playdoh to the dough mixture directly and I think the better choice if you do want to use Kool Aid is to mix it in before you add the water the recipe. I think you will likely get better results as far as vibrancy of color. Note with Kool Aid you want to look at the color of the pitcher on the front of the packet not the color of the packet. A bright blue packet might actually have red Kool Aid inside.
One note is that fragrances, Kool Aid or Jello will make your dough smell good. If you have littles that might be tempted to taste test the yummy orange smelling playdoh, you might consider that ahead of time. They certainly won’t get sick from this recipe but it probably won’t taste that great.
- 4 Cups Flour
- 1 Cup Salt
- 4 cups water
- 4 tablespoons oil
- ½ cup cream of tartar
- food coloring or Kool Aid
- In a large saucepan set the heat to medium-low and add flour, salt and cream of tarter.
- If you want to use Kool Aid this is the best time to add it in.
- Give that a mix and then add water.
- This will become a big nasty blob- just keep stirring for a few minutes.
- Eventually the blog will start to look more like cookie dough. It will pull away easily from the sides of the pan and it looks like a dough that can be handled and not a big sticky mess.
- Remove from heat and dump the dough onto a piece of parchment paper.
- Let it cool until you can handle it.
- If you want to make several colors just divide it up on the paper and dot each lump with the color of your choice or the Kool Aid packet of your choice.
- Knead the dough well until all the color is incorporated and it is smooth.
- Add any glitter or fragrance and again knead well.
- I actually think the texture is perfect the next day but you can play with it right away if you like.
- Put in an air tight container or a Ziploc to store.
Now this will last a long time- probably 6 months or so if your children are more careful then mine are. I just ball it up when we are done playing and stick it in baggies in the fridge.
Now it is time to play! If your mix feels a tiny sticky at first, don’t worry once it is cooled off it really feels just like playdoh.
This should take you about 10 minutes or even less total and the kiddos will be very impressed! I think this would be a very cute idea for birthday party favors!
Oh and one more quick tip- Cream of Tartar is kind of expensive to buy in containers in the spice section. The best bet to to look for a bulk bin section of spices at your local store and you can get cream of tartar for just a few cents. I bought mine at Sprouts but Winco also has spice bins and Whole Foods.
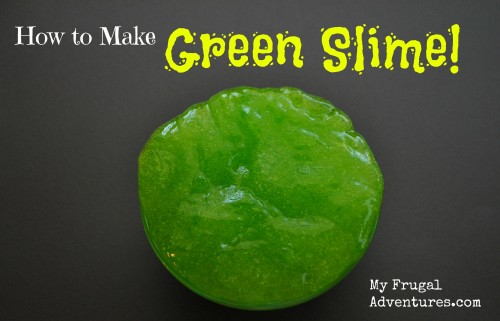
If you like this recipe here are two others you might check out:
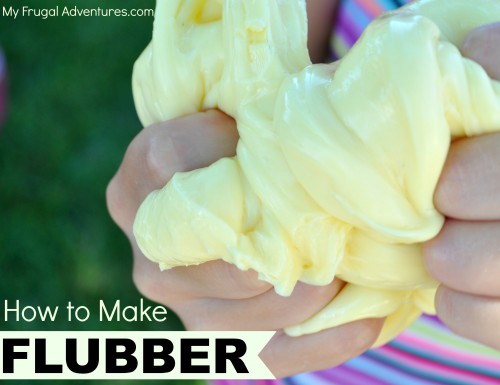
How to Make Slime– perfect for Halloween!
Kool aid packets work great for color and scent too. More tempting though if you have little playdoh eaters!
This looks like the recipe I used tor play dough when my kids where young. Here’s a tip, use mineral or baby oil instead of vegetable oil. Vegetable oil will eventually go rancid and your play dough will smell. Baby oil is essentially mineral oil with fragrance.
Thanks Denise!
just saying…you made me laugh out loud 🙂
we love homemade play dough, it’s so easy to make and the kids love it..less expensive too! great blog!
Jennifer